by Great Joy Studio | Jul 18, 2020 | Quilting & Fabric
J. Wecker Frisch
•
Hello Everyone.
We have been hearing a lot of excitement surrounding the
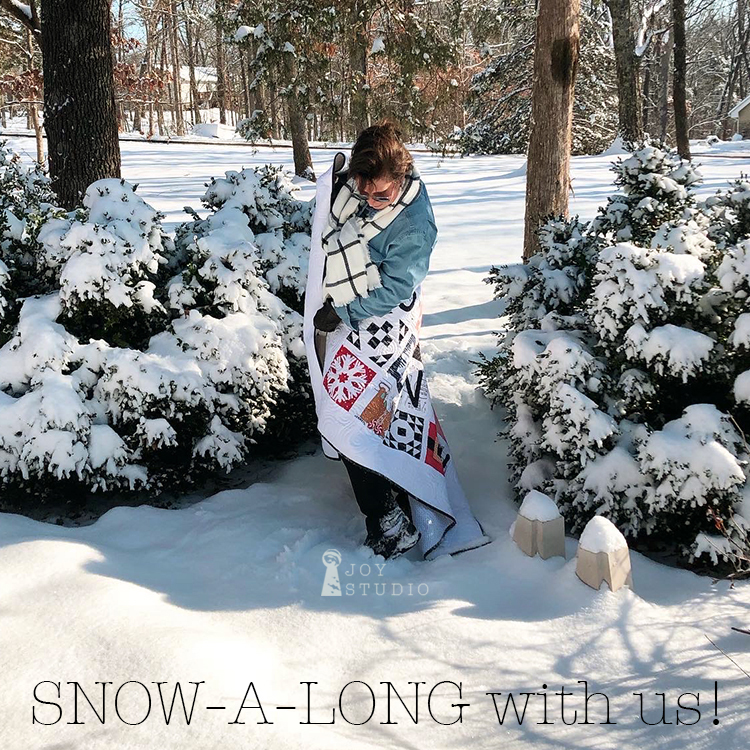
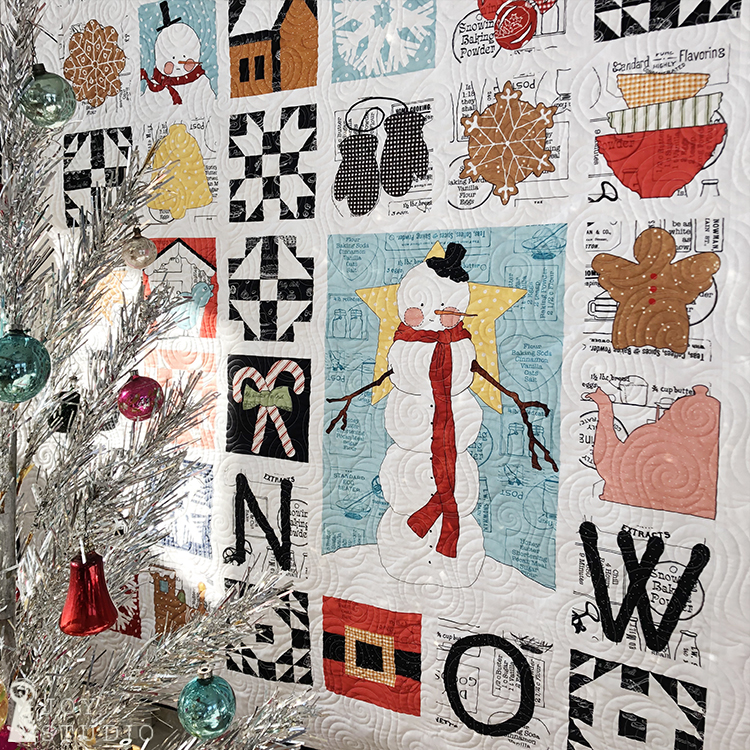
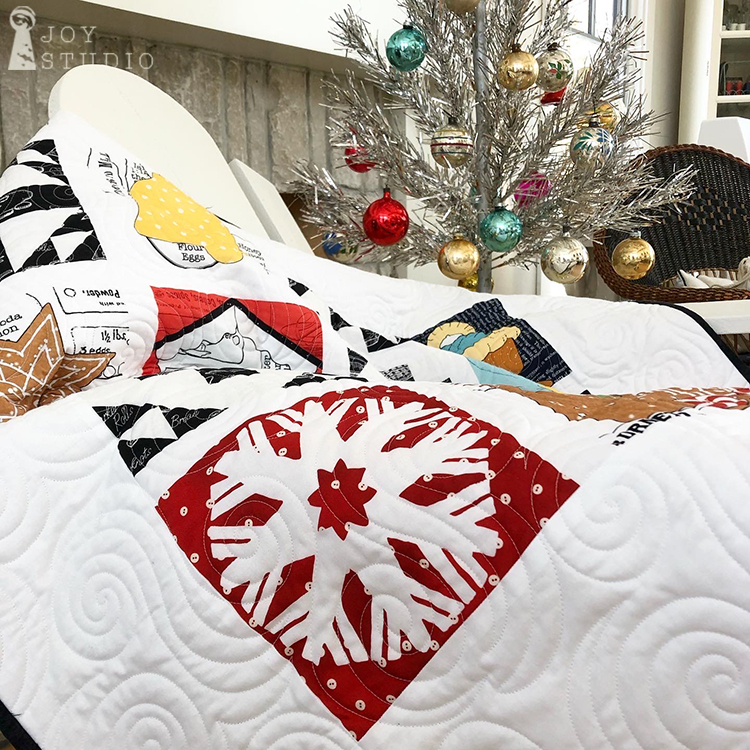
Sweet Snow-A-Long!
And we are equally excited and thrilled to be bringing this classic fabric collection with our partners at Riley Blake Designs and FUN project to all of you!!
Please note the new “shooting for” date:
The Sweet Snow-A-Long originally scheduled to begin on July 23rd will now start on July 30th.
Patterns (P149)-Sweet Snow-A-Long) will be ready in the nick of time, for this highly anticipated event!
•
Meanwhile, if you’re shopping!
The REVISED Fabric Requirements and Supplies List:
•
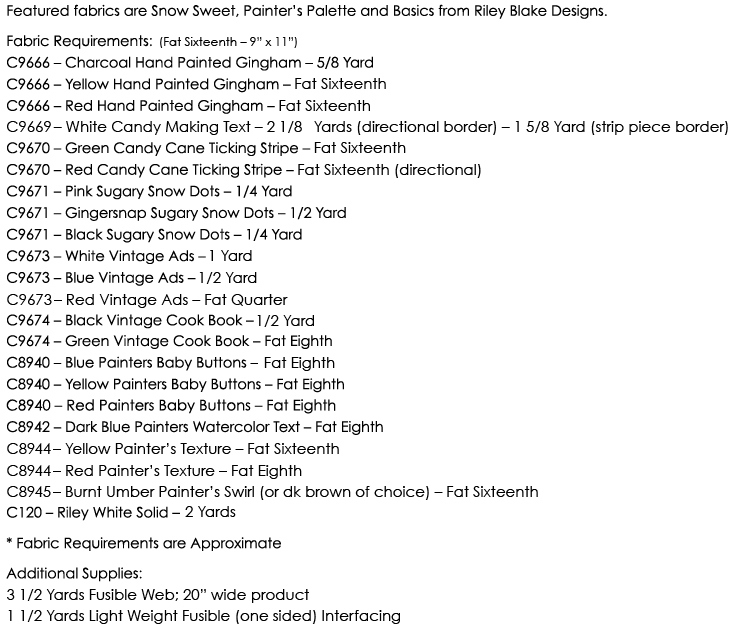
Sweet Snow-A-Long Update
•
The above items are available in Quilt Shops now.
•
We are sorry for the delay and are grateful for your understanding and patience. We want to be sure that everyone is able to gain access to the fabric and pattern.
So, hang on just a bit longer please.
Thanks again for all of You who have been supporting the Snow Sweet fabric collection, it has been amazing!
•
by Great Joy Studio | Jul 2, 2020 | Quilting & Fabric
•
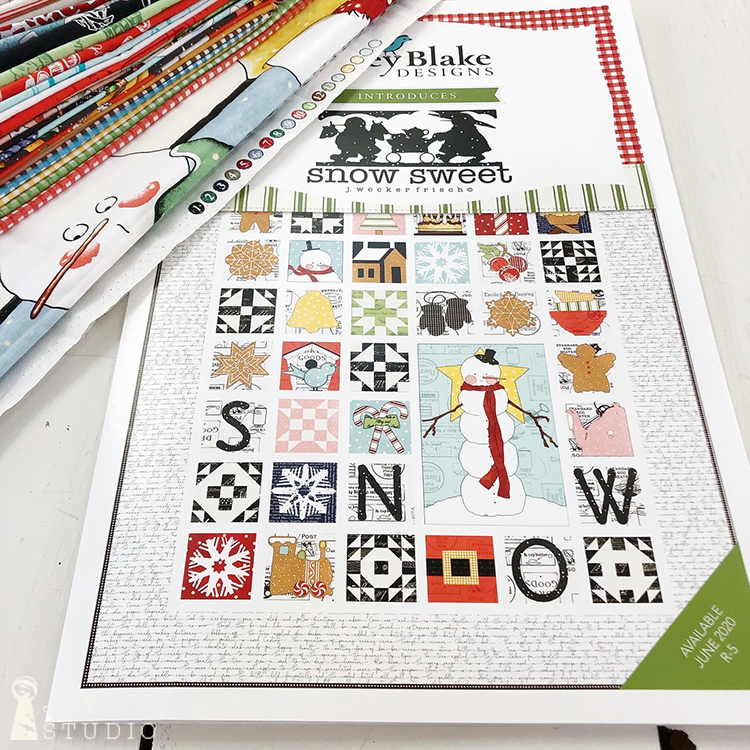
Announcing,
SWEET SNOW-A-LONG
July 23rd
made with
SNOW SWEET
fabrics from Riley Blake Designs!
•
•
Follow us here at JOY STUDIO for each step over five weeks to make this delightful and delicious quilt top.
Patterns and fabric are shipping now so check with your favorite shop for arrival times. MANY shops have ordered this so patterns, kits and fabric should be widely available.
If your local is still closed check the on line shops. Search Snow Sweet fabric and Sweet Snow-A-Long.
•
J. Wecker Frisch
•
Anyone can make this. We know because WE DID!! Lol And as you know, we are still new at this. I hope you can join us to make this really fun snowy quilt and cool off your summer!!!
by Great Joy Studio | Apr 27, 2020 | Quilting & Fabric
•
Hello to everyone at home. And sewing?
If you ever thought of making one of our large scale
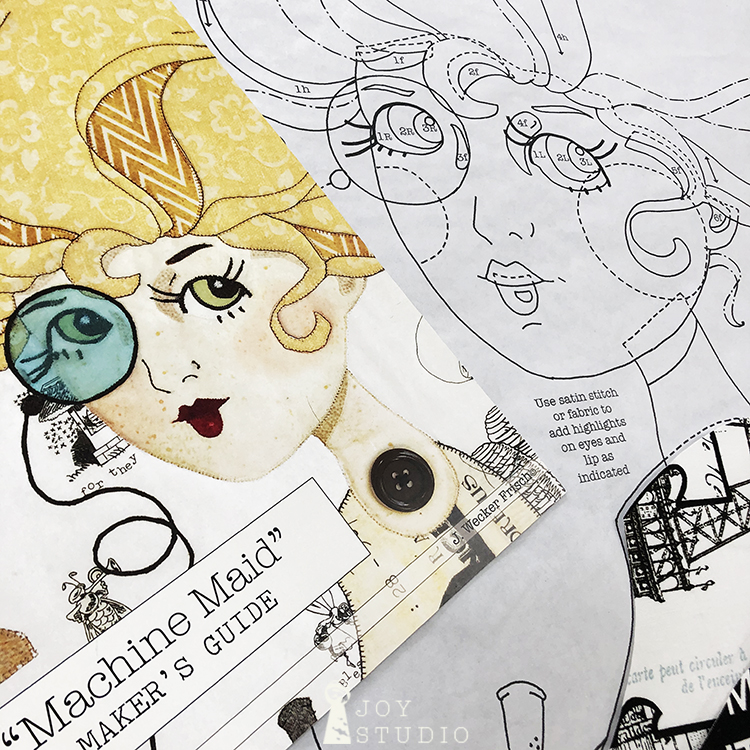
She Who Sews
series for your studio, now would be a good time. Patterns are
half price
in the shop through May!
And we have fabric kits (limited supply) for
“Machine Maid”
as she originally appears on the pattern cover using our
Painters Palette,
and a few basics plus a Paris version using my
Couturiere Parisienne
fabrics from Riley Blake Designs. Both collections are available in shops now.
I am making her up in the later currently and for the first time ever actually and, I’m liking!!
Fabric background back story below.
•
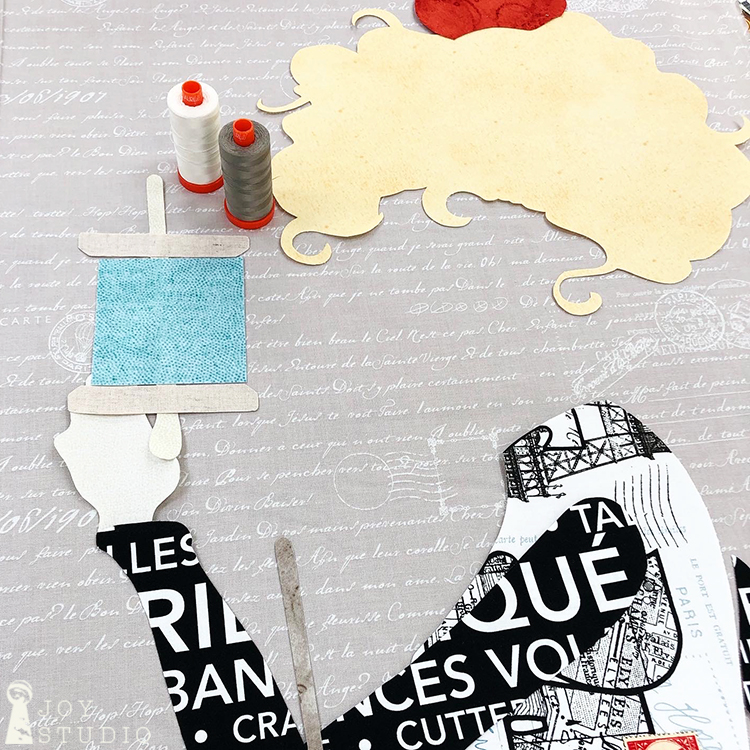

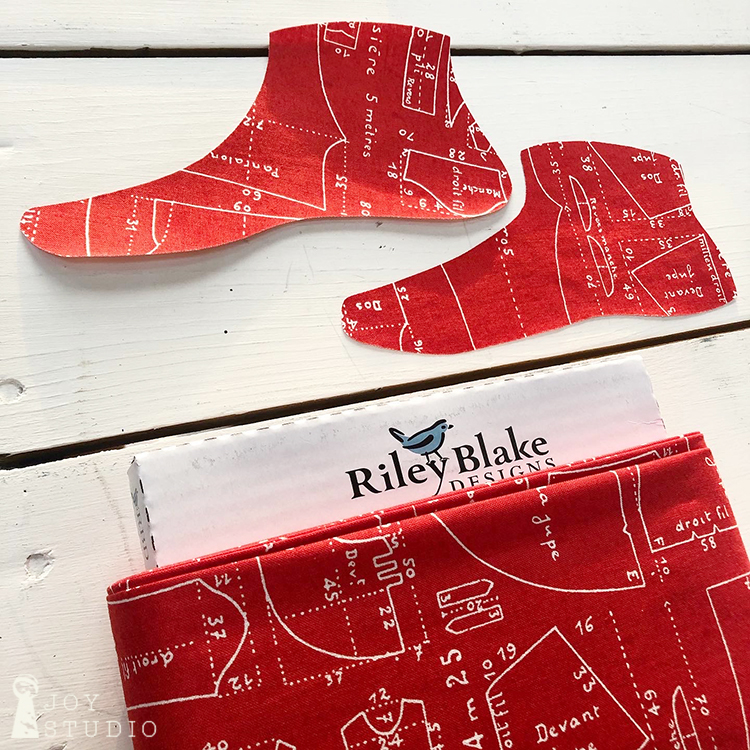
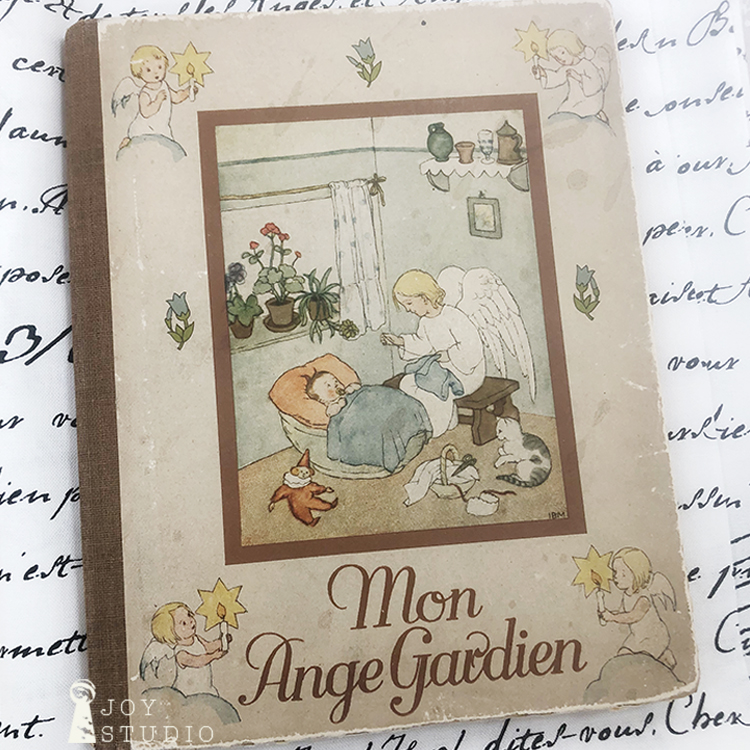
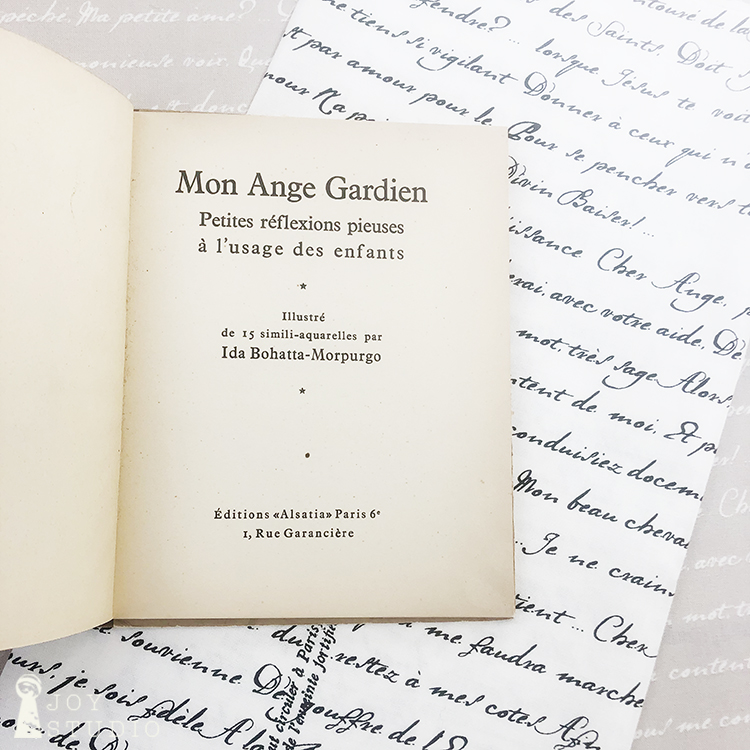
• Back story on the background text fabric is that the text was inspired by a little antique children’s book of prayers, in French! Sew sweet. Although I cannot interpret them, I was pleased to make this a part of the Couturiere Parisienne collection in lieu of my standard snippets of scripture. Parfait!
•
I’m sure we all agree that we are still in such a strange time but keep creating is my plan. And praying. It helps, right?!
•

Au revoir mon ami!
by Great Joy Studio | Feb 25, 2020 | Quilting & Fabric

•
Hat Shop Sew-A-Long, last post.
Adding your borders is all that is left to do!
This can be done in a couple of different ways however, I will only be describing how I actually, chose to finish this quilt.
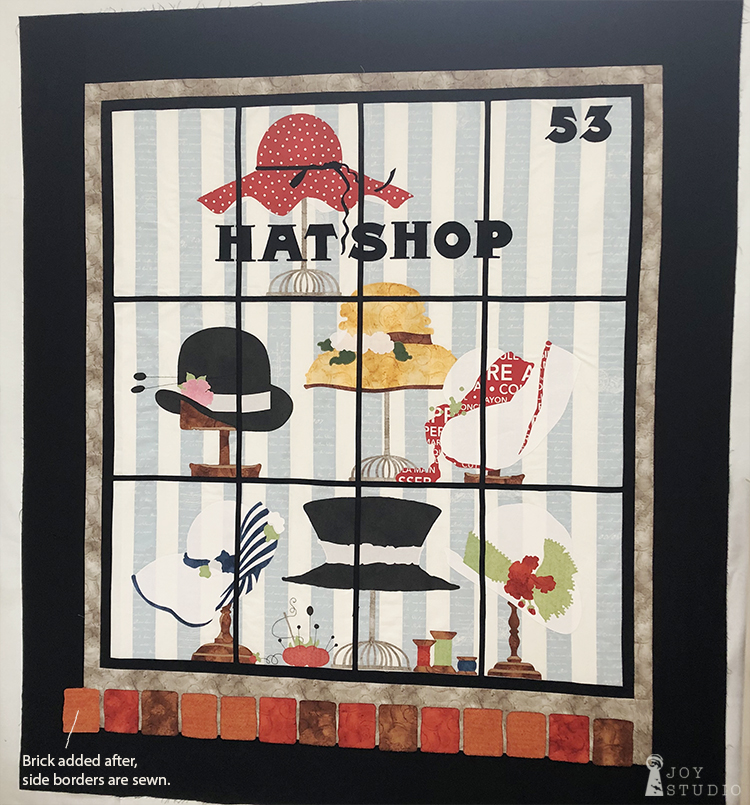
Borders.
First up, the inner 1″ (finish size) black border. Make sure that your window blocks are squared up by trimming, measuring and placing your tracings over them before you add this border. Pay special attention to you last row of blocks so that all of the items will appear to be sitting on the bottom shelf of your window. It was necessary for me to trim mine about 1/2″. Then pin and sew with your 1/4″ seam.
•
Secondly sew on your gray borders to three sides. Top, right and left. I cut them 2″ for an inch and a half finish.

•
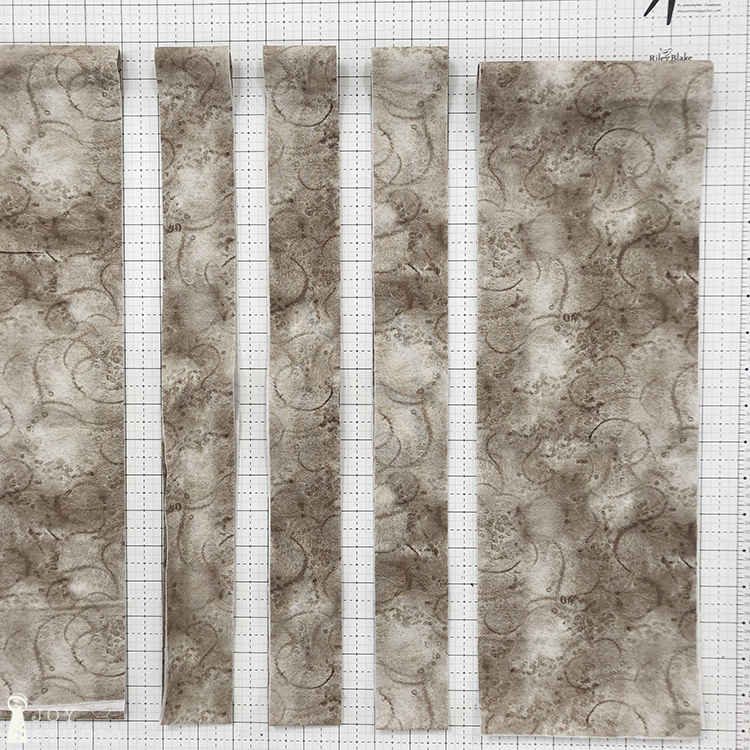
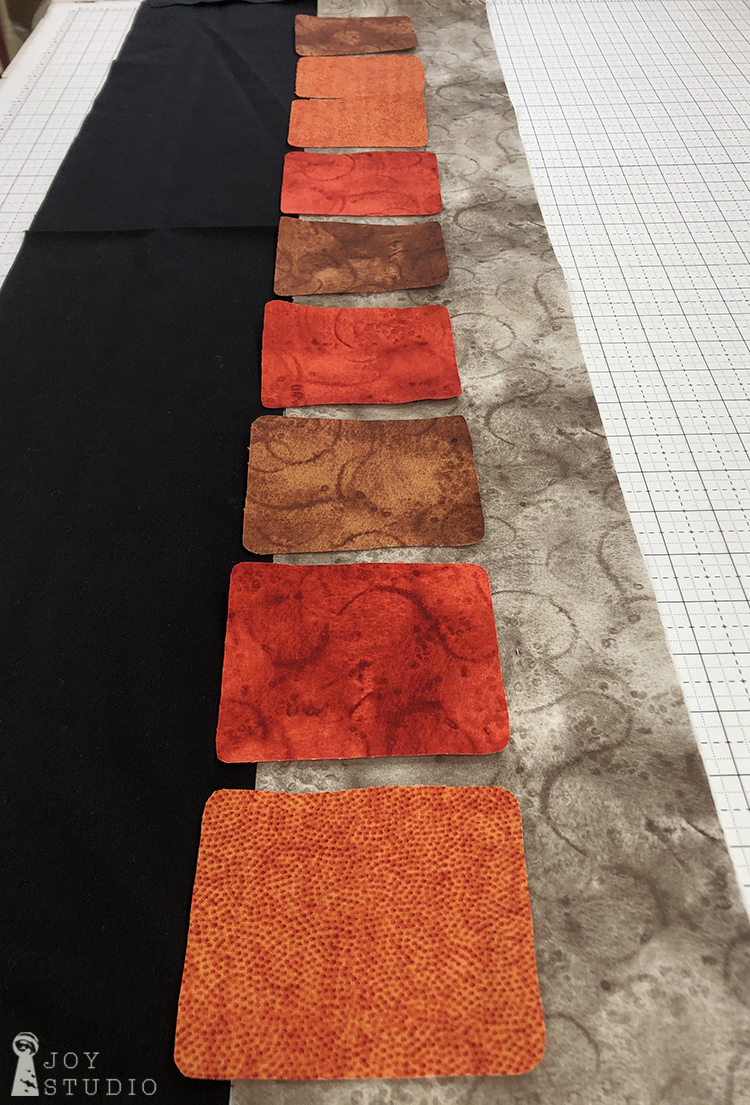
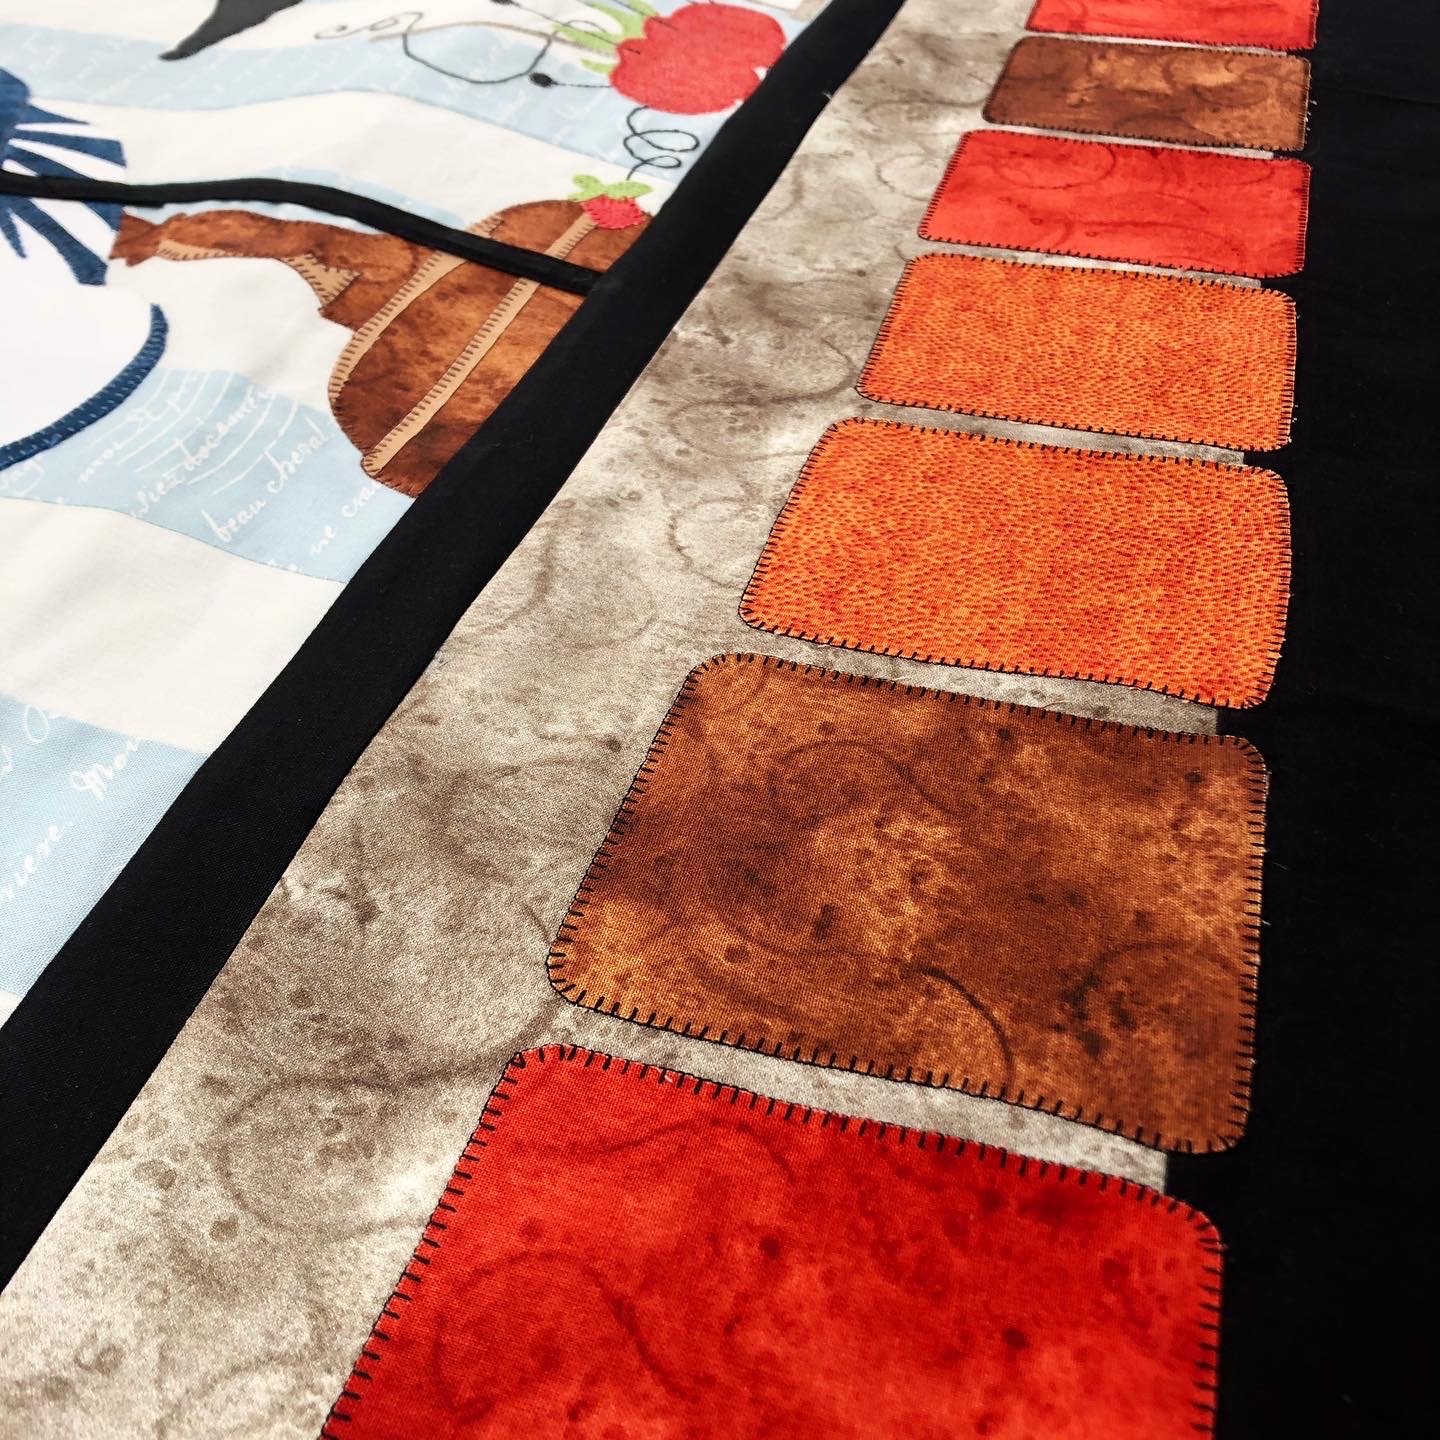
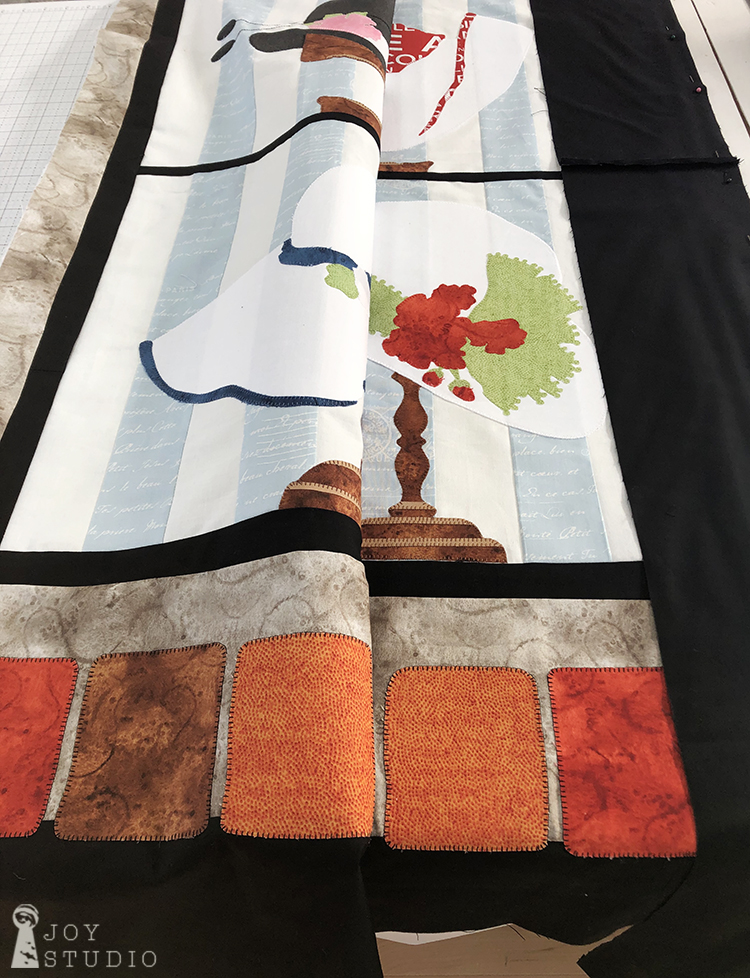
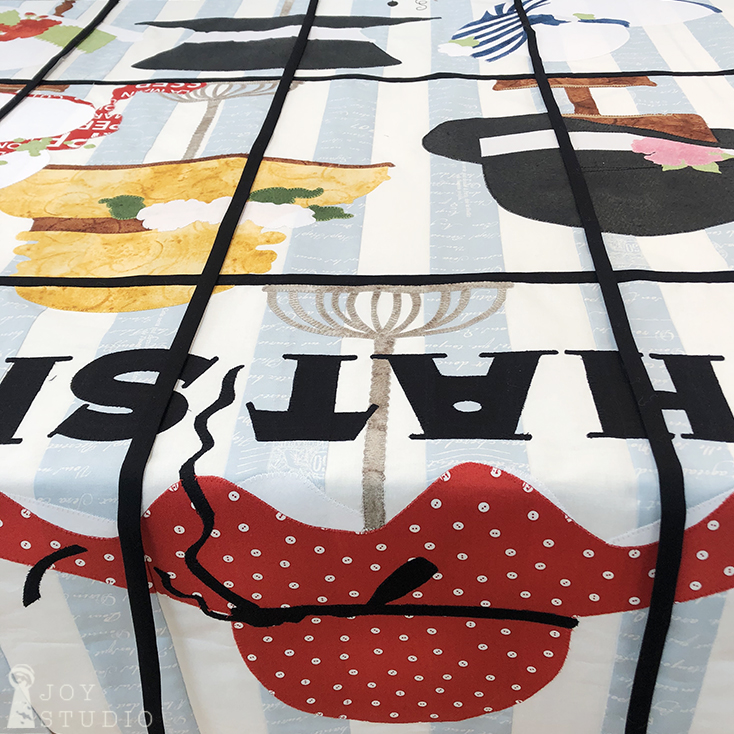
Bottom border.
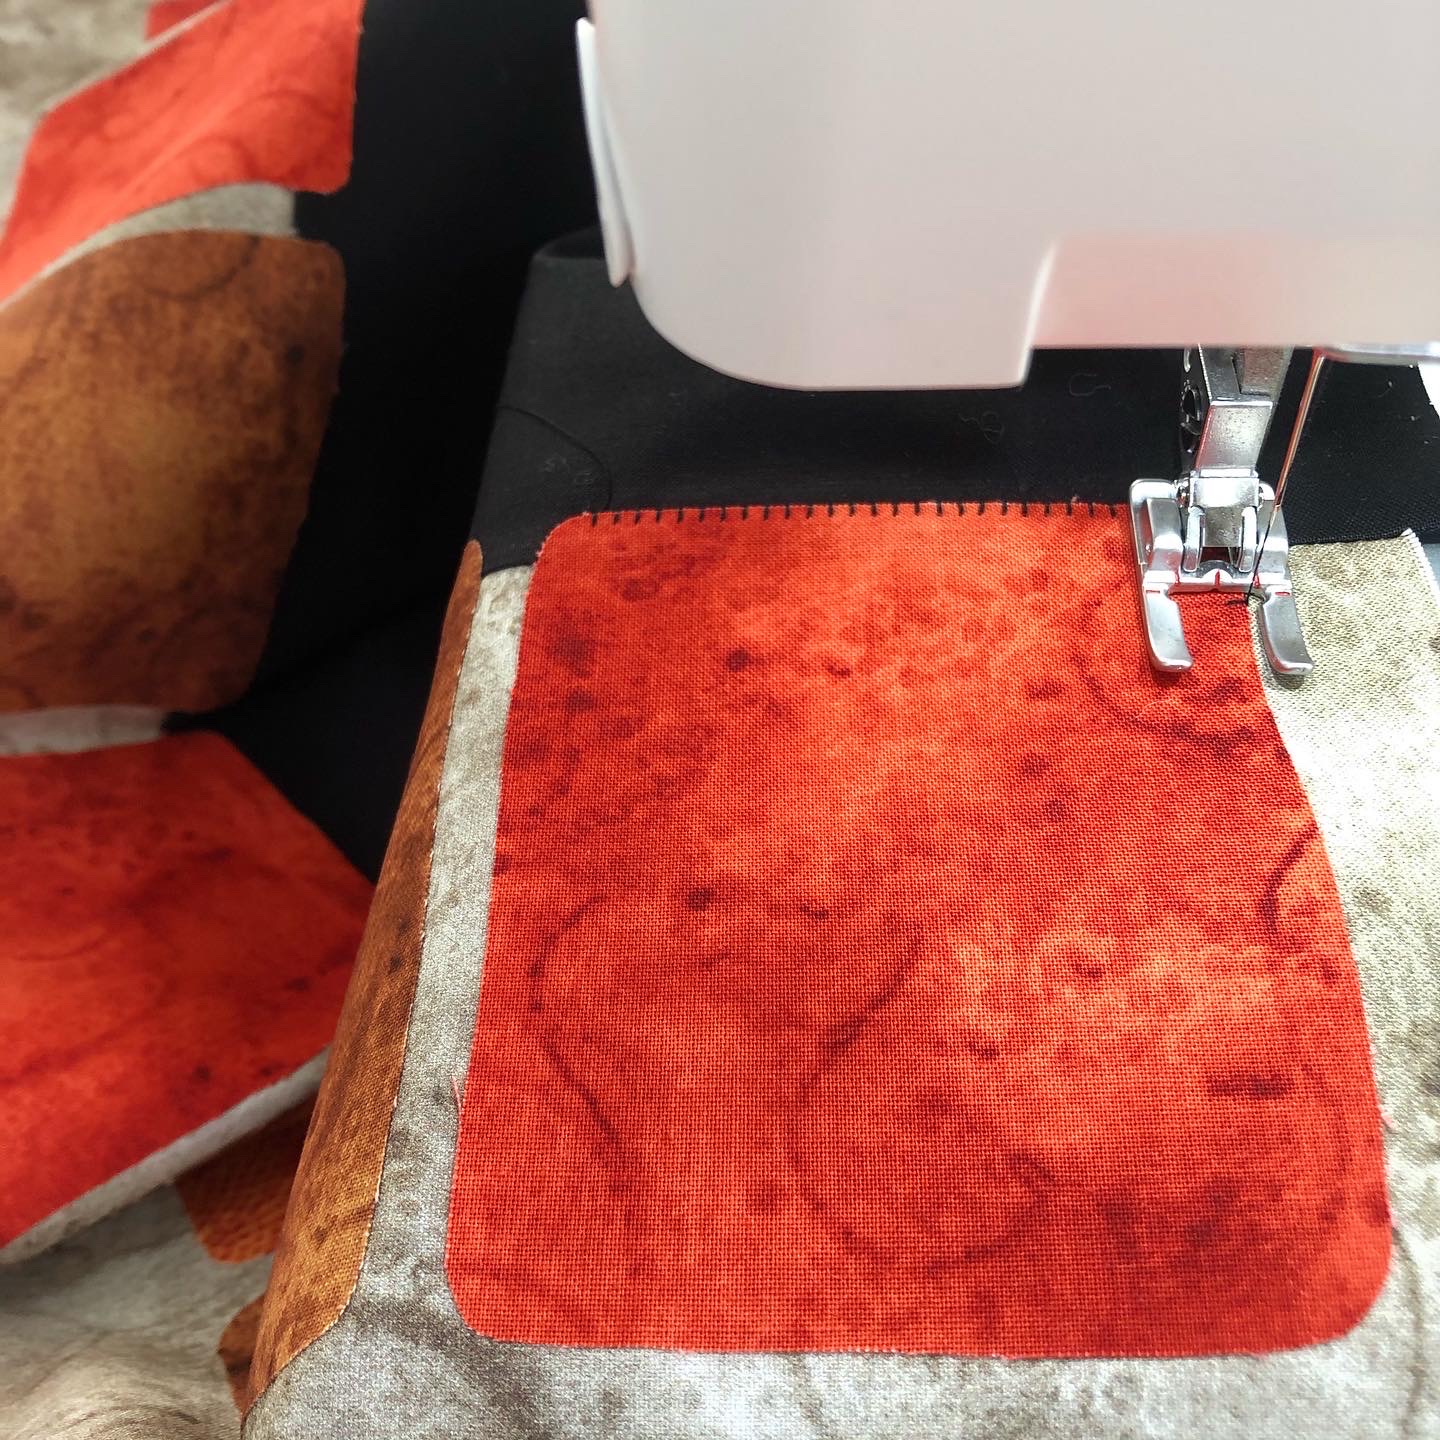
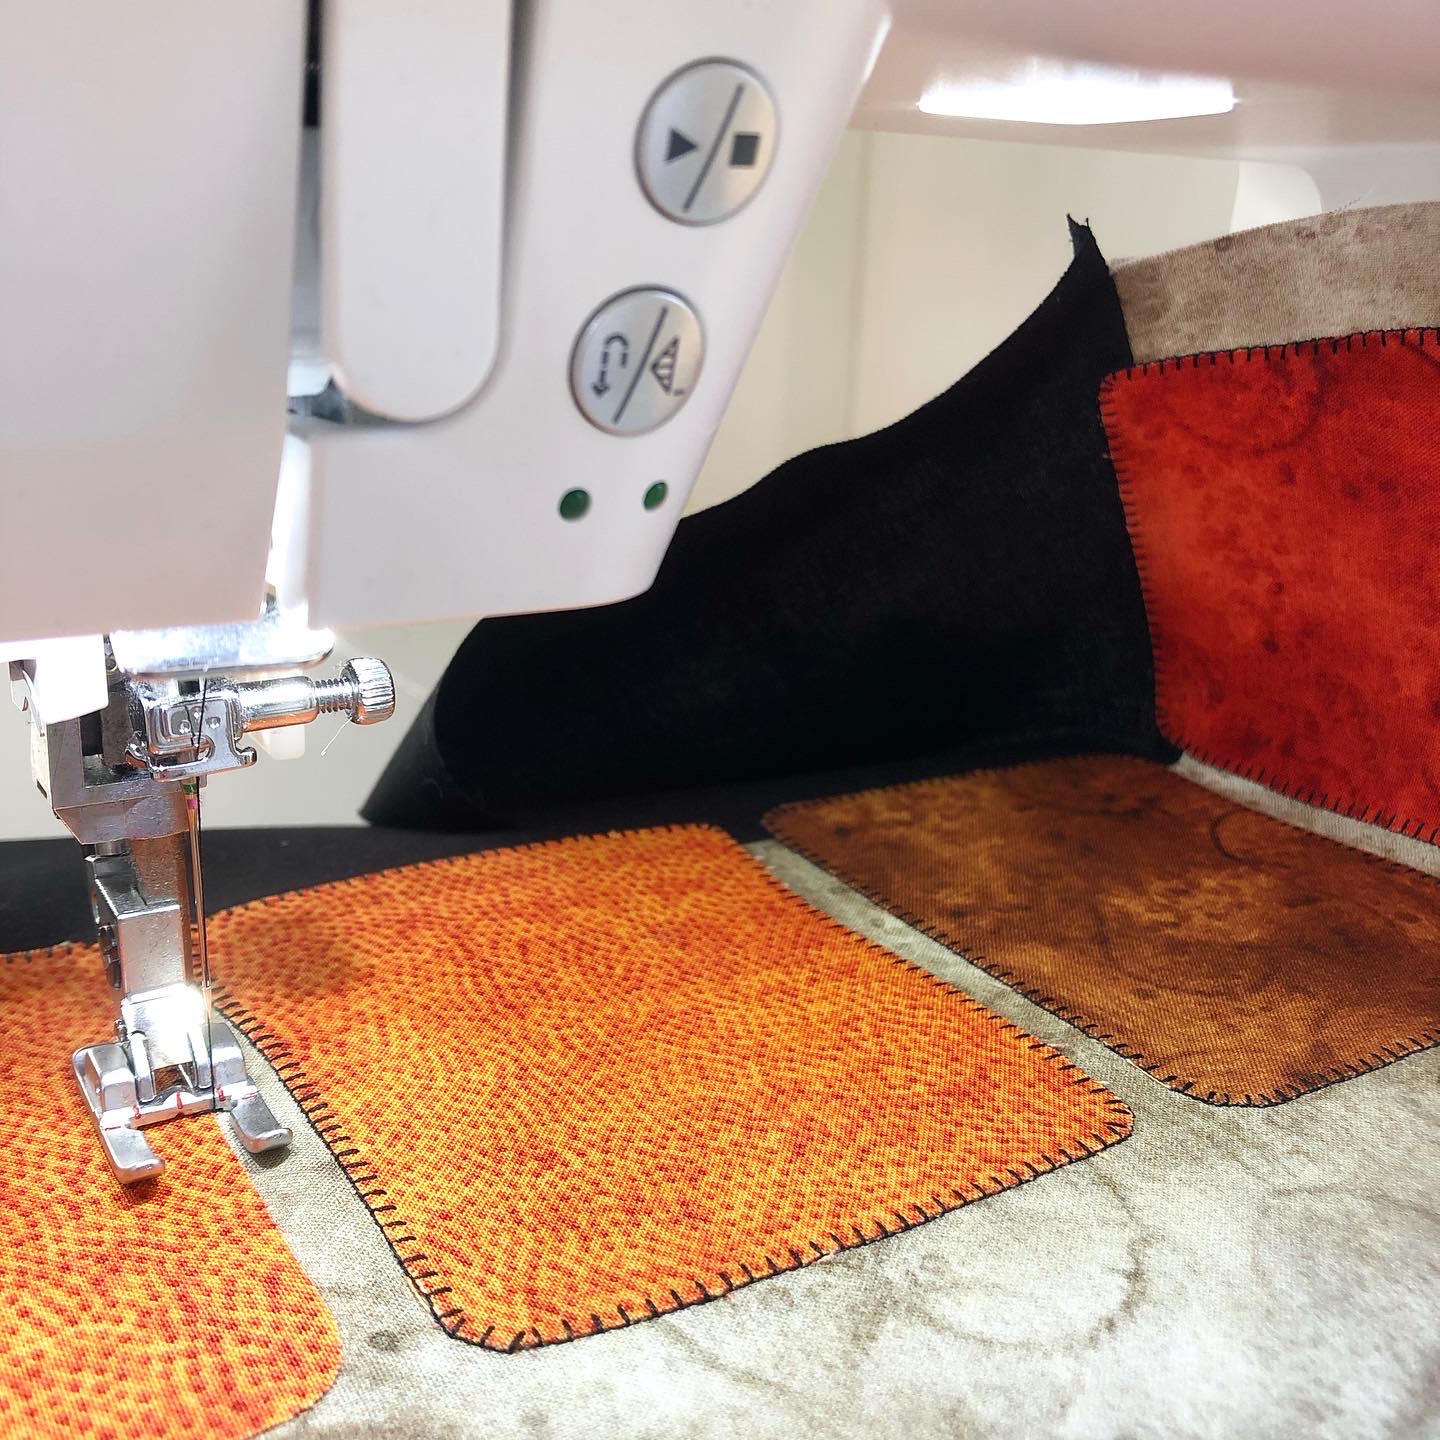
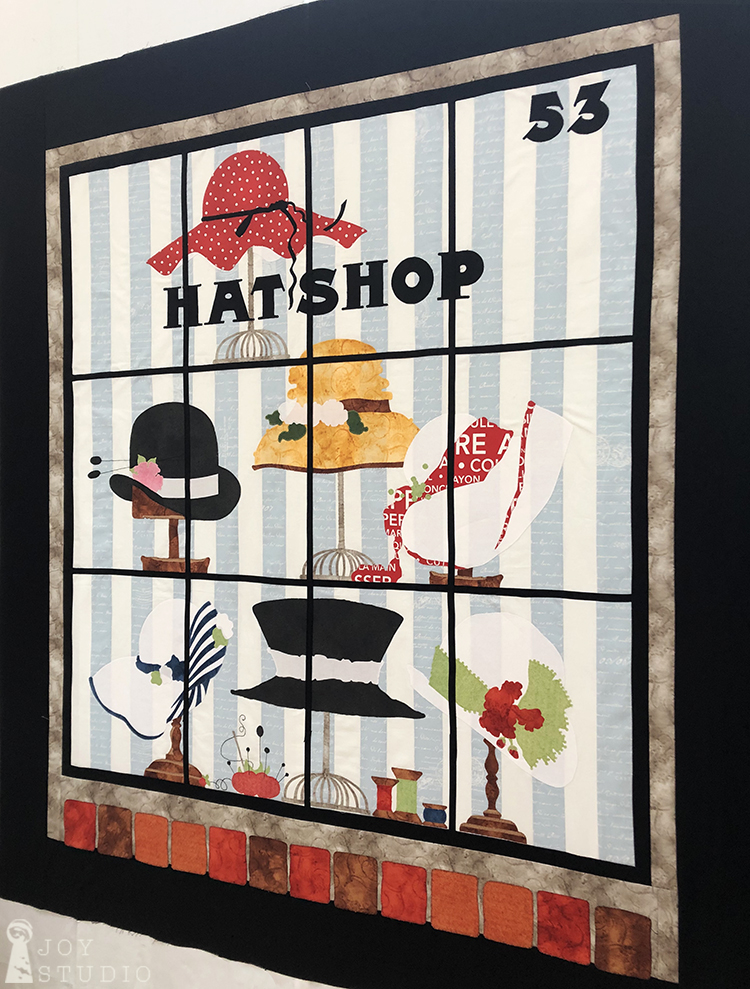
Because I did not want to stitch around the appliquéd bricks after the borders were added to the quilt top, I simply strip pieced both of the borders together to treat the entire unit as the bottom border. Then I arranged the bricks (omitting one) making up the window sill approximately 1/4″ or so apart, evenly to fit directly under the black inner border. When I was satisfied with the placement, I fused the bricks to the gray and black unit, overlapping the seam slightly. This made stitching down the bricks much easier to manage than turning the entire quilt. I did however, stray from the pattern a bit. As you can see, the brick window ledge was confined to the bottom border only. You can choose to add two more bricks, one on each end after you add your side borders. I plan to do this as I show in the last photo in the segment below.
•
If you made it through the Hat Shop SAL, be proud of yourself! I was, and also quite surprised. This was a very intimidating challenge for me but I pushed through and learned much by making this project. Now my top is off to the quilter and I will share the finished piece with you soon.
Instagram @jweckerfrisch
Facebook Joy Studio
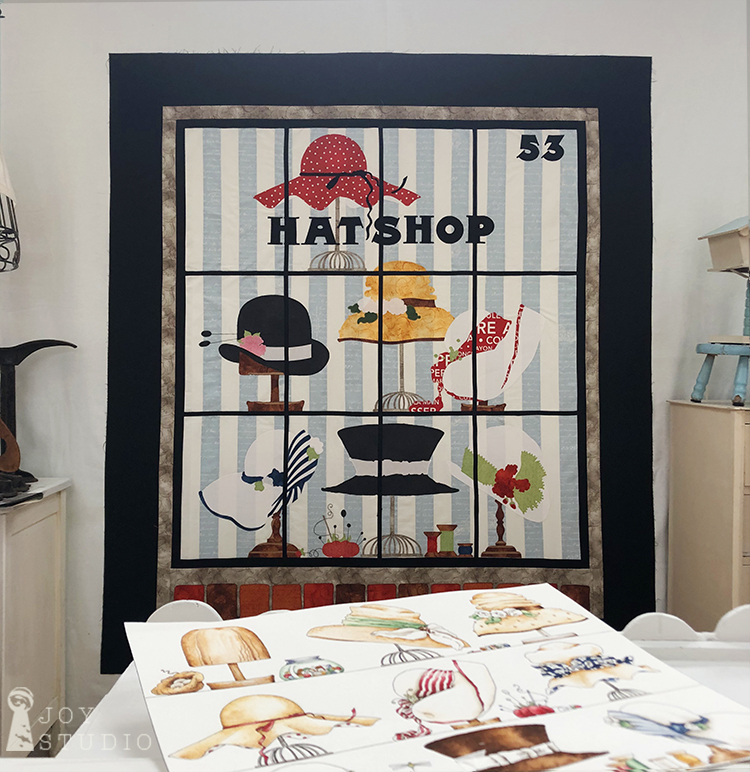
From ART to APPLIQUÉ.
Thanks for following and hopefully, sewing-a-long.
So long, for now.

by Great Joy Studio | Feb 18, 2020 | Quilting & Fabric
Hello Hatters!
We are coming into the Hat Shop home stretch now!!
Hopefully all of your blocks are fused, sewn down to secure your appliqué and you have added any embellishments or fancy stitching details that you care to create. Assuming this is the case, lets assemble your blocks.
•
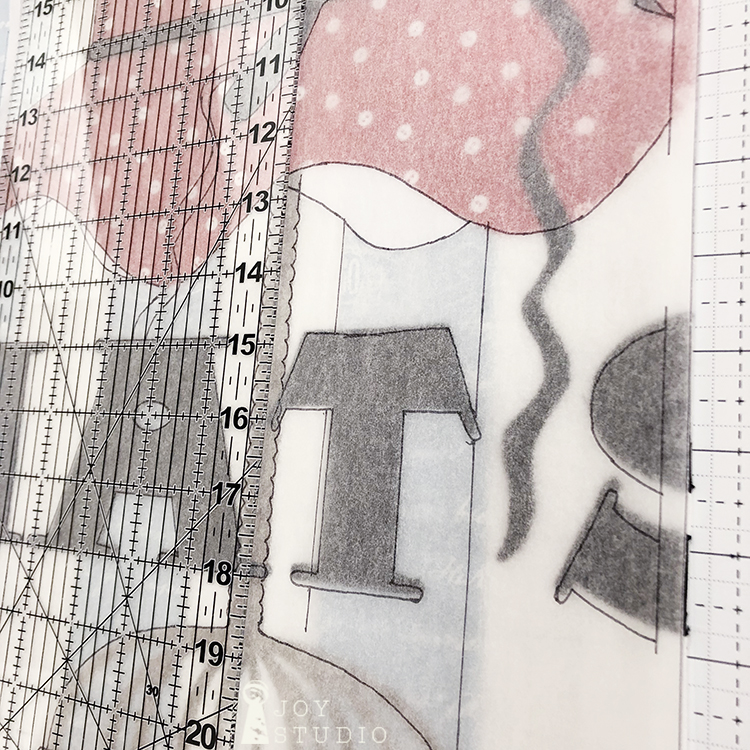
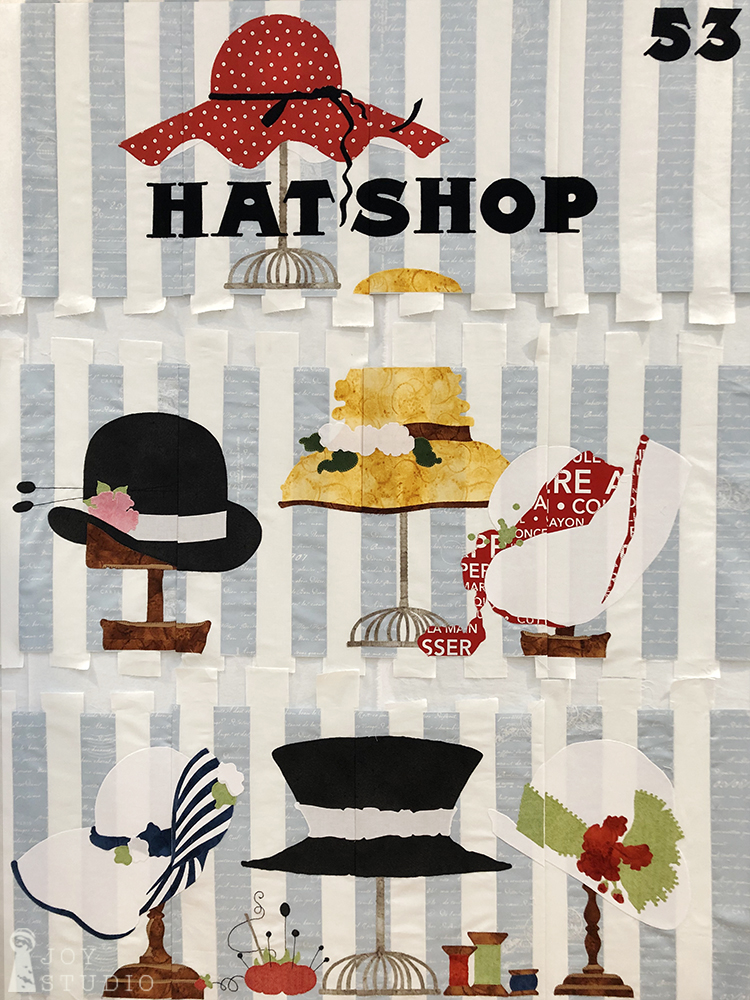
Trimming the windowpane blocks.
Using your tracings that we made in Week 2, lay over each block one at a time. I started in row one and worked my way down. Carefully match your line drawing to your appliqué beneath and trim two sides (only) on the solid lines previously marked using the pattern. This was a scary step however, if you followed the pattern closely, items will meet up fairly well. So, trim all of your block sides in row one, then two and finally row three.

•
Sew each row together.
Once all four blocks in any given row are trimmed on each side (only), stitch the blocks together using a 1/4″ seam allowance. Peek underneath each one in an attempt to meet your corresponding appliqué pieces and then pin.

•
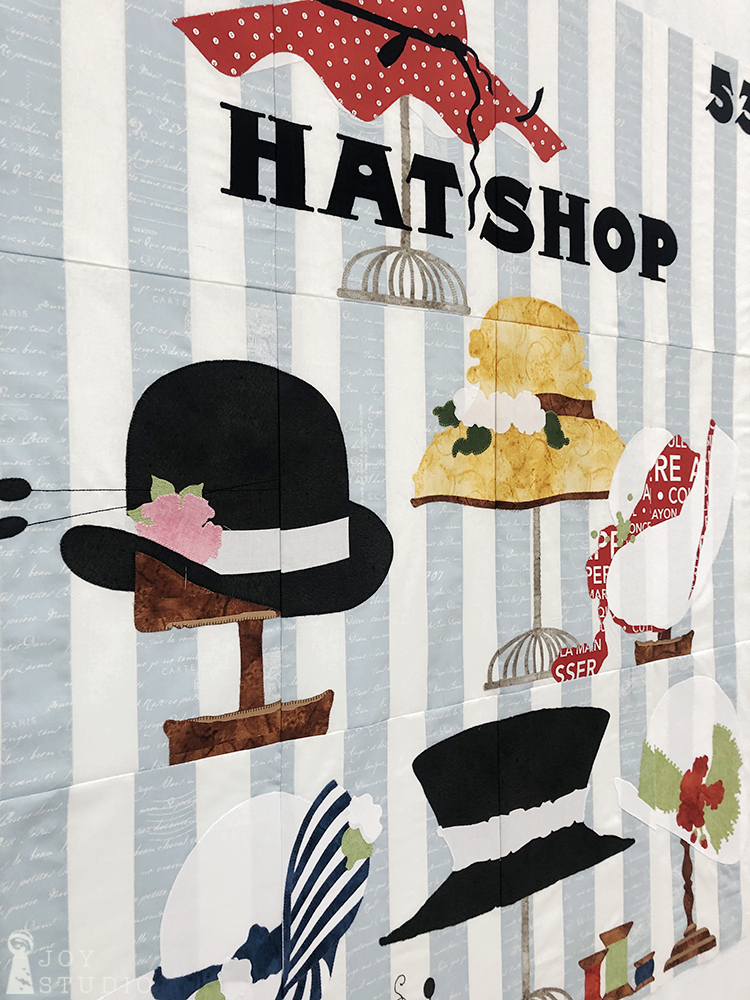
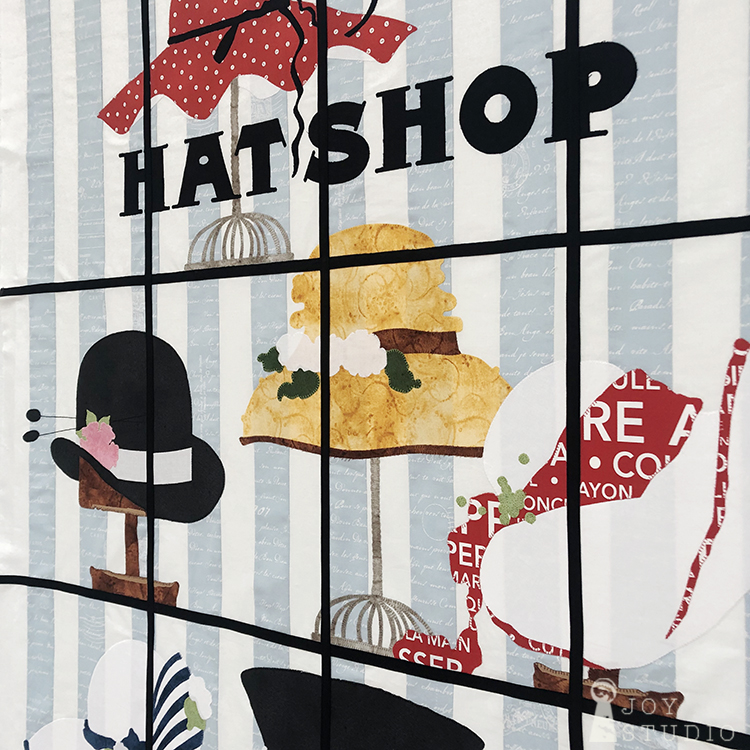
Your sewn rows will look something like the photos below.


•
As you can see, mine are not perfect, not even sewn the same on each side however, two things I kept in mind as I pushed forward.
1) The window mullions will cover my seams and conceal any obvious errors.
2) I recently heard or read Jenny Doan remark, “finished is better than perfect.”
•
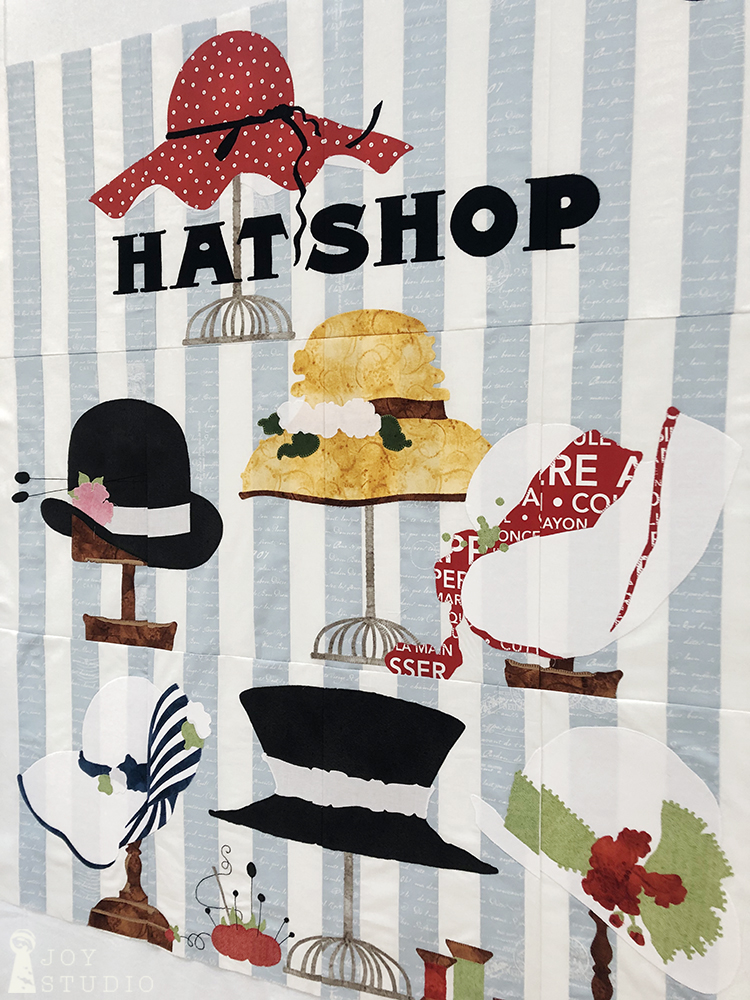
Next we trim again, top and bottom of each row. I wanted to see how my images lined up horizontally first so this is my suggestion. My rows ended up trimming to 16.5″ high, although the pattern cut line was at 17″. After you trim each row it’s time to attempt to match up the yellow hat appliqué and also the vertical background stripes. My primary focus was on the latter.
•
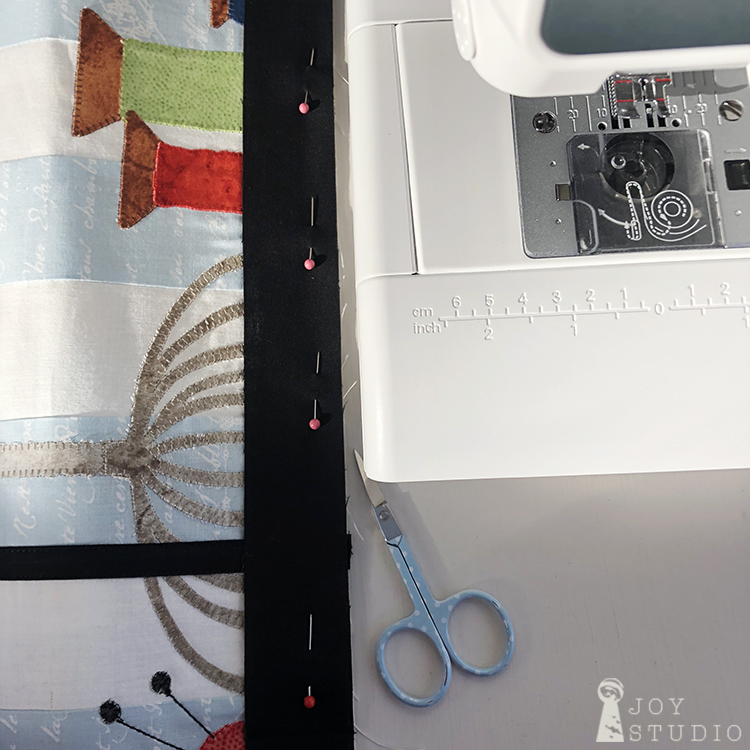
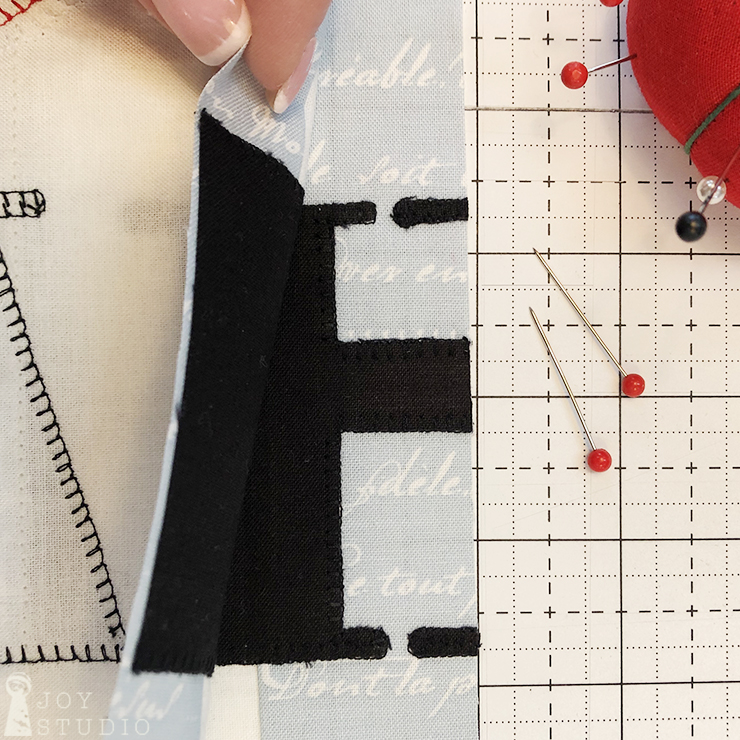
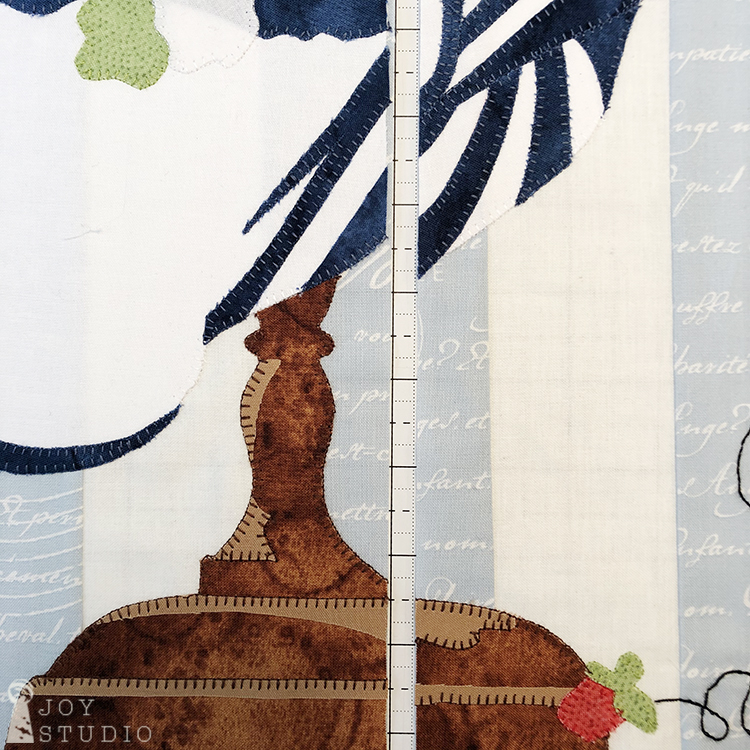
Making the window mullions.
We used Riley Blake Designs Confetti Cotton in black for the windowpane dividers. I did not have a half inch bias tape maker so I used the one just under. I cut six 7/8″ – 1″ strips selvage to selvage, not on the bias! We do not want these to stretch. Then I made my folded strips and pressed a double sided fusible tape on the back in which to cover my seams.

•
Next, press on your strips across the two horizontal seams. Then stitch the edges using a straight or decorative stitch.
Repeat the same for the three vertical dividers. I used the extra strip to piece the vertical strips as they were about 7- 9″ shy.


•
This sounds like a lot but really, it goes very quickly. In fact I’m sure that most of you will complete week 5 in a day! I did!!
•
Next week, the borders and bricks. It will also wind up our sew-a-long.
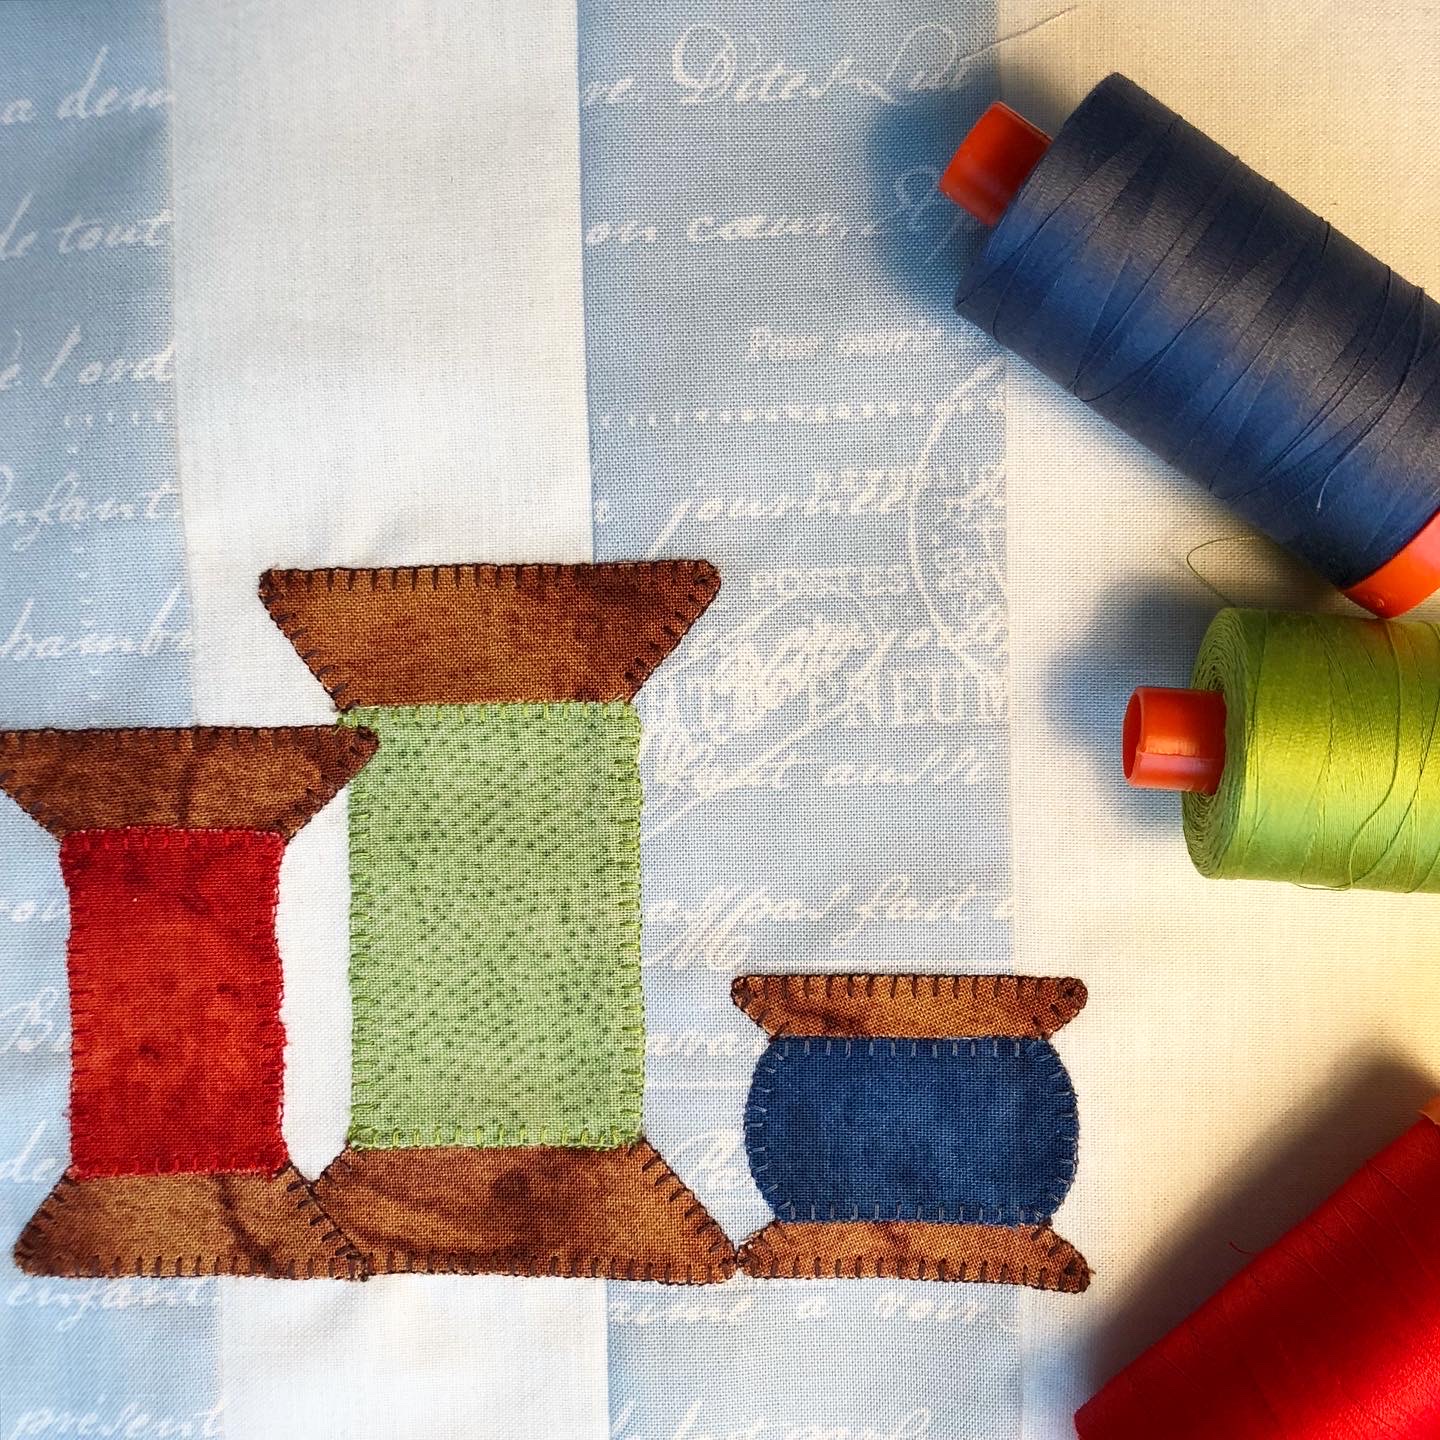
If any of you would still like the BONUS hat, spools and button pattern, SHOW us your progress using #hatshopsewalong on your social media and leave me a comment or email. We’ll send just let us know:
janet@greatjoystudio.com
•

