

•
Hat Shop Sew-A-Long, last post.
Adding your borders is all that is left to do!
This can be done in a couple of different ways however, I will only be describing how I actually, chose to finish this quilt.
Borders.
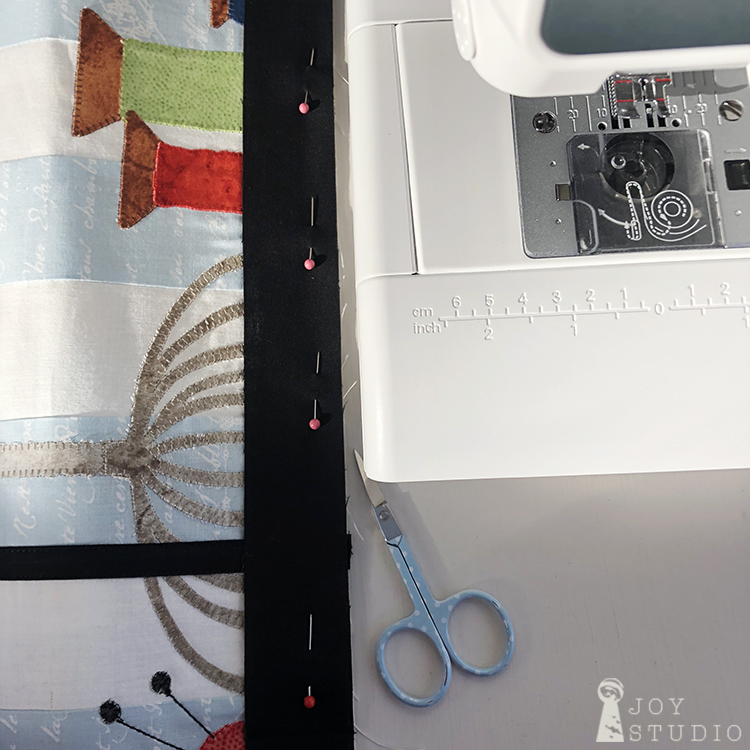
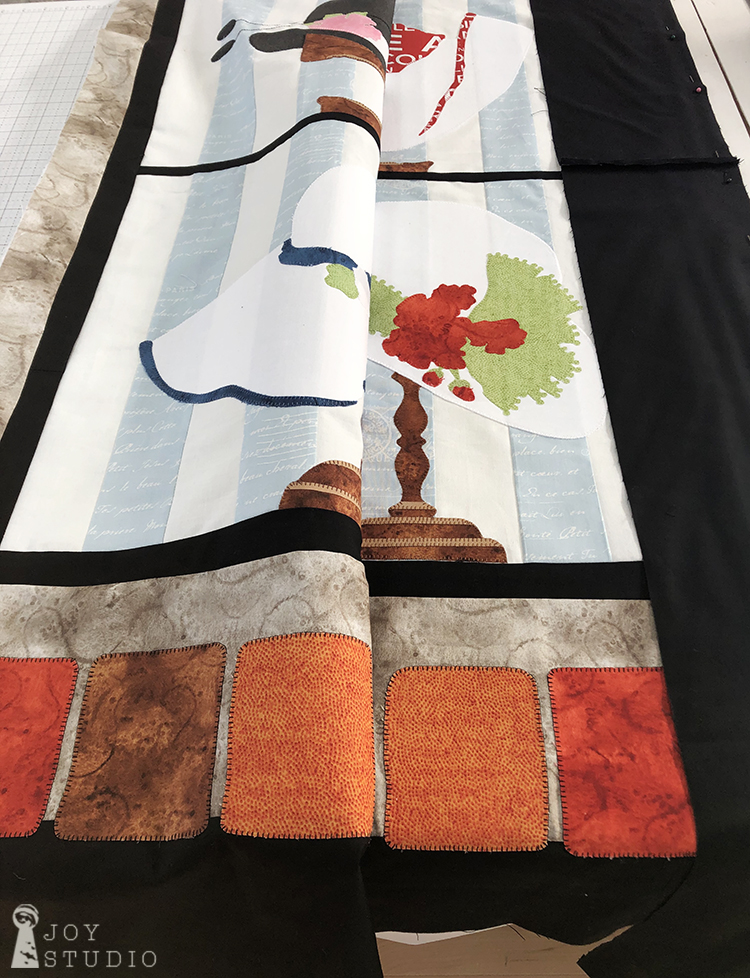
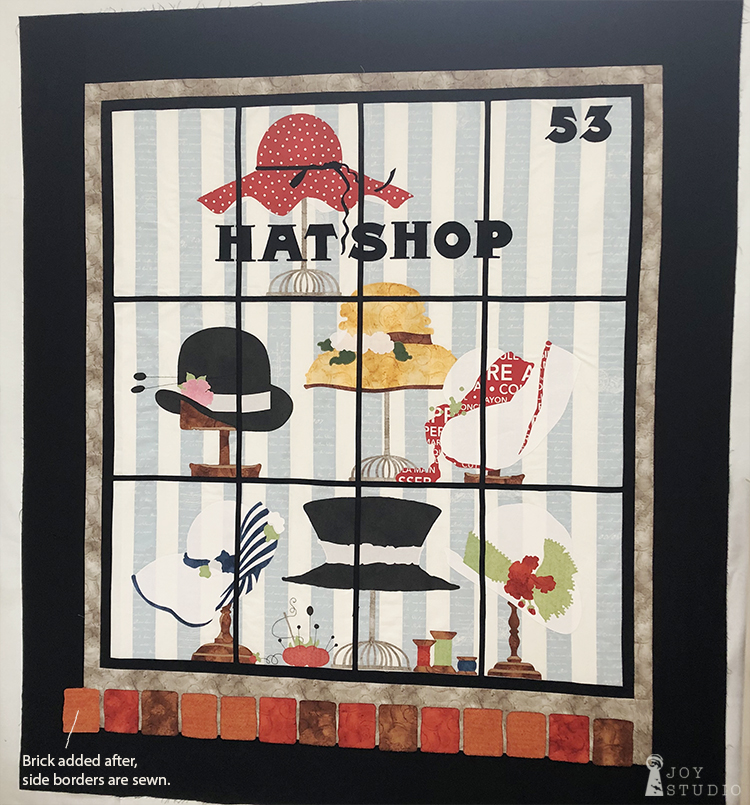
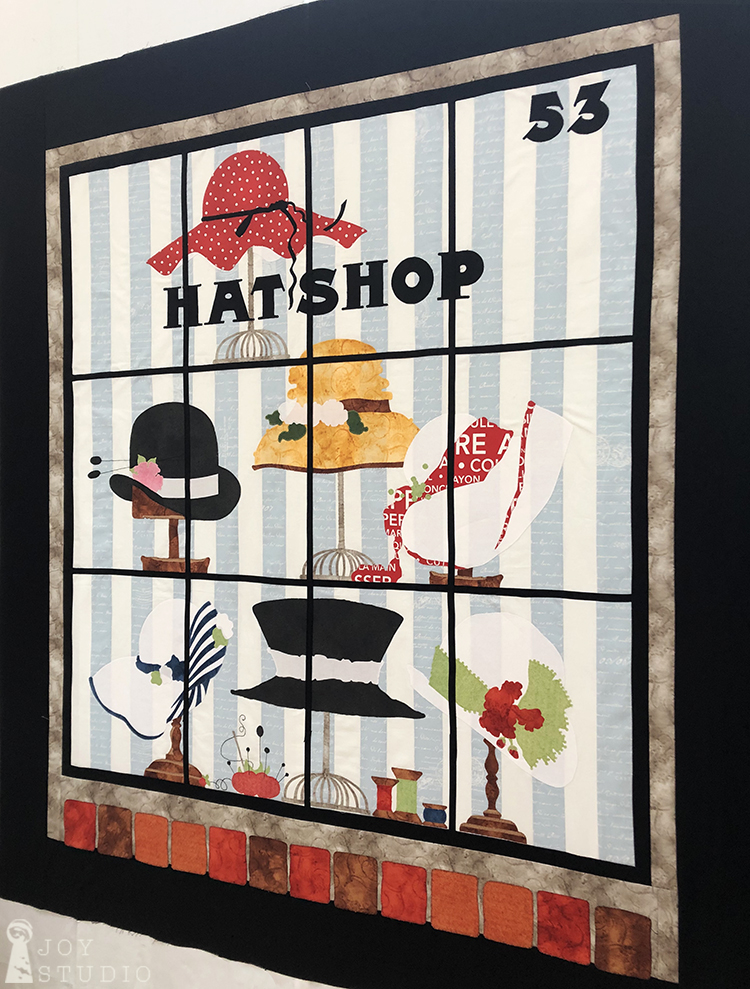
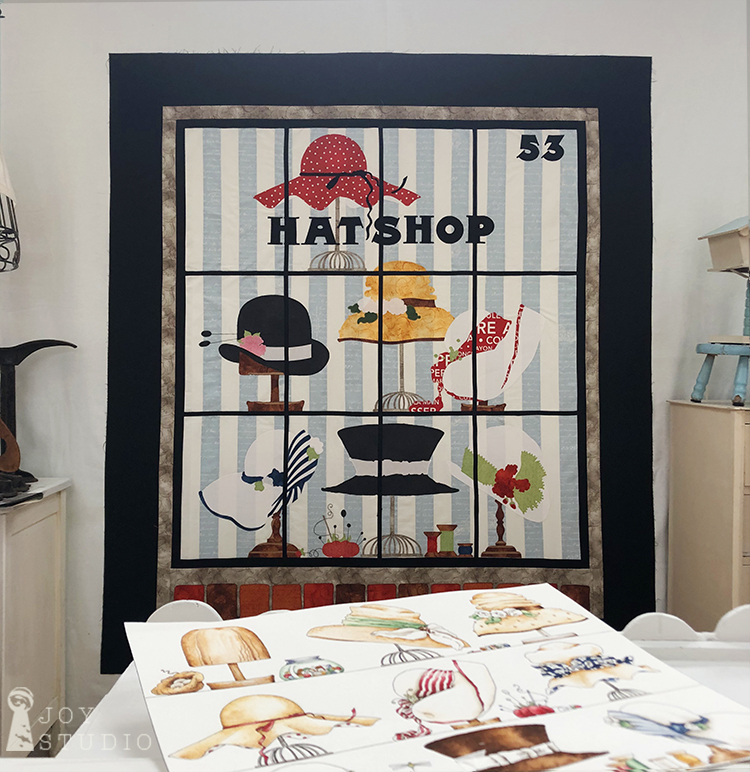
First up, the inner 1″ (finish size) black border. Make sure that your window blocks are squared up by trimming, measuring and placing your tracings over them before you add this border. Pay special attention to you last row of blocks so that all of the items will appear to be sitting on the bottom shelf of your window. It was necessary for me to trim mine about 1/2″. Then pin and sew with your 1/4″ seam.
•
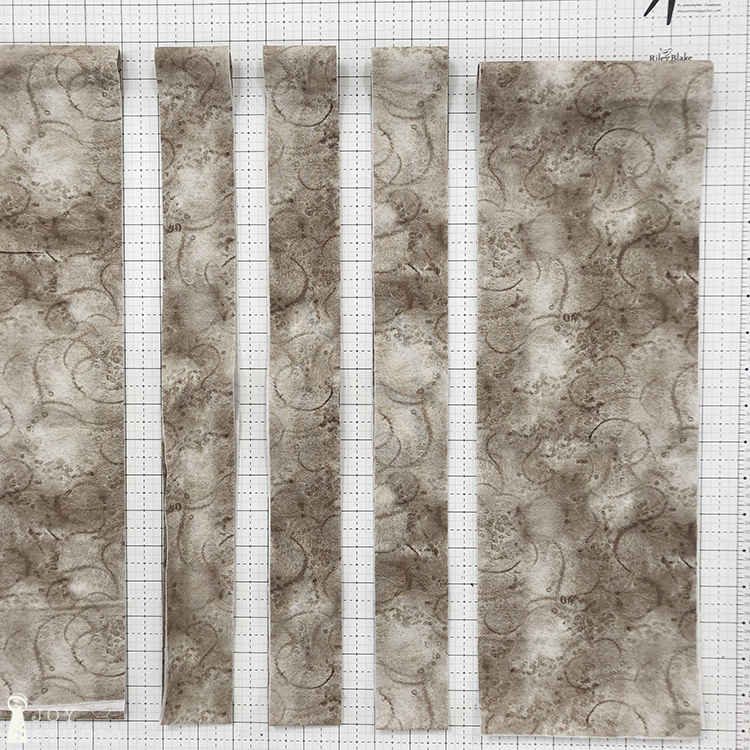
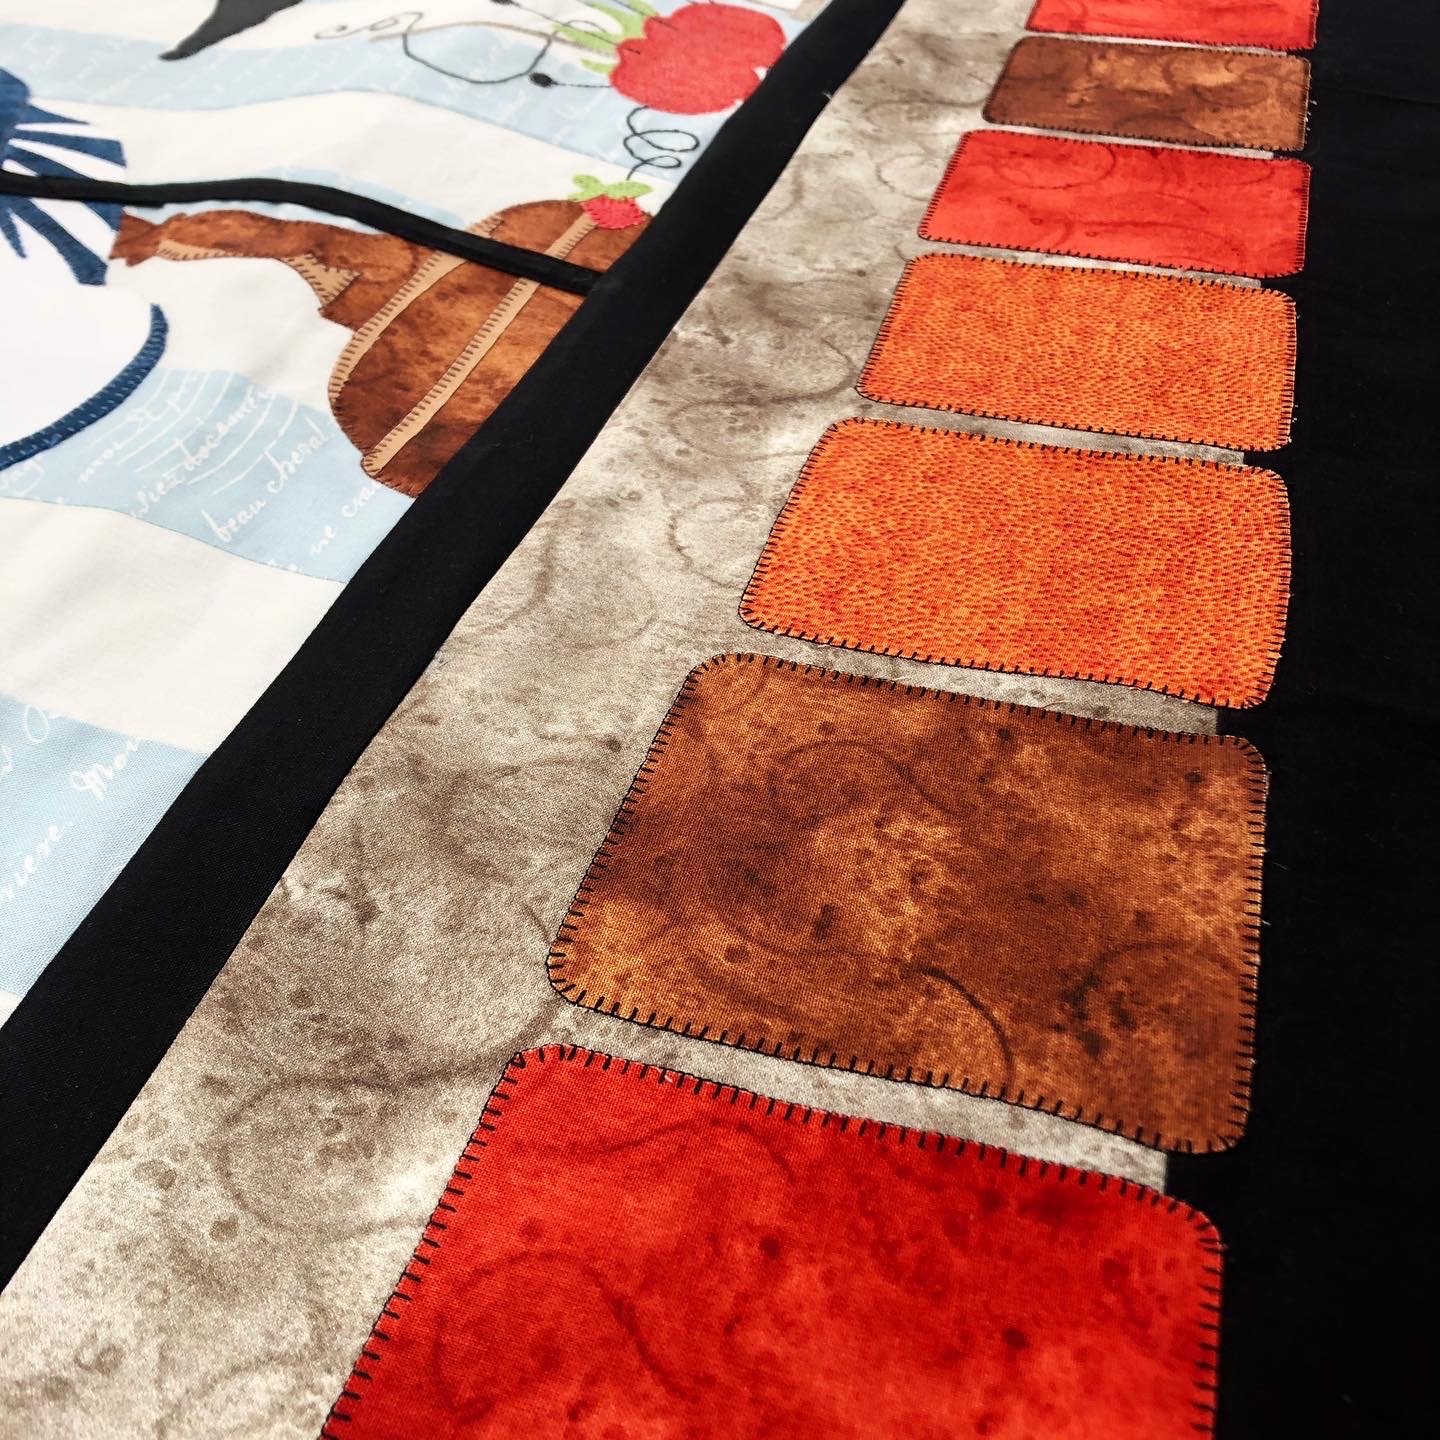
Secondly sew on your gray borders to three sides. Top, right and left. I cut them 2″ for an inch and a half finish.

•
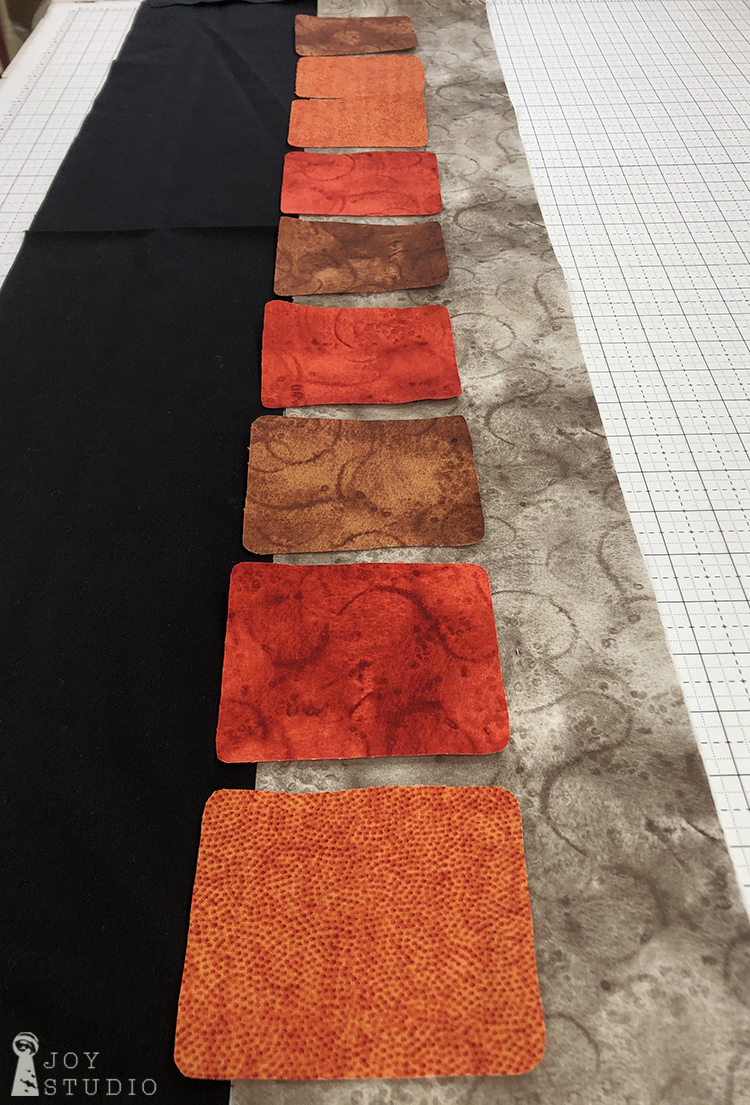
Bottom border.
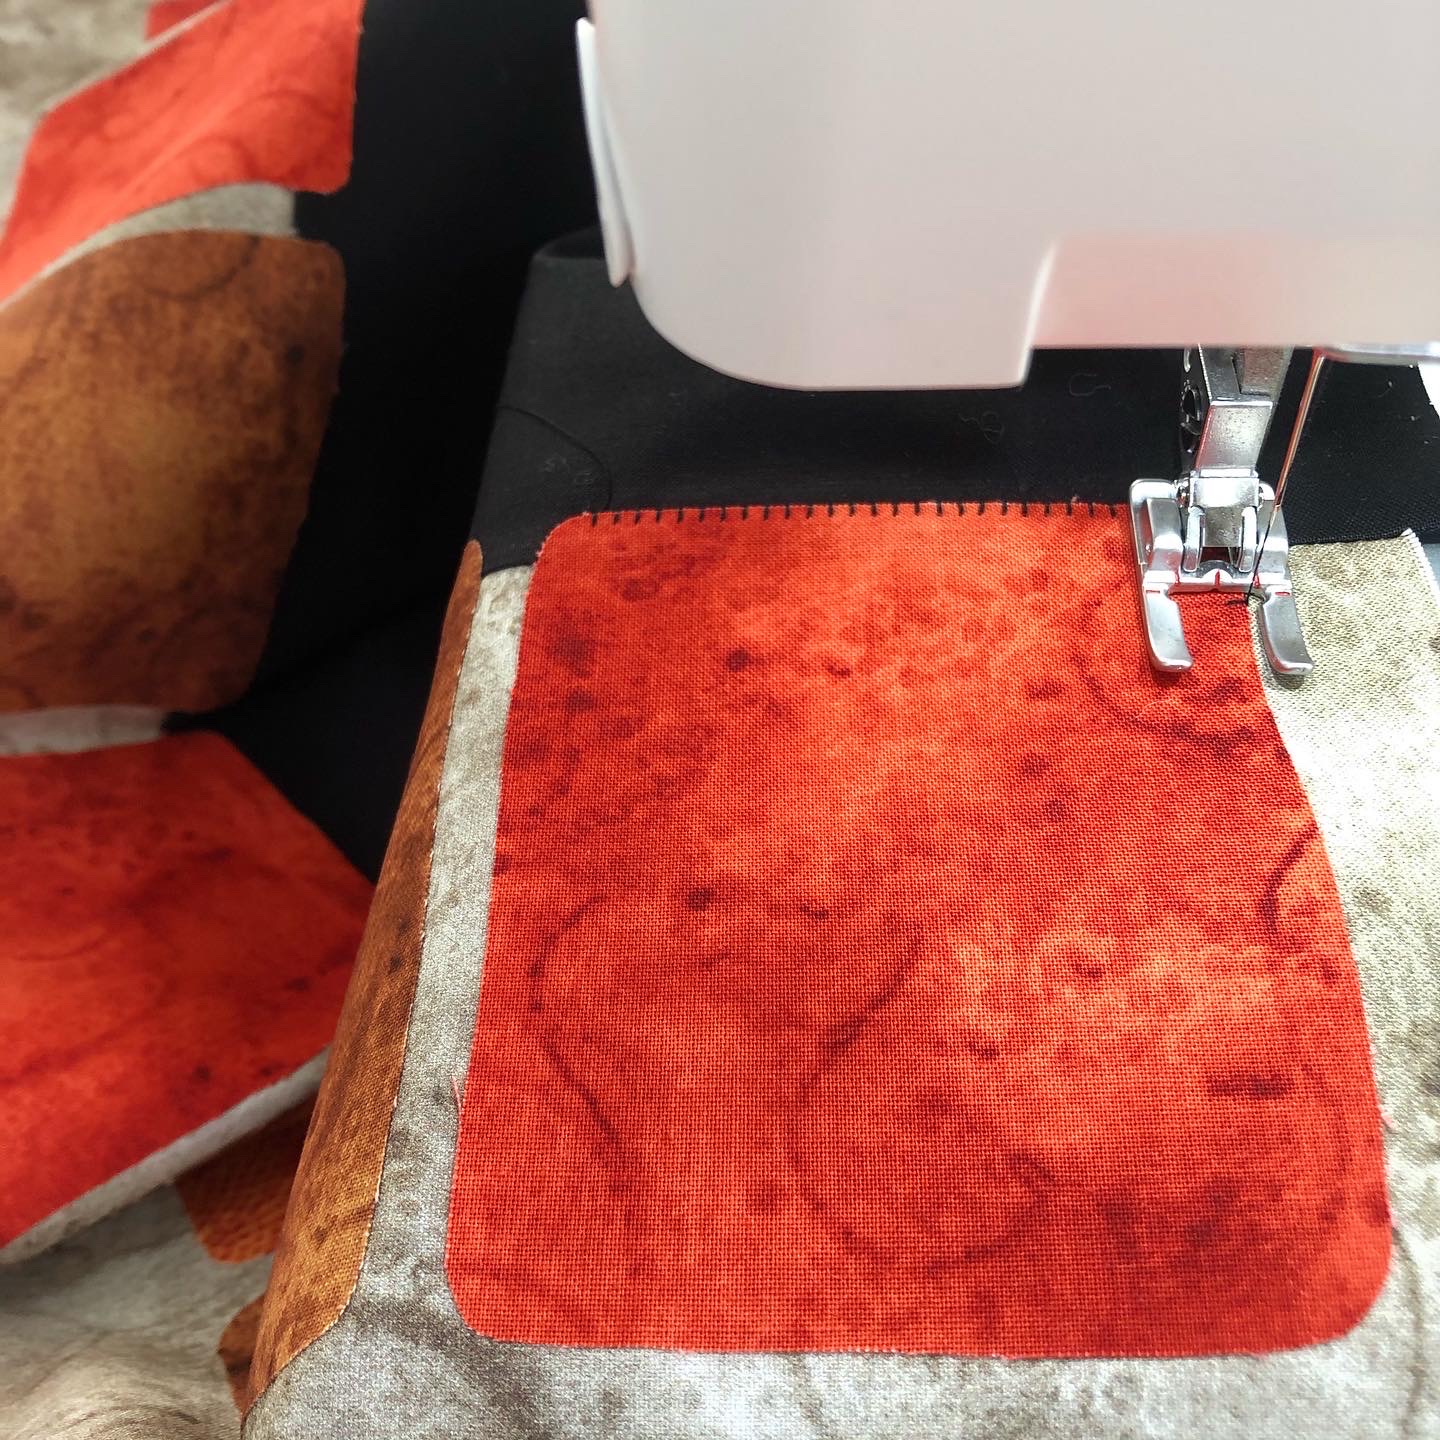
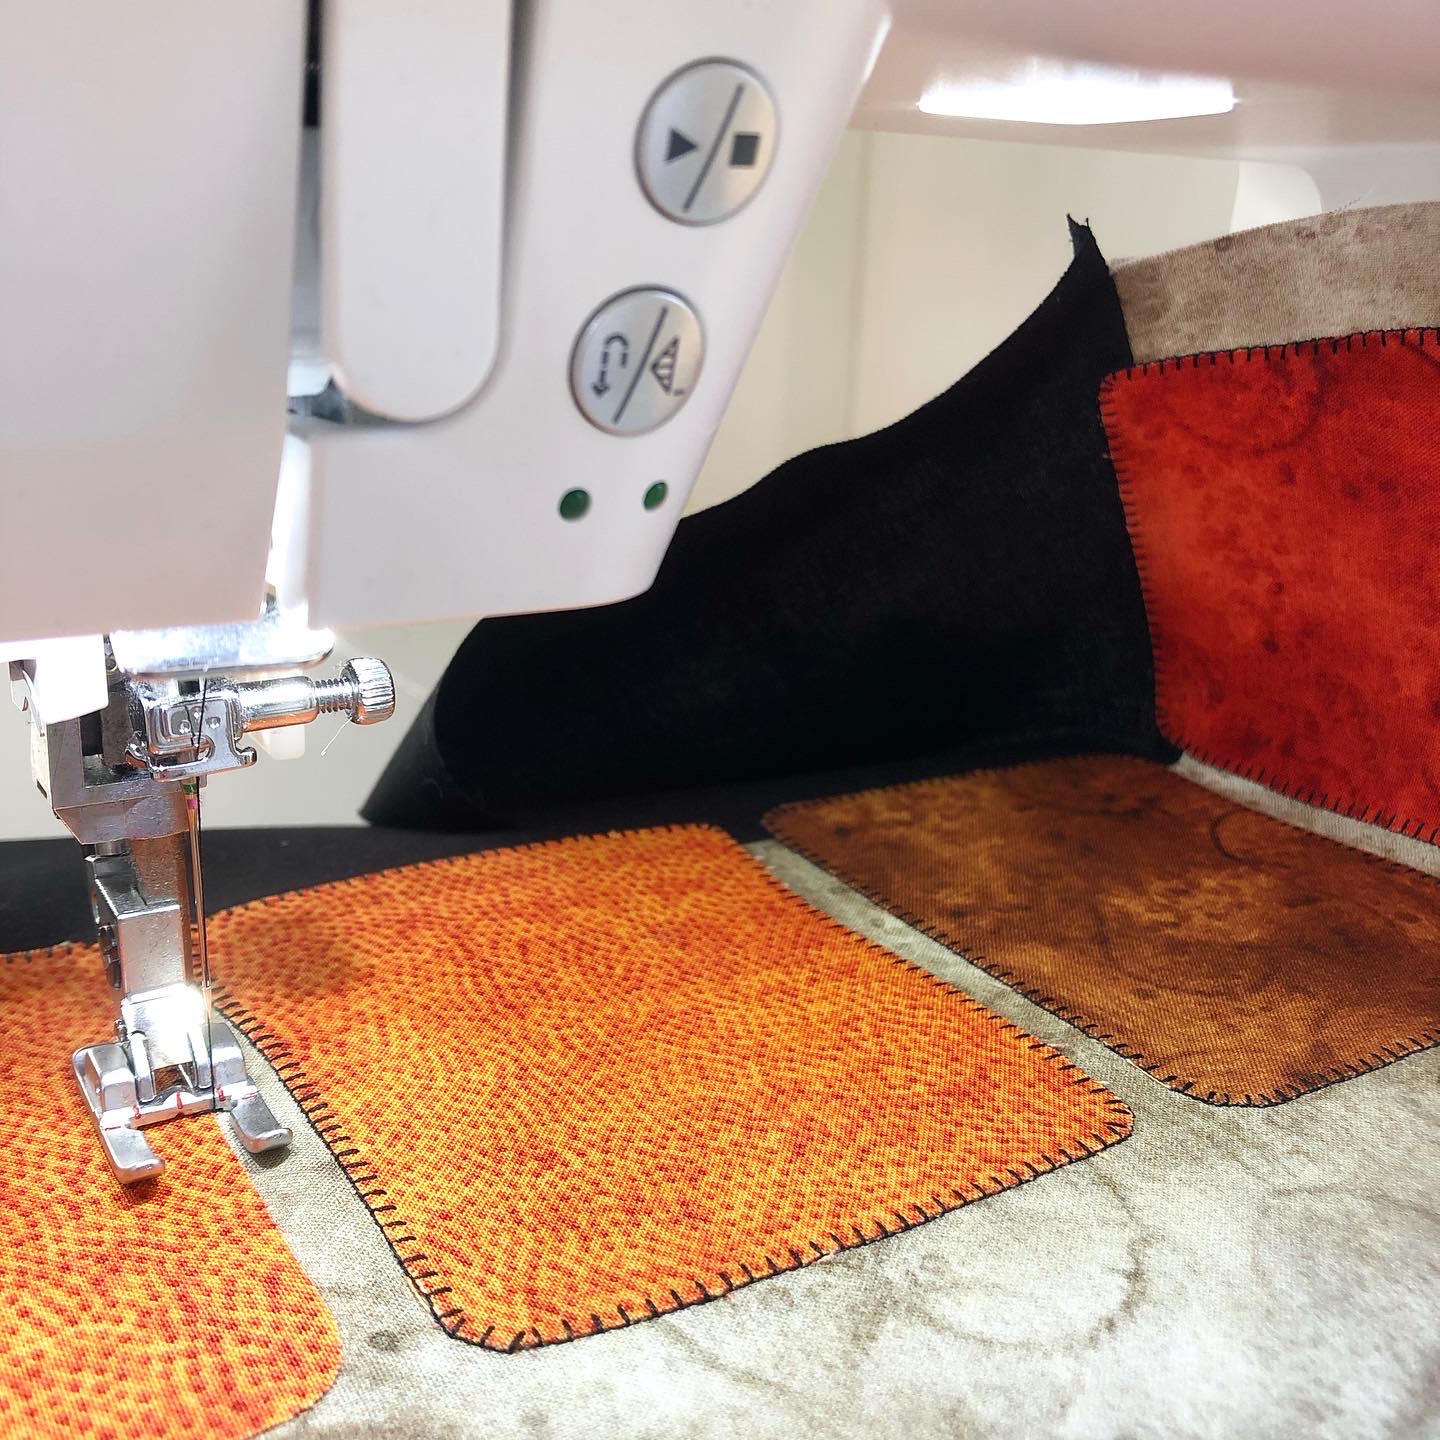
Because I did not want to stitch around the appliquéd bricks after the borders were added to the quilt top, I simply strip pieced both of the borders together to treat the entire unit as the bottom border. Then I arranged the bricks (omitting one) making up the window sill approximately 1/4″ or so apart, evenly to fit directly under the black inner border. When I was satisfied with the placement, I fused the bricks to the gray and black unit, overlapping the seam slightly. This made stitching down the bricks much easier to manage than turning the entire quilt. I did however, stray from the pattern a bit. As you can see, the brick window ledge was confined to the bottom border only. You can choose to add two more bricks, one on each end after you add your side borders. I plan to do this as I show in the last photo in the segment below.
•
If you made it through the Hat Shop SAL, be proud of yourself! I was, and also quite surprised. This was a very intimidating challenge for me but I pushed through and learned much by making this project. Now my top is off to the quilter and I will share the finished piece with you soon.
Instagram @jweckerfrisch
Facebook Joy Studio
From ART to APPLIQUÉ.
Thanks for following and hopefully, sewing-a-long.
So long, for now.


Wow! It’s beautiful!
It’s lovely!…..🙋🏼♀️🌻