Hello Hatters!
We are coming into the Hat Shop home stretch now!!
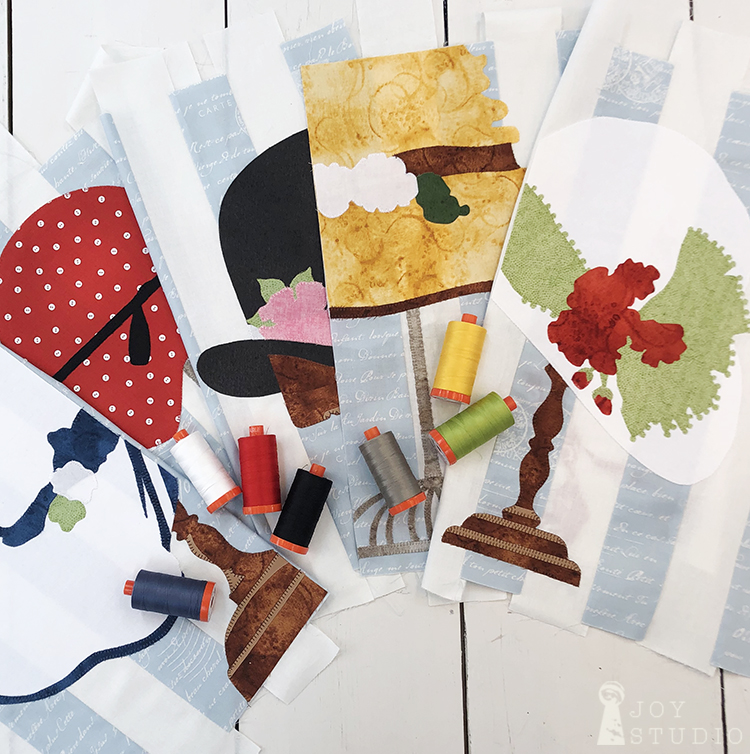
Hopefully all of your blocks are fused, sewn down to secure your appliqué and you have added any embellishments or fancy stitching details that you care to create. Assuming this is the case, lets assemble your blocks.
•
Trimming the windowpane blocks.
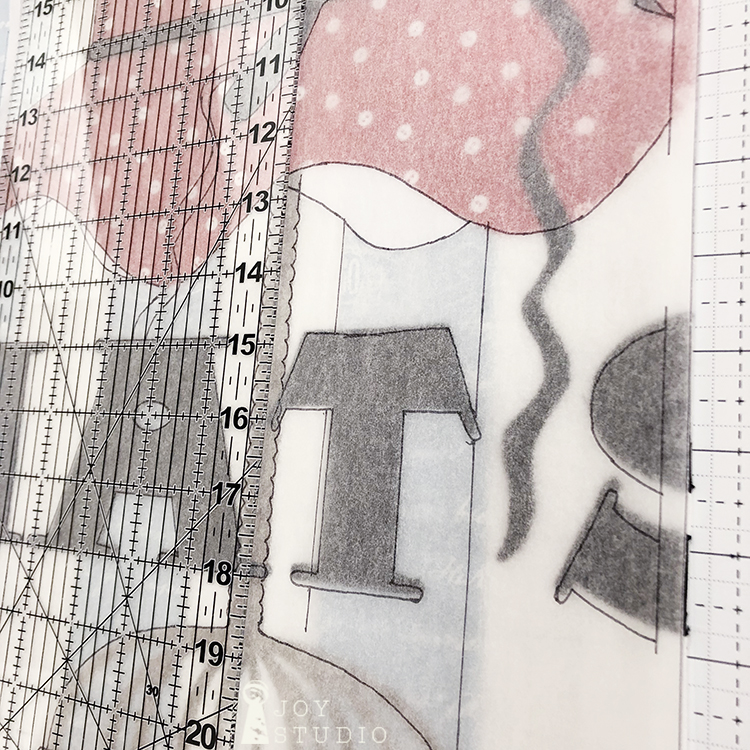
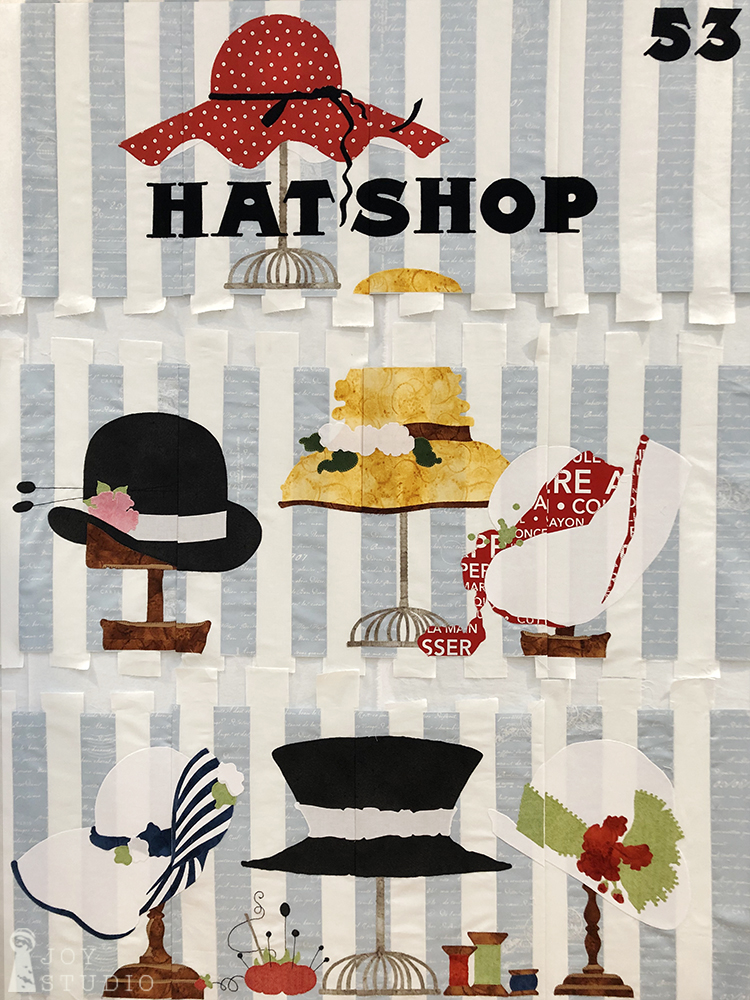
Using your tracings that we made in Week 2, lay over each block one at a time. I started in row one and worked my way down. Carefully match your line drawing to your appliqué beneath and trim two sides (only) on the solid lines previously marked using the pattern. This was a scary step however, if you followed the pattern closely, items will meet up fairly well. So, trim all of your block sides in row one, then two and finally row three.
•
Sew each row together.
Once all four blocks in any given row are trimmed on each side (only), stitch the blocks together using a 1/4″ seam allowance. Peek underneath each one in an attempt to meet your corresponding appliqué pieces and then pin.
•
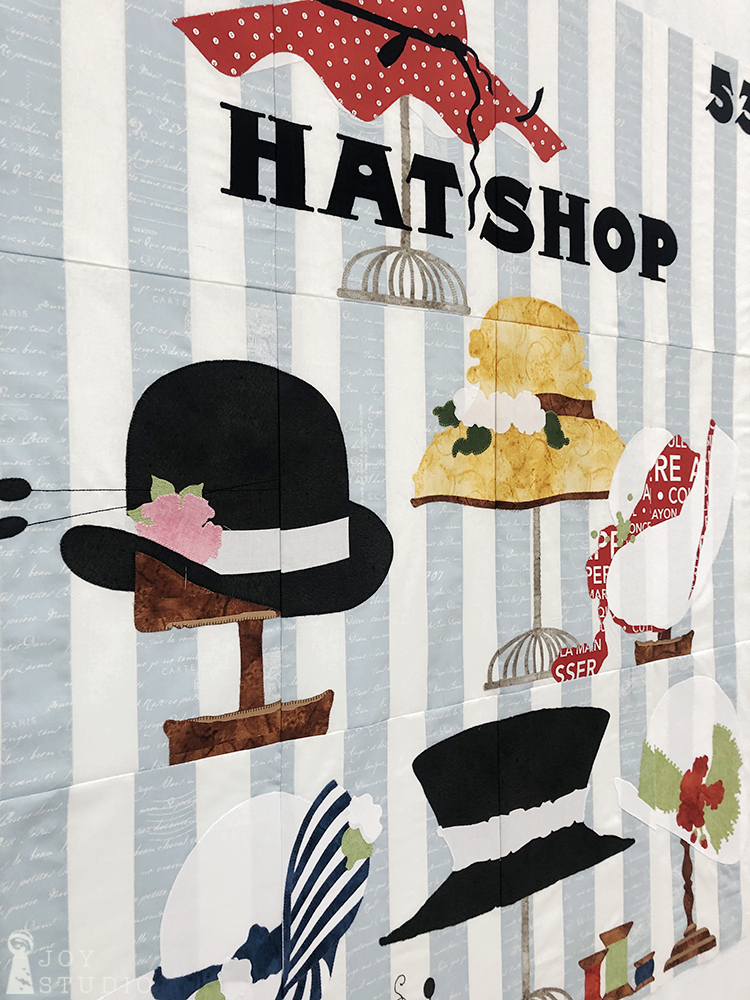
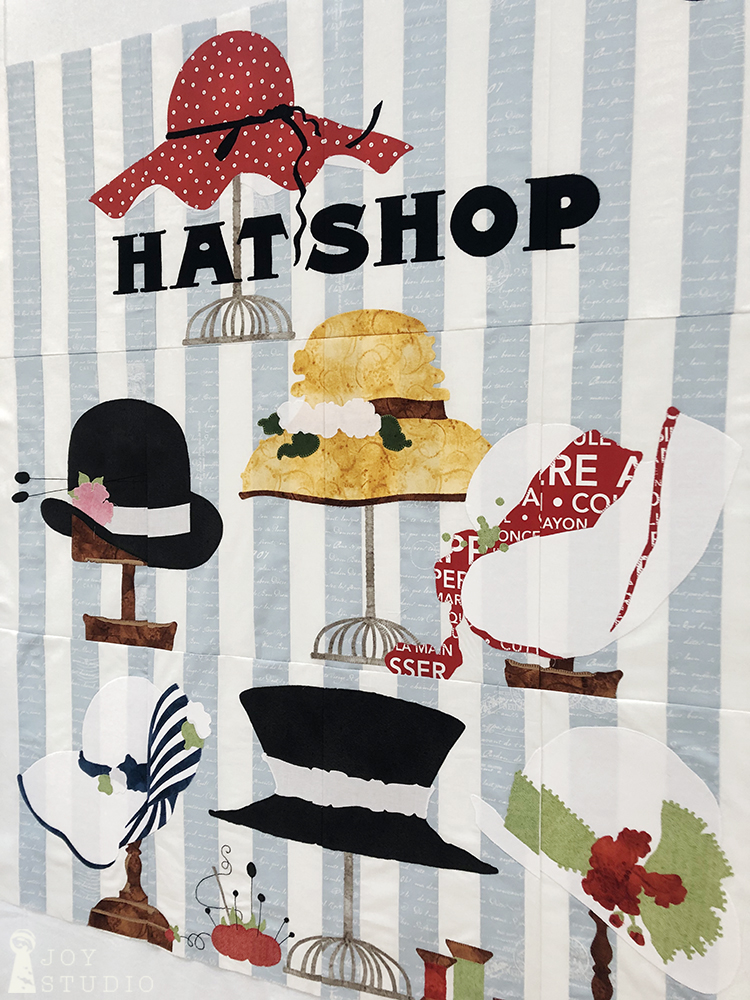
Your sewn rows will look something like the photos below.
•
As you can see, mine are not perfect, not even sewn the same on each side however, two things I kept in mind as I pushed forward.
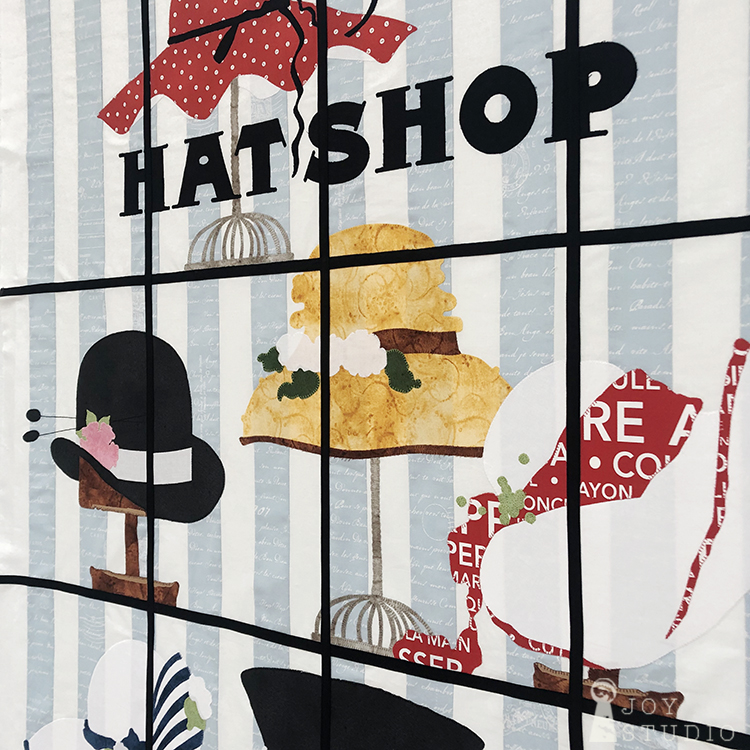
1) The window mullions will cover my seams and conceal any obvious errors.
2) I recently heard or read Jenny Doan remark, “finished is better than perfect.”
•
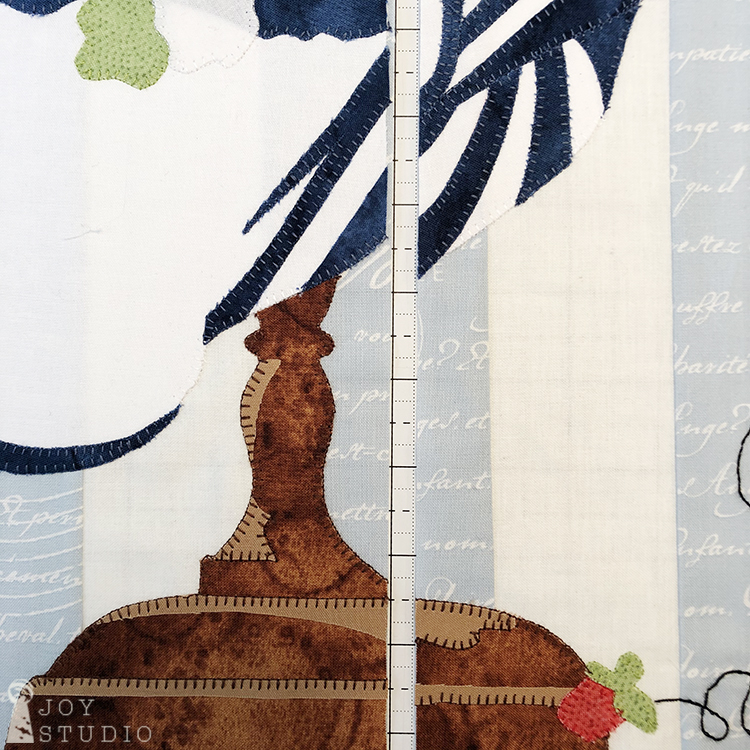
Next we trim again, top and bottom of each row. I wanted to see how my images lined up horizontally first so this is my suggestion. My rows ended up trimming to 16.5″ high, although the pattern cut line was at 17″. After you trim each row it’s time to attempt to match up the yellow hat appliqué and also the vertical background stripes. My primary focus was on the latter.
•
Making the window mullions.
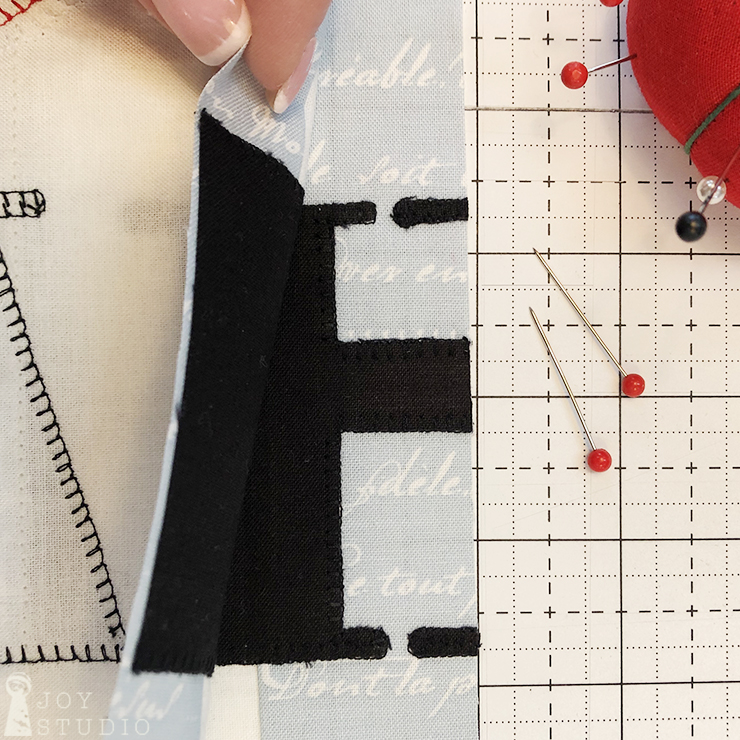
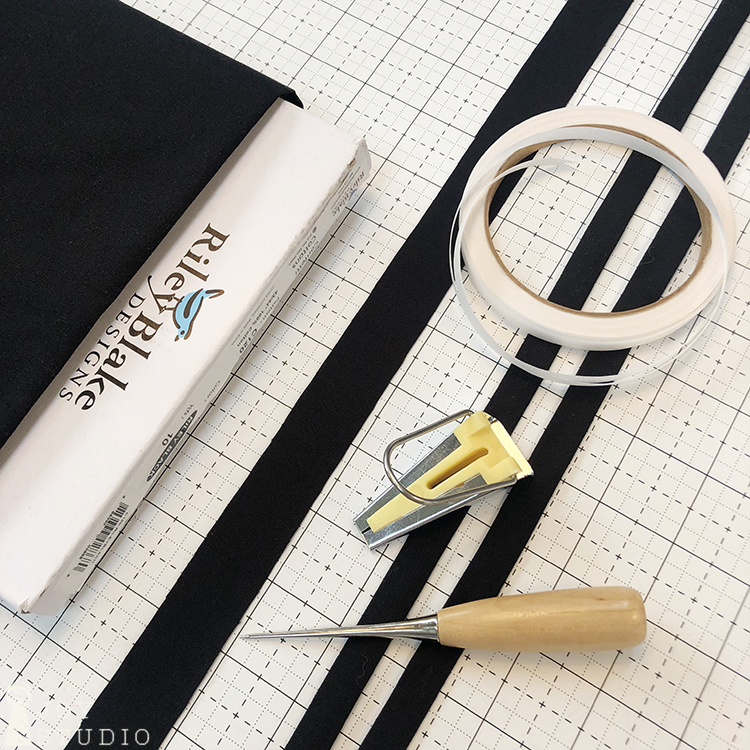
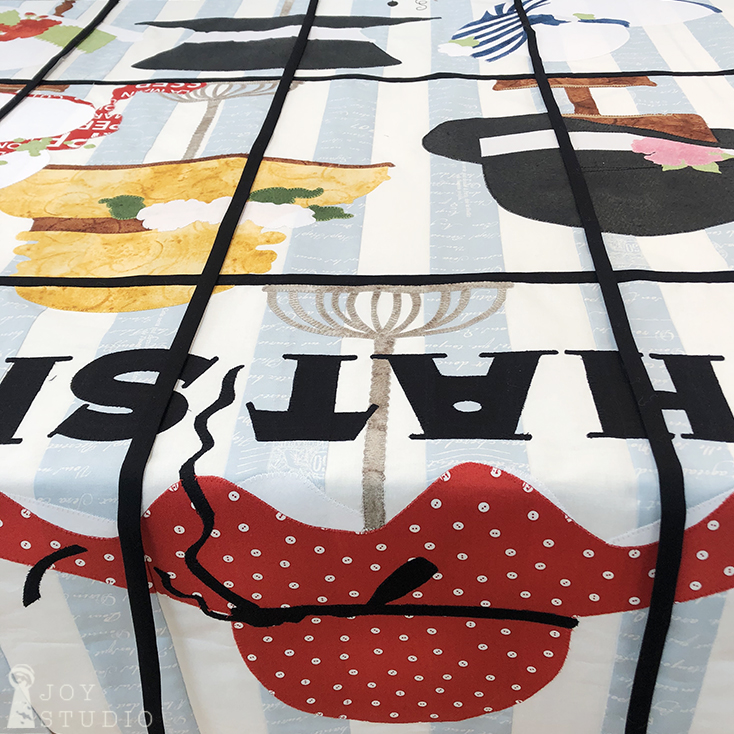
We used Riley Blake Designs Confetti Cotton in black for the windowpane dividers. I did not have a half inch bias tape maker so I used the one just under. I cut six 7/8″ – 1″ strips selvage to selvage, not on the bias! We do not want these to stretch. Then I made my folded strips and pressed a double sided fusible tape on the back in which to cover my seams.
•
Next, press on your strips across the two horizontal seams. Then stitch the edges using a straight or decorative stitch.
Repeat the same for the three vertical dividers. I used the extra strip to piece the vertical strips as they were about 7- 9″ shy.
•
This sounds like a lot but really, it goes very quickly. In fact I’m sure that most of you will complete week 5 in a day! I did!!
•
Next week, the borders and bricks. It will also wind up our sew-a-long.
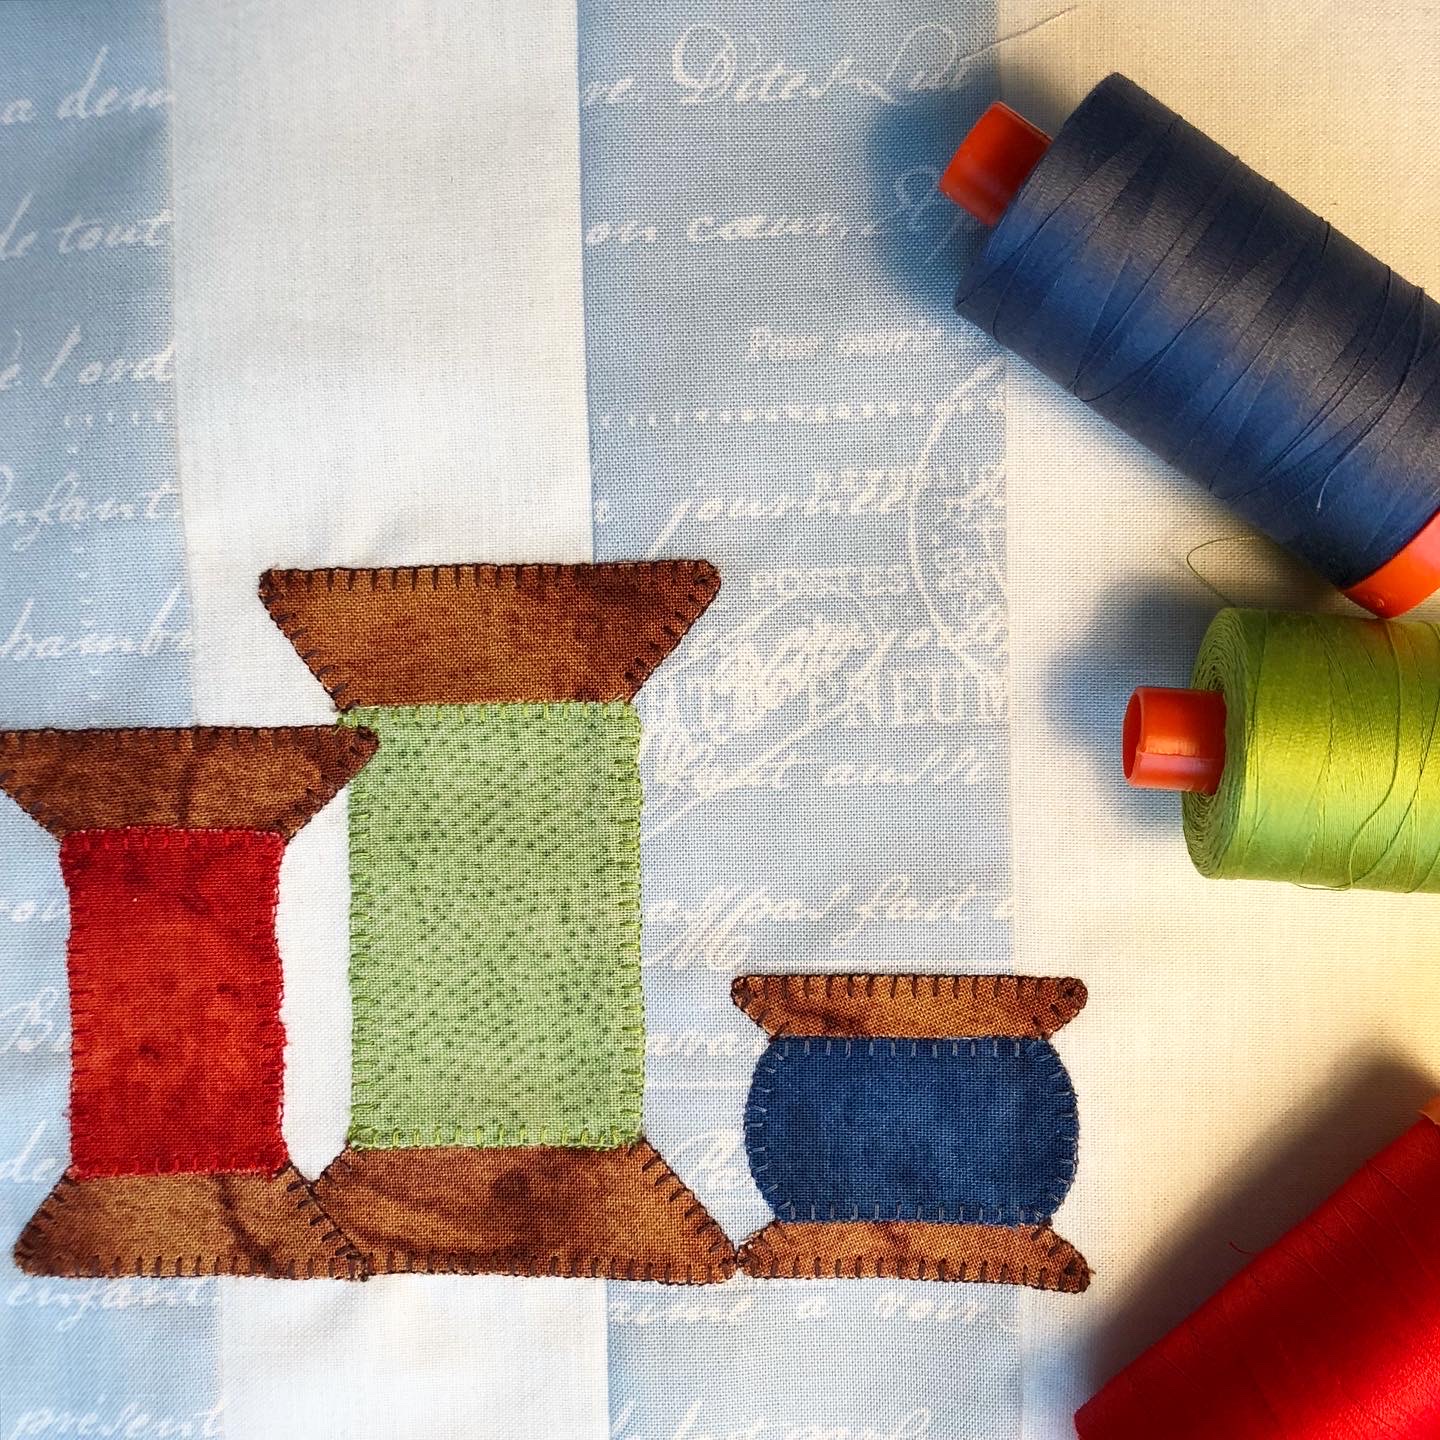
If any of you would still like the BONUS hat, spools and button pattern, SHOW us your progress using #hatshopsewalong on your social media and leave me a comment or email. We’ll send just let us know:
janet@greatjoystudio.com
•







Great content! Super high-quality! Keep it up! 🙂