by Great Joy Studio | Apr 8, 2025 | Quilting & Fabric
•

•
Spring Fling
&
Spring/Summer Tag Sale!
•


•
Our returning summer hours will be Thursday, Friday and Saturday 10 am -1 pm.
We are currently transforming the quilt workshop studio to include a collection of curated vintage and antique items for sale/donation. The Spring Fling, hosted here in Old Town Eureka, Mo. (April 15-17th) will kick off a summer-long Tag Sale event at the Great Joy Studio shop, 16 Dreyer Ave. All proceeds for this will be donated to Samaritans purse to help their disaster relief efforts.
Mendy from Missouri Stitcher will also be offering long-arm quilting services for any projects you may have.
Watch our IG Great Joy Studio account for updates on the pop-up Tag Sale and IG and FB J Wecker Friscg account for all fabric details.
•


•
See you soon!
by Great Joy Studio | Dec 20, 2024 | Quilting & Fabric

•
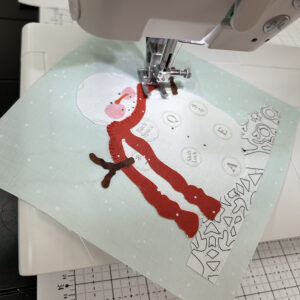
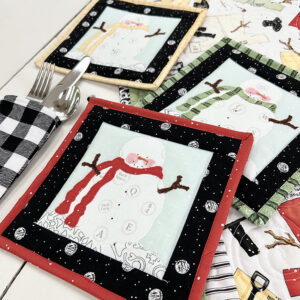
From Our House Sew Along, last block!
You made it! Welcome to your last week of the From Our House sew along hosted by Riley Blake Designs highlighting their Hush 4 low volume designer’s collaborative collection. And if you’re just getting started and want to learn more click here for the details.
•

•
Here is Great Joy Studio’s contribution to the Hush 4 low volume fabric, vintage button illustrations of a warm gray on a soft white ground.
•

•
We are making our blocks for the sew along using some Basics from Riley Blake Designs, Watercolor Swirl and Journal Basics. Our designer alternative block center is SEW easy. It is a raw edge fused appliqué button using our chunky button template.
•


•
Featured blocks were made by Mendy Russell from Missouri Stitcher
•

•
To round out your RBD designer’s tour, please pay us a visit for a tour of our NEW tiny house, shared sew space and office on Instagram and/or Facebook. Built in 1916 and located at 16 Dreyer Ave., Old Towne Eureka Mo.
I hope you have enjoyed sewing along!

•
by Great Joy Studio | Aug 16, 2024 | Quilting & Fabric
Hi Friends!
I’m going to be honest, summer is not my favorite and this one has been has been a little scary. And hot of course. It has been exciting but nerve wracking, a lot of hard work but fun and all the while fulfilling, as I complete the last steps of my entrepreneurship.
•

•
On a happier note, I’m still going! Here’s the latest:
We are nearly moved into our new office and workshop location at 16 Dreyer Ave., in Eureka, MO. Our new hours for visitors are
Thursday – Saturday from 10:00 am – 1:00 pm.
Follow us on Instagram @jweckerfrisch and Facebook Joy Studio-tiding of Great Joy for upcoming mini classes this fall.
•


•
My three NEW fabric collections from Riley Blake Designs, “Pumpkin Patch”, “Old School” and “Press On” are in quilt shops now! Check them out at your favorite local or on line location.
Our Wonderland Workshop for October 4th is sold out. Next one is scheduled for mid January so stay tuned.
Upcoming events:
This weekend it’s off to Hamilton, Mo. and on August 19 – 20 we will be visiting our friends at Missouri Star Quilt Company! Watch for me on Jenny’s Tuesday Newsday and my interview with Misty Doan on her Homespun channel, in an upcoming episode. I am quite excited about this as you can well imagine!
Studio Class: Fused Applique Fall Place Cards – Details to come on IG and Facebook
Studio Class: Vintage Watercolor Color-Mixing Chart – Details to come on IG and Facebook
Fall Quilt Market in Houston TX is Oct. 26 – 28 where Riley Blake Designs will be introducing my new fall collections, one of which is, “Costume Makers Act II” .
•

•
Well, I think that has us all caught up. I hope to see you soon at one of these events or just drop in to say Hello. We have been enjoying meeting folks, swapping quilt stories and sharing creative journeys. We would love to know yours.
•
by Great Joy Studio | Jun 21, 2024 | Quilting & Fabric
HELLO!
•
•
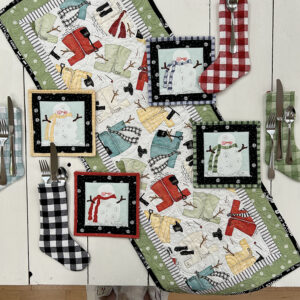
We are pleased to announce our 3rd Great Joy Studio workshop. This will be our first in the NEW space!
On July 19th we are hosting a Christmas In July event, from 9:00 am. to 4:00 pm.
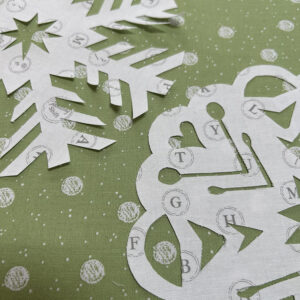
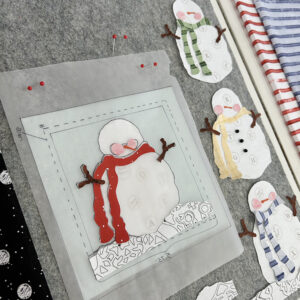
The projects feature the “White As Snow” fabric from Riley Blake Designs. The table runner and mug rugs projects can be found in the Wintry Project Booklet in quilt shops now if you want to follow along.
•
•
You can sign up with the Workshops tab to participate in person.
Kits for your projects, gift bags and a light snack are provided.
•
•
Your choice of several lunch options are within walking distance.
Agenda and a list of things to bring will be sent to participants previous to the event.
Workshop will be held in Eureka Missouri 63025 at 16 Dreyer Are.
Recommended accommodations Wildwood Hotel in Wildwood, MO
•

•
See you soon!
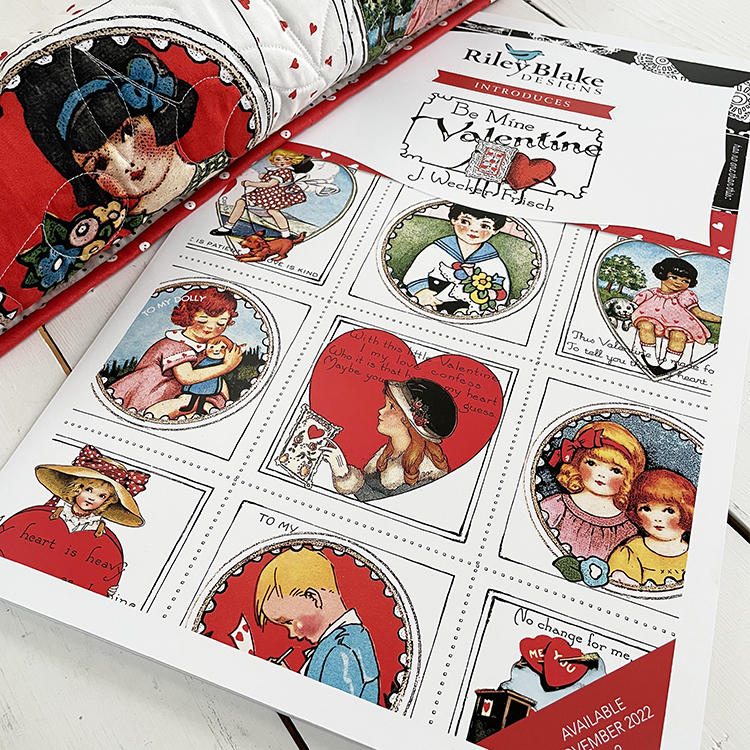
by Great Joy Studio | Nov 30, 2023 | Quilting & Fabric
Hello everyone!
•
•
Welcome to our 1st Great Joy Studio workshop intro.
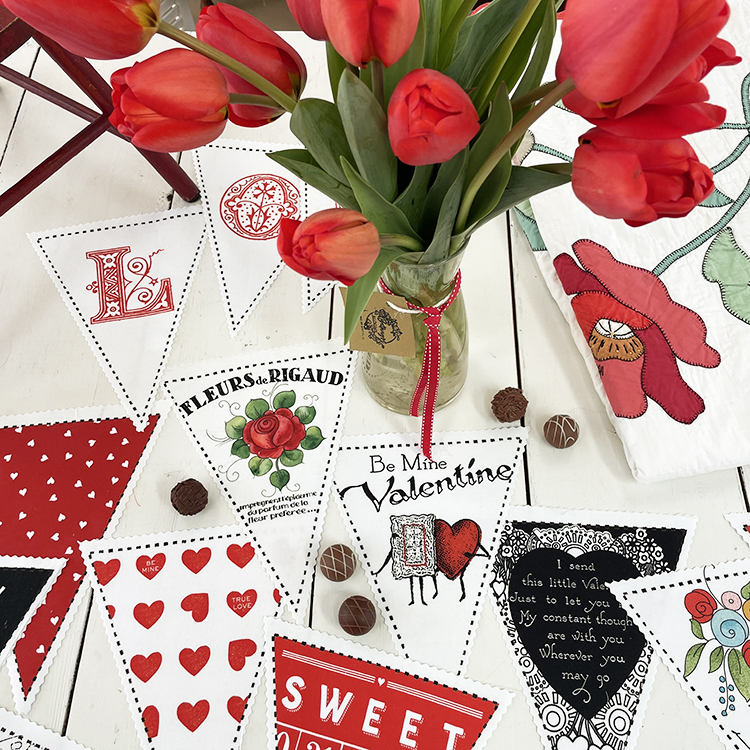
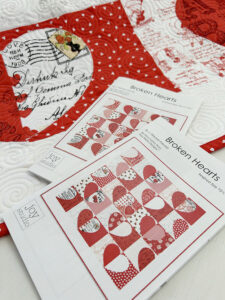
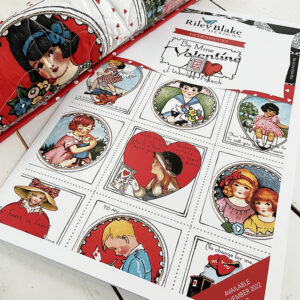
On January 17 we will be hosting a Valentine quilt top sew day from 9:00 am to 4:00 pm. We will be making my Broken Hearts quilt using the “Be Mine Valentine” fabric collection from Riley Blake Designs. Your teacher will be none other than, me, Janet Wecker Frisch. This is a free workshop so you need only to purchase the quilt top fabric kit from our shop. In addition to the sew day you will have exclusive access to shop all six of our Holiday lines (two Halloween, two Christmas, two Valentine) and related kits from my personal shop stash. Some, not all of these, are already out of stock, out of print or hard to find. In addition, for the really fast workers, we will try our hands at a Valentine post card or two.
Space is limited to the first twelve!
We need you to sign up using the Great Joy Studio Workshops link on my Instagram.
Also you must purchase the kit offered for the workshop only, from our Shop link to hold your spot.
Things to bring:
• Sewing Machine
• Sewing Tools
• Threads and bobbins
•
•
Event will be held in Eureka Missouri 63025 at the Eureka Chamber of Commerce, 113 Hilltop Village Center Dr.
•