•
Hello everyone!
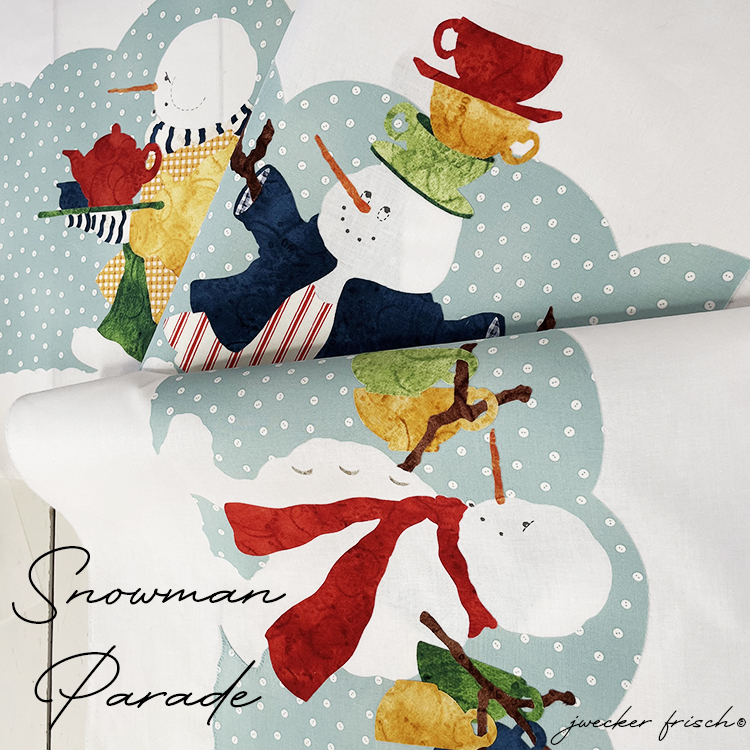
We have a new kit listing called Snowman Parade and are sharing a little bit of the process that we followed to make.
•
•
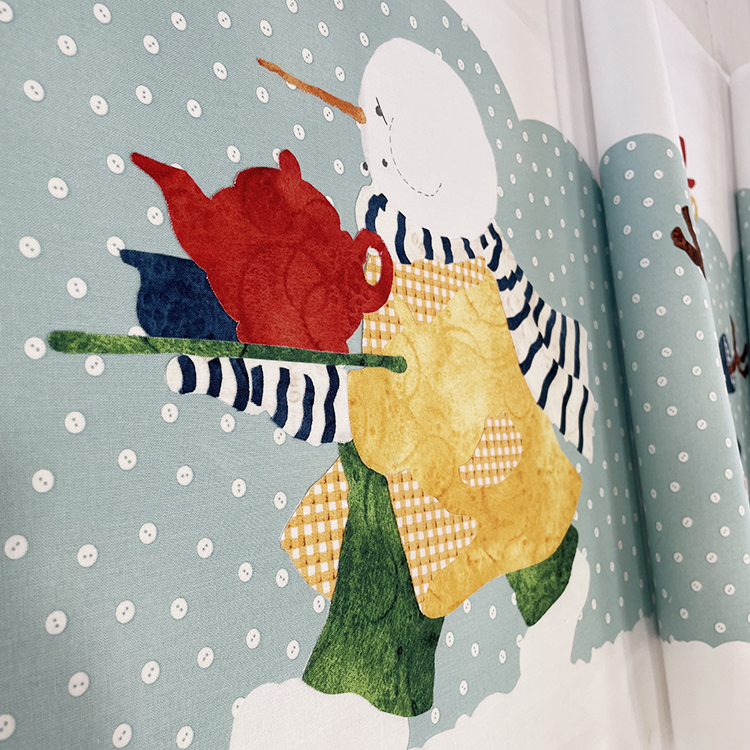
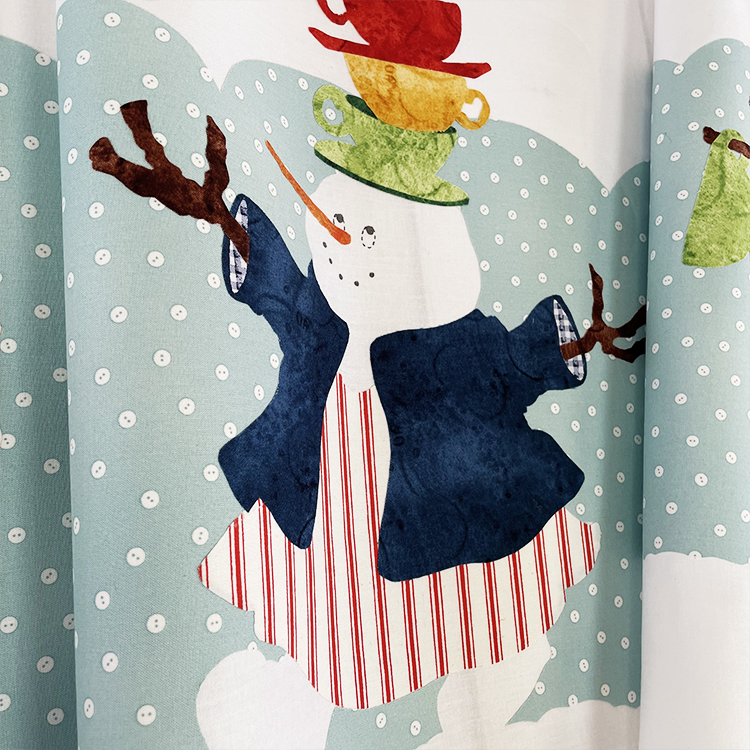
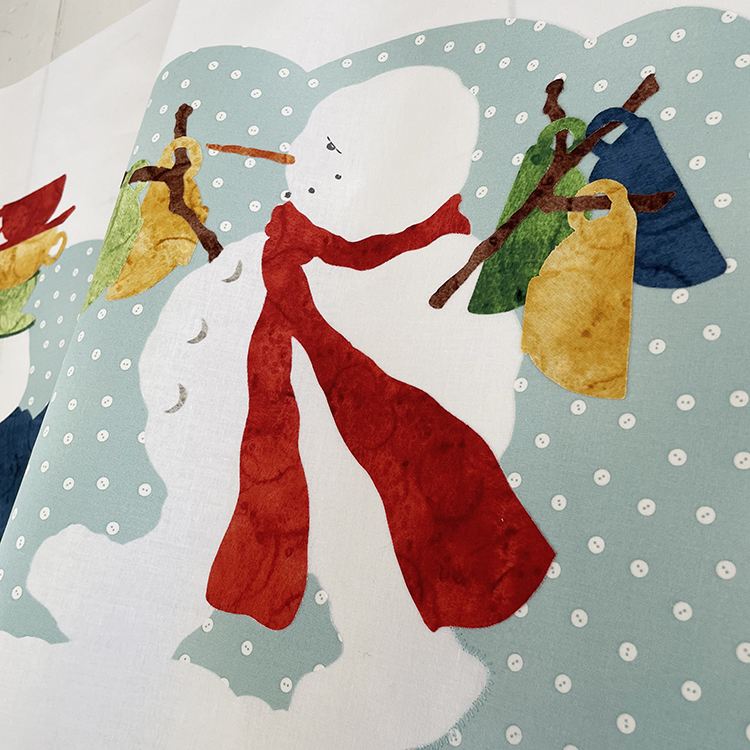
There are three of the snowmen characters from Janet’s Snow Sweet art/fabric collection translated to 16″ – 18″ raw edge appliqué blocks. These can be used for pillows, a table runner or any quilt projects and are simply fun to display throughout the winter months. In addition to the steps/photos posted here, you can view some tips we used, on our YouTube channel.
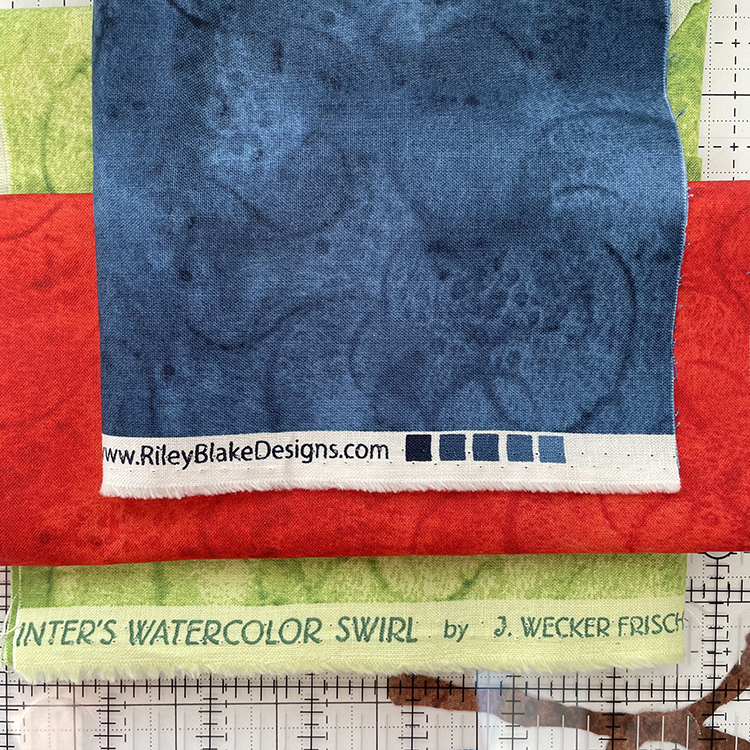
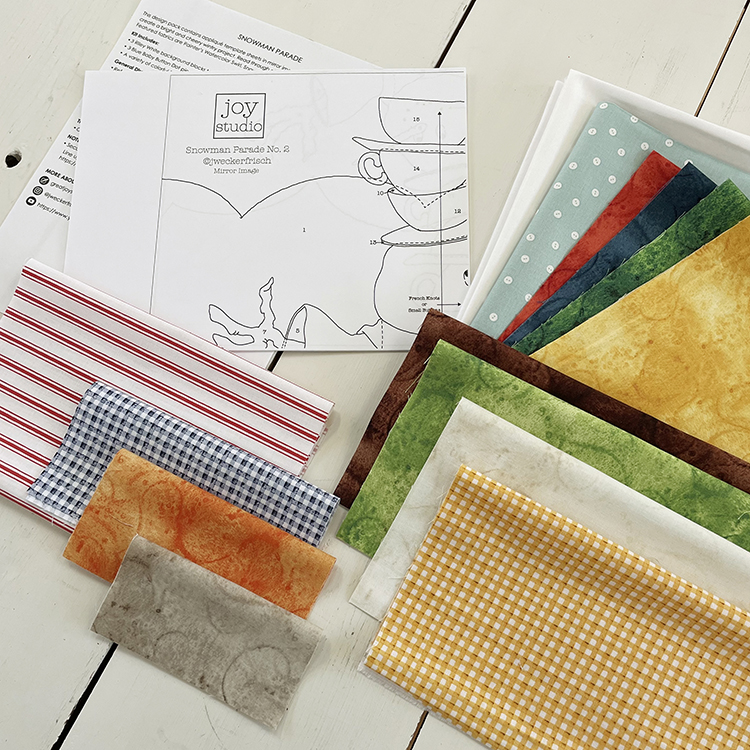
Our Snowman Parade kit can be purchased here in the shop and will contain Painters Watercolor Swirl, Snow Sweet, Blue Button Dots and basics from Riley Blake Designs. The kit also includes 12, 8.5″ x 11″ sheets to assemble for your templates and a basic appliqué instructions guide.
•
•
In addition to the kit you will need a fusible web product along with the typical sewing supplies. We like to use Pellon Fusible Featherweight 991FFW1 as our fusible web product from a 20″ wide bolt. We also recommend purchasing a large tablet of tracing paper to make a ‘placement door’.
1.) Trace the appliqué templates on the paper side of your chosen product. Our templates are already in mirror and ready to go. A light box is a great help with this step however, taped to a window works perfectly fine. Rough cut them out and fuse each to the wrong side of fabrics. You will have this blog post, YouTube video and our IG posts as a fabric color guide. Sorry, no full color photo comes with the kit. Next, cut all of your appliqué pieces out with a sharp pair of scissors. You may like to place them under something to keep the pieces from curling up.
•
•
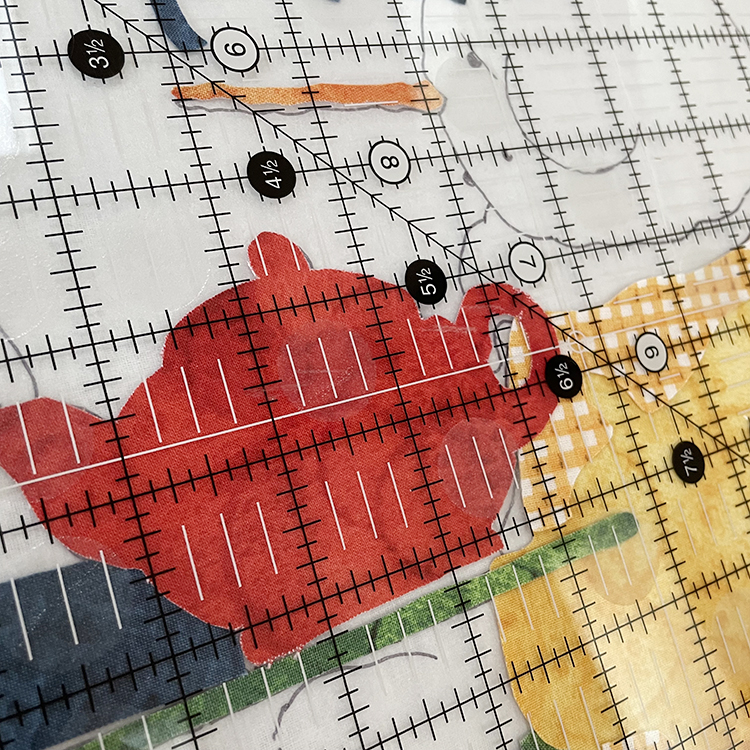
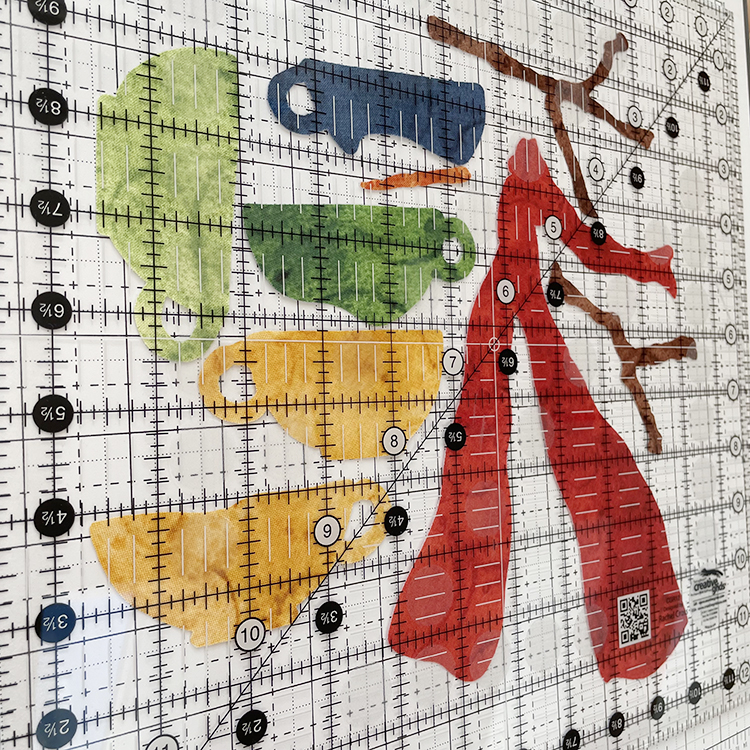
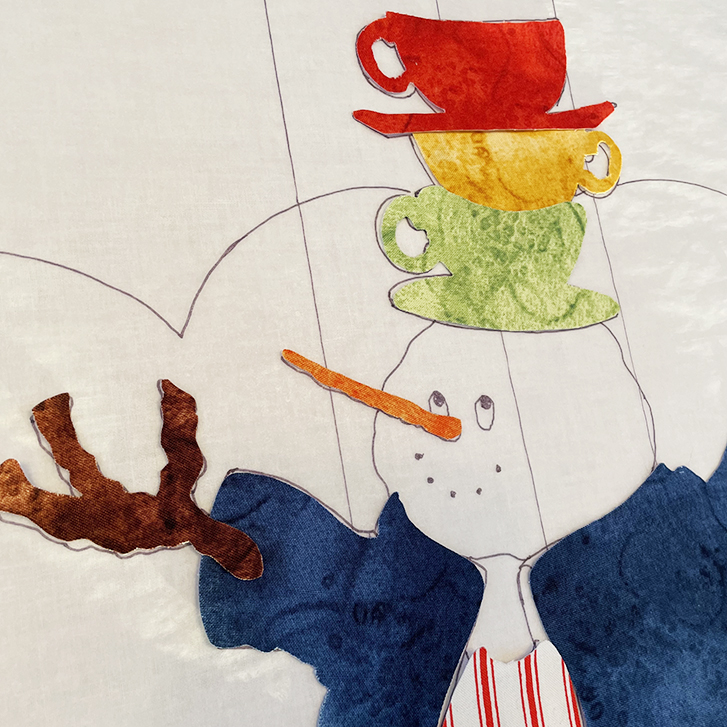
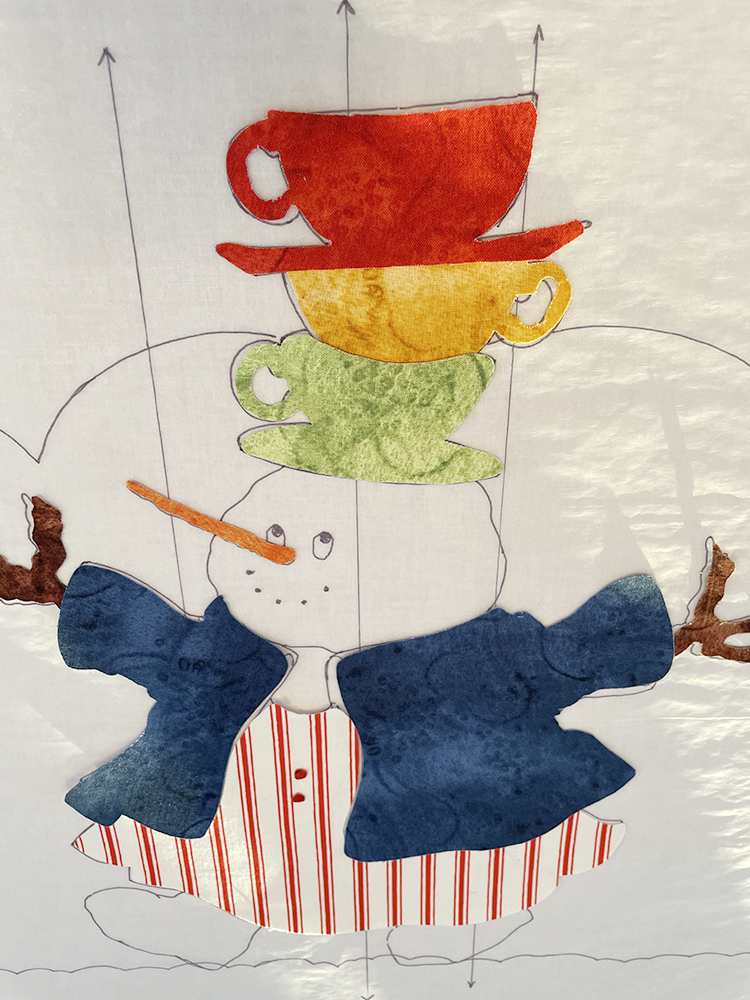
2) Assembling each block can be done with accuracy and best results using what we call, a tracing paper door. Appliqué pieces are sitting on top of one of ours in the photos below. However, you simply sandwich your pieces onto your pressing surface, background fabric, blue dots snowman silhouette with the tracing paper outline (traced using templates ahead of time) on top to achieve near perfect placement. This is best demonstrated here and here.
•
•
Next we will get these sewn down using decorative stitches on the machine and assemble into our project. We’re thinking a table runner!
Follow us on Instagram or Facebook for updates.
Thanks for visiting, as always and Merry Christmas!!!
IG – @jweckerfrisch
FB – Great Joy Studio
