by Great Joy Studio | Sep 1, 2015 | Quilting & Fabric, Studio
THANK YOU!
To all of you for supporting us on our Joy Studio facebook page last month
&
participating in the Sew Scary fabric giveaway.

To continue the first year celebration of the Joy Studio expansion
and home studio spruce up,
we are sharing progress shots featuring
more of our fabric collection,
Letter Stitch!

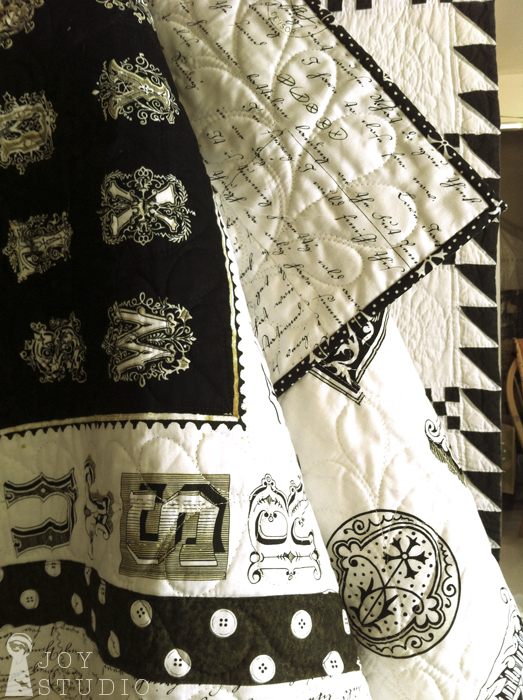
Here is some of the fun we had creating with the Antique Typography
in the home studio.
Art history studio screen.

Window shade buntings.


Sewing supply shelves.
 •
•
&
Needlecraft collectibles.
 •
•

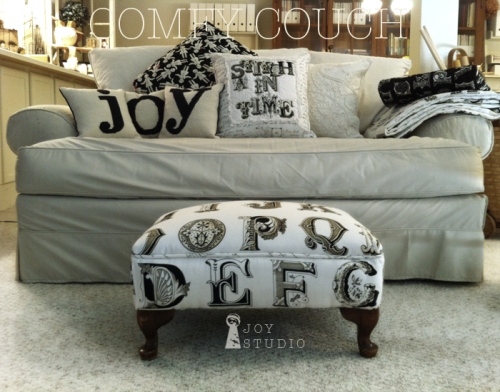
Pillows.
 &
&
Quilts of course.
 •
• 
Upholstery
&
comfy couch makins.
The possibilities for this fabric group are endless and inspiring.
If you love letters, written text and pattern, check out
“Letter Stitch” from Quilting Treasures in quilt shops now.

Still going too!
Lots more studio joy in store!
Coming right up.
by Great Joy Studio | Jun 29, 2015 | Collectables, Quilting & Fabric
So many projects and events over the last six months has been beyond challenging. All were wonderful opportunities but most likely, we (I) took on too much, given the time frame. However, I’m happy to say the end is close at hand and we can re-adjust our (my) focus. We’ll post the work, the fun and some exciting news, throughout the remainder of the year.
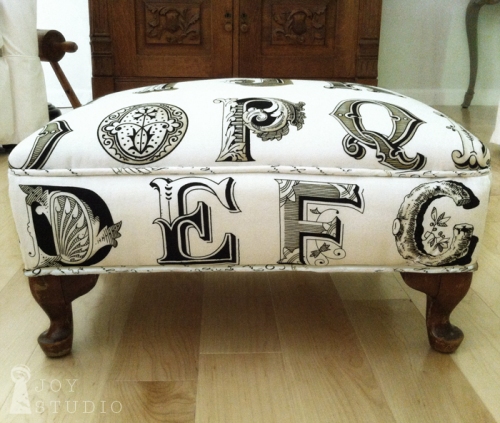
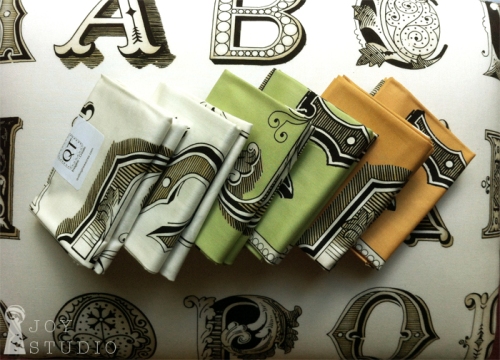
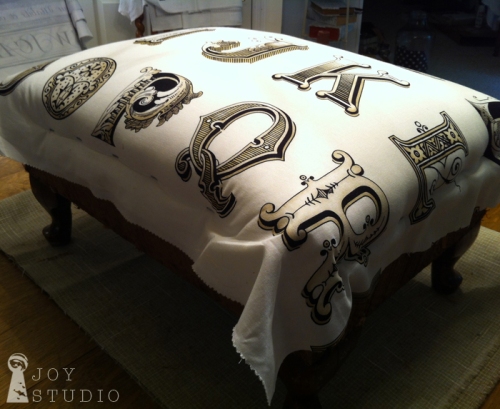
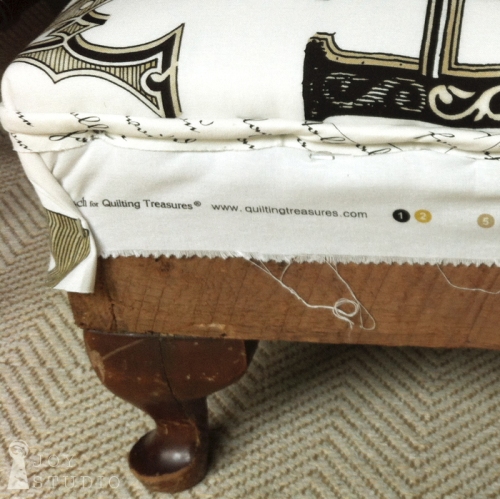
One small project I wanted to share now is, our Letter Stitch Stool. We used this in our display at Spring Quilt Market last month and it received much attention. The large antique typography, which I love, is the pattern we chose.
Quilting Treasures offers this print in three soft colors, ecru, lime and orange.
Letters are a generous 4 – 4.5 inches, perfect for any celebration bunting, personalization in a child’s room or studio/office space!
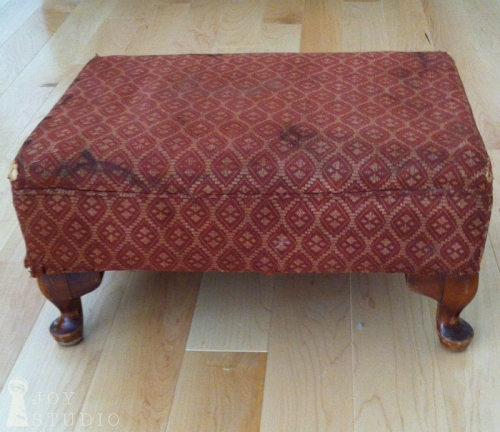
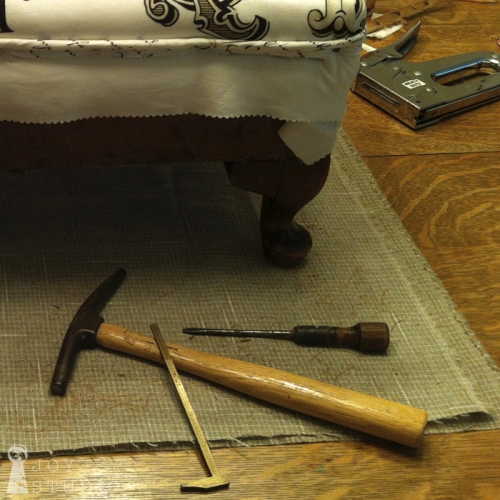
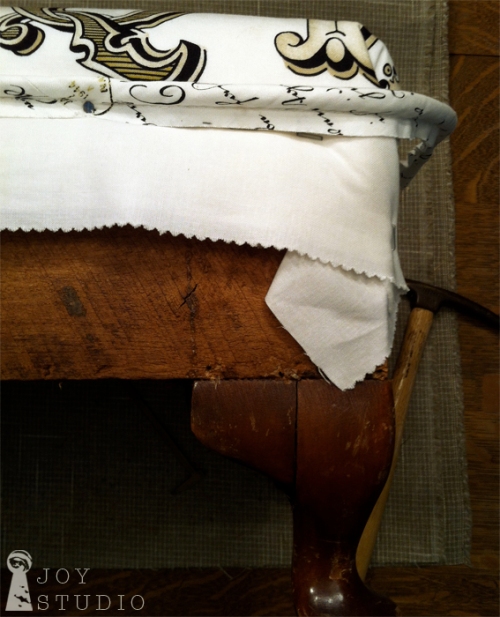
The vintage footstool was purchased from a yard sale many years ago and was shelved. One of those good intentions projects that we all have, right? I thought it was a small upholstered item that even I could tackle. It was quickly discovered, that having all of the necessary tools and supplies, would have been helpful. I did own a magnetic tack hammer and tacks but also opted to use a staple gun.
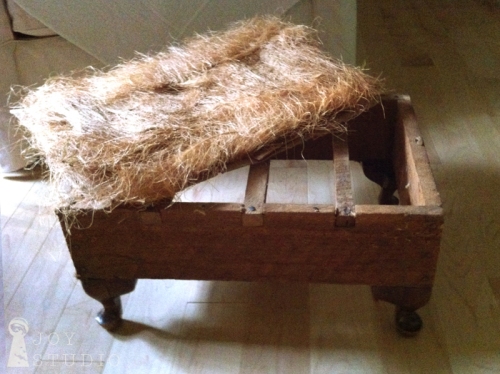
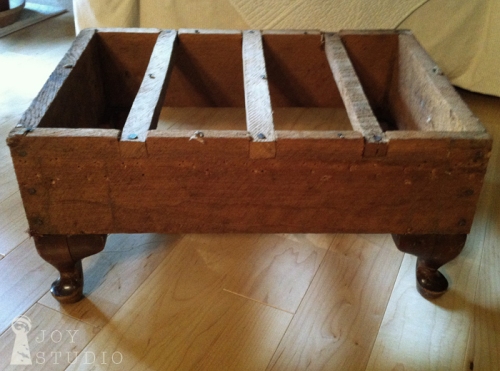
The photos may appear that this was a nice neat job but I want to warn any of you re-upholstery novices like me. Within the layers of the little old stool, lurked at least a pound (seemingly) of fine dust and icky dirt! Oh my. I wanted to reuse the horsehair stuffing so I took the piece outside to pull the rusted tacks/nails, disassemble, shake out and clean. Blacht!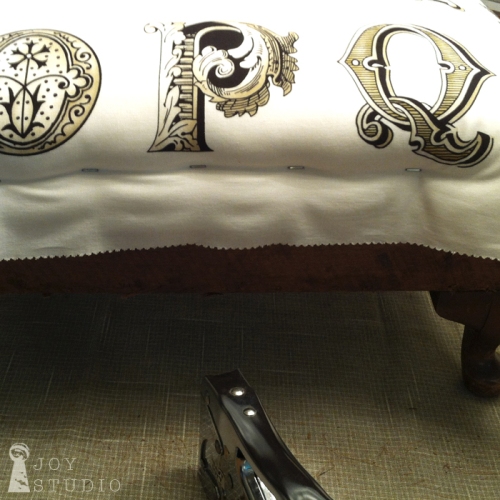
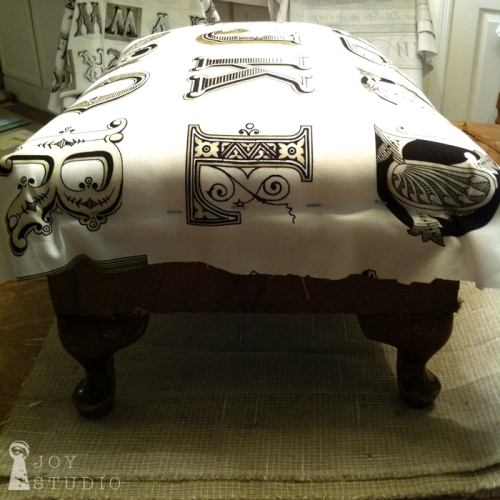
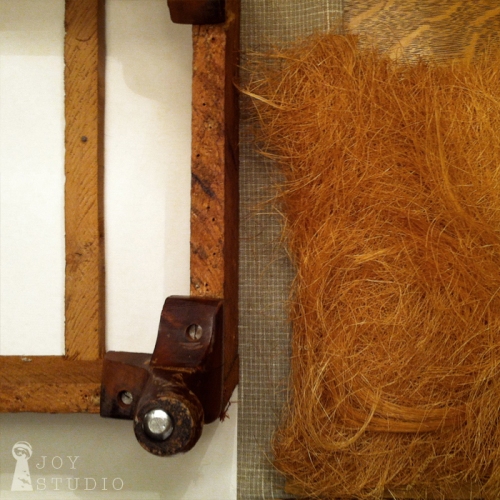
Since this was my first attempt at a stuffed item, I am not the one to offer an adequate how to although, if pictures truly are worth a thousand words, then perhaps these visual steps will help. I simply tried to put it back together, the same way it came apart. I had to replace the batting and some stiff cardboard used on the frame. I used mat board scraps and quilt batting supplies that I already had on hand.

Not a bad first attempt, and not my last. Lots more stools and numerous seats, still to cover.
And I plan to use Letter Stitch!
Available in quilt shops July, 2015


 •
• •
•
 &
&


