by Great Joy Studio | Aug 12, 2020 | Quilting & Fabric
Hi Again!
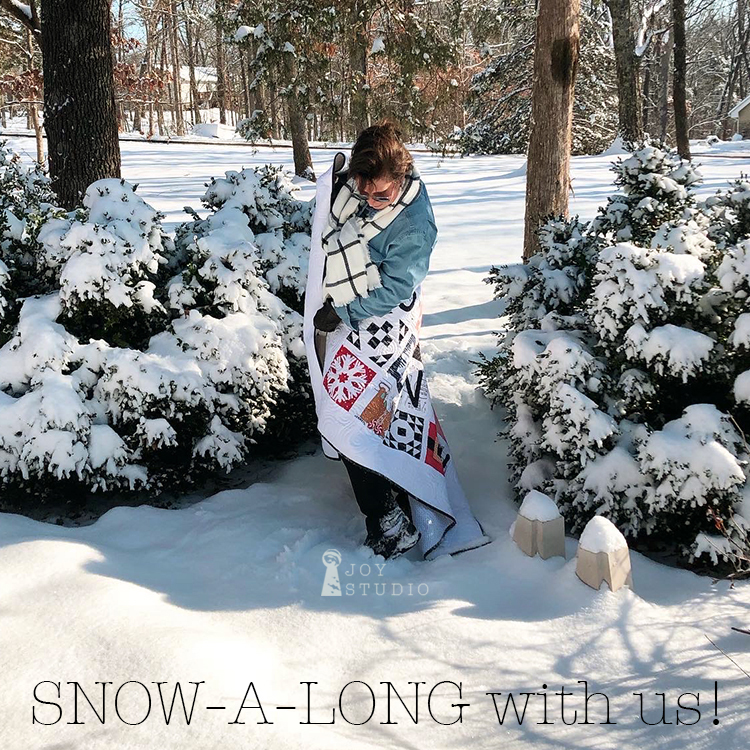
How’s everyone doing with their Snow-A-Long quilt?
Have everything fused?
*
*
Sew far, sew good I hope.
Speaking of sewing, here is where it gets tricky for me!! I soar at drawing and cutting but sewing makes me a bit nervous, still.
This week we are
securing/stitching
your raw edge appliqué pieces down and
trimming
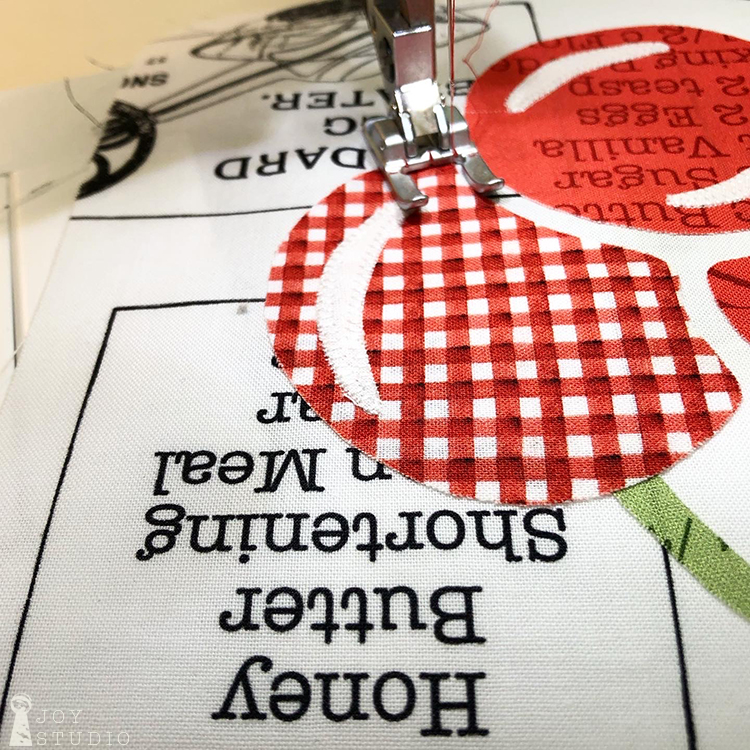
the blocks. You can also do any additional decorative stitching or embroidering at this time. Decorative stitch guidelines are provided on your patterns. Although the fabrics do much of the work in this quilt, the gingerbread blocks are perfect candidates for some fancy thread work either by hand or machine.
*
*
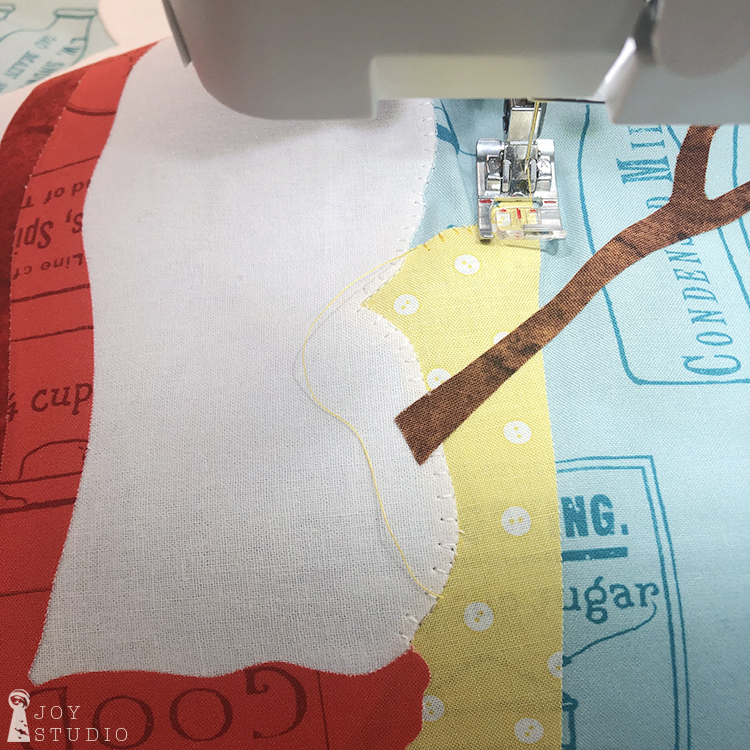
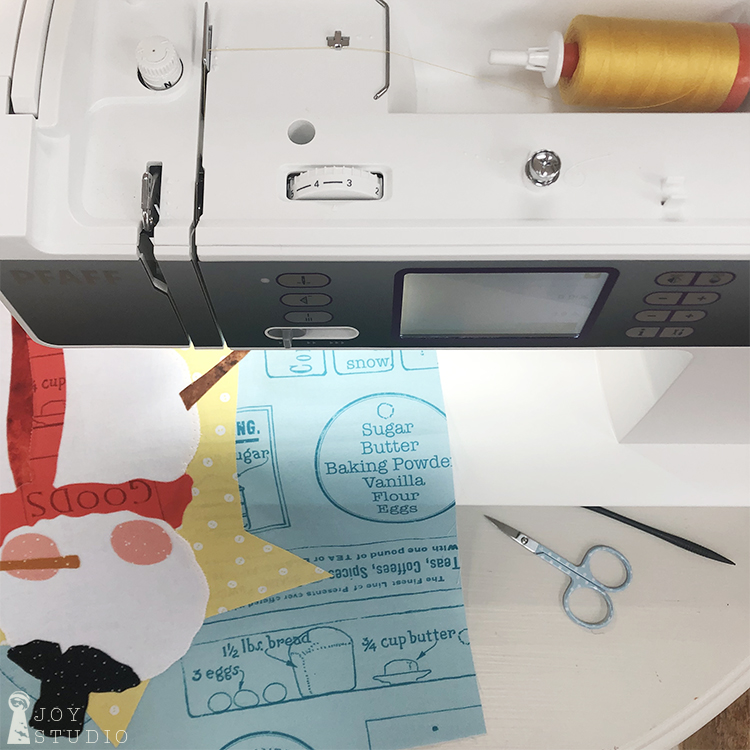
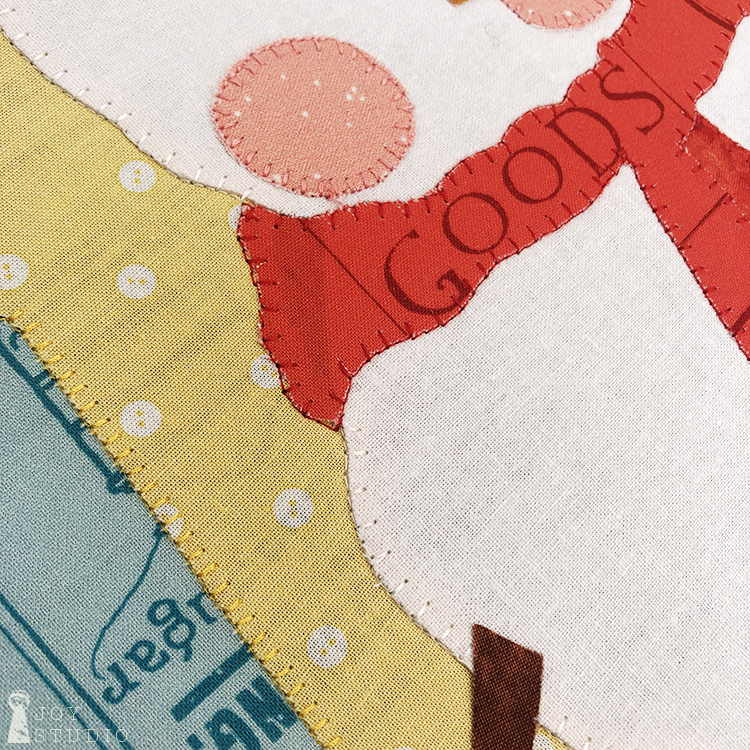
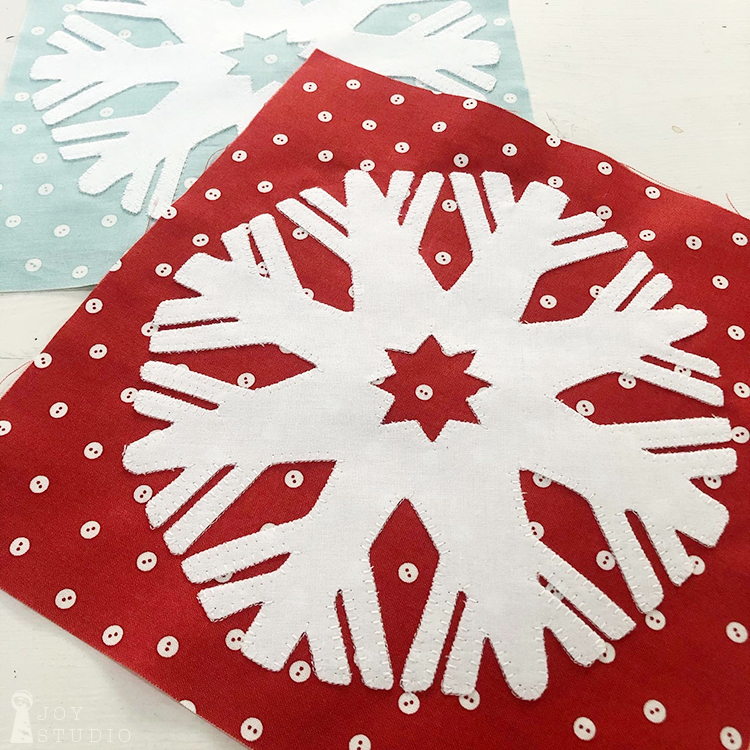
I have several photos that will show you our sewing process. I used a blanket style stitch (under the quilting stitch guide on my machine) for the edges. That is the one I am most comfortable using with my skill level but feel free to choose any that you like. I am certain that all of you have more sewing experience than myself so I look forward to seeing and/or hearing about your personal choices for this step. My understanding is that with raw edge appliqué you want a stitch that will help to keep the edges from fraying should the fusible product let loose with washings and use. However, I’m seeing the trends for raw edge appliqué and looks like anything (personal preference) goes!! And I like that.
Please #snowalong and #snowsweetfabric progress photos on social media so we can find and add to our
Pinterest board!
*

*
I also chose to use the same thread color as my appliqué fabrics. Again this was to better blend in and hide any of my stitching errors. If you want the appliqué art to stand out more you may want to try black and possibly some sketchy free motion which I love and hope to learn some day. I used Aurifil cotton 50 wt thread for all appliqué sewing.
•
•
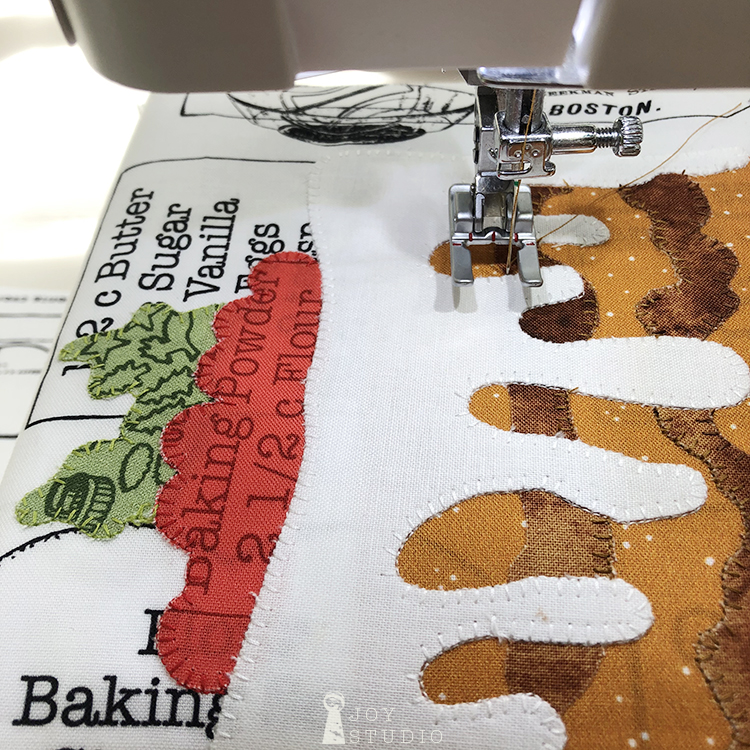
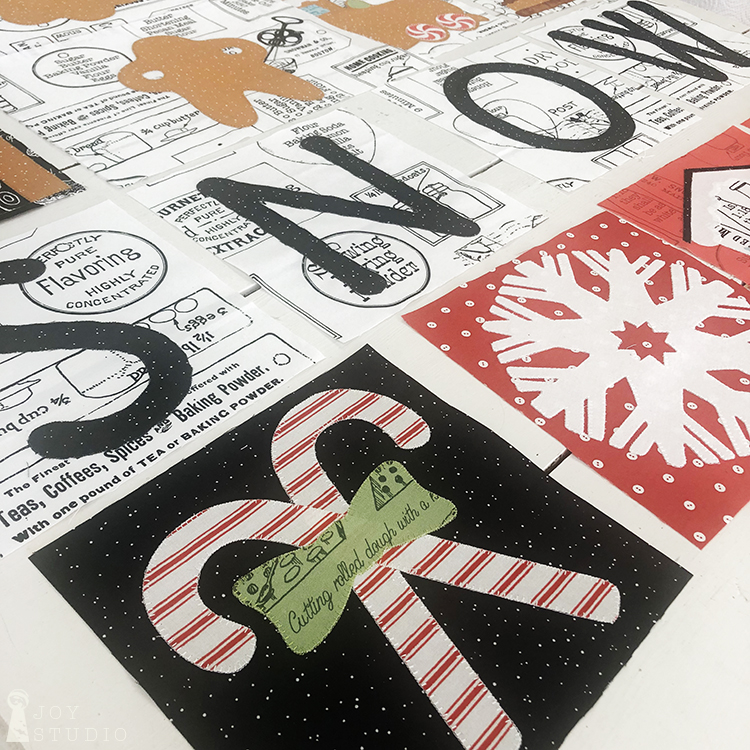
With so many blocks to stitch down, I did all of the white first, then black, red, and so on. Soon you will have them all finished.
*

*
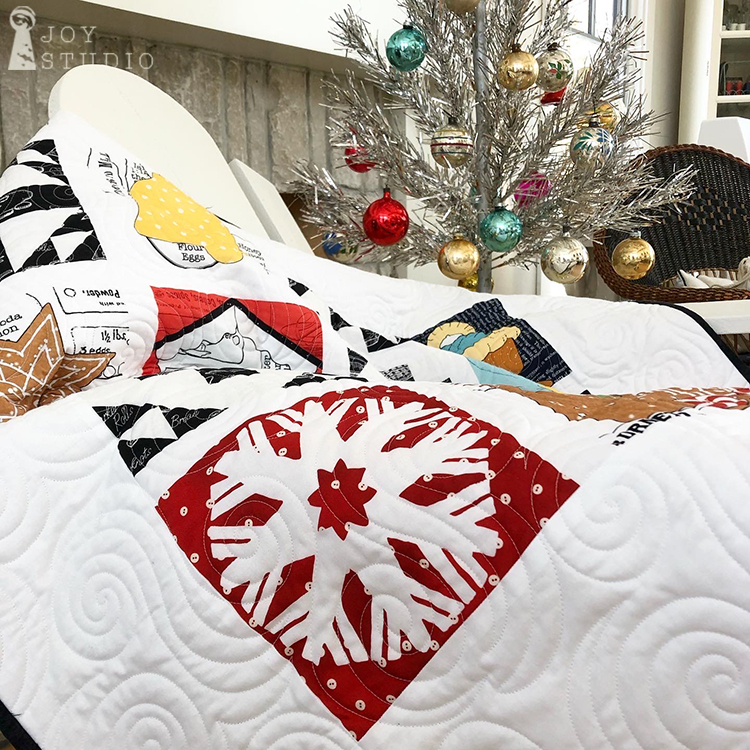
Time to trim.
This is done after the stitching to allow for any shrinkage that possibly took place. Be sure to leave yourself a quarter of an inch for a seam allowance on all four sides of each block finish size. Block finish sizes are stated on your pattern. Some images like the gingerbread house is intended to sit on the bottom seam line of the block. So I trimmed to the one quarter inch mark at bottom and sides.
•


•
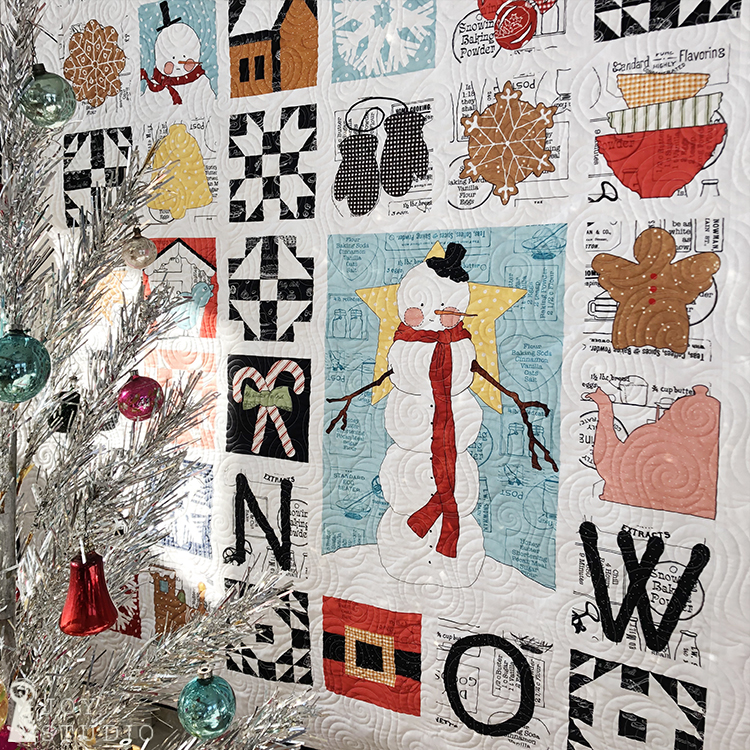
Once all are trimmed, post on your design wall and enjoy seeing your quilt come together!
I love that part.
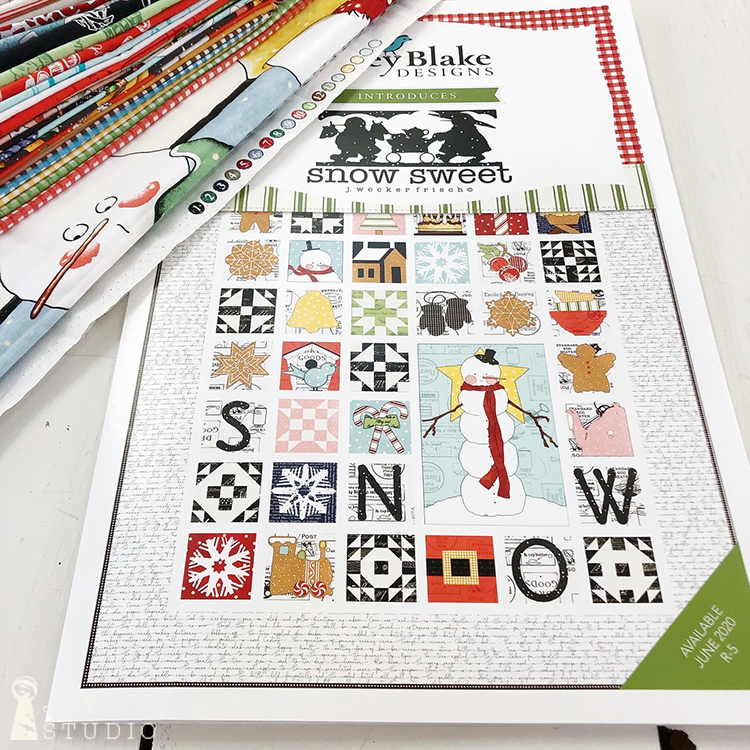
And I love this Snow Sweet collection from Riley Blake Designs!
Widely available in shops now, but it’s going fast.
•
See you next Thursday.
by Great Joy Studio | Aug 5, 2020 | Quilting & Fabric

•
Hello Again!
Welcome to week two of the
Snow-A-Long
Featuring our
Snow Sweet
collection from
Riley Blake Designs.
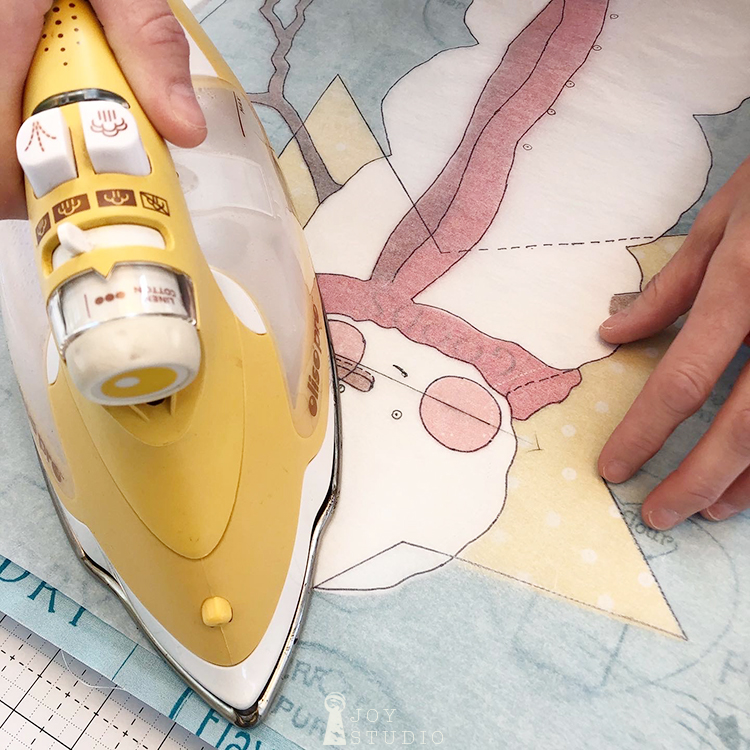
We will be sharing an appliqué placement method using tracing paper doors to make this the easiest and most fool proof fusing process for making all the appliqué blocks.
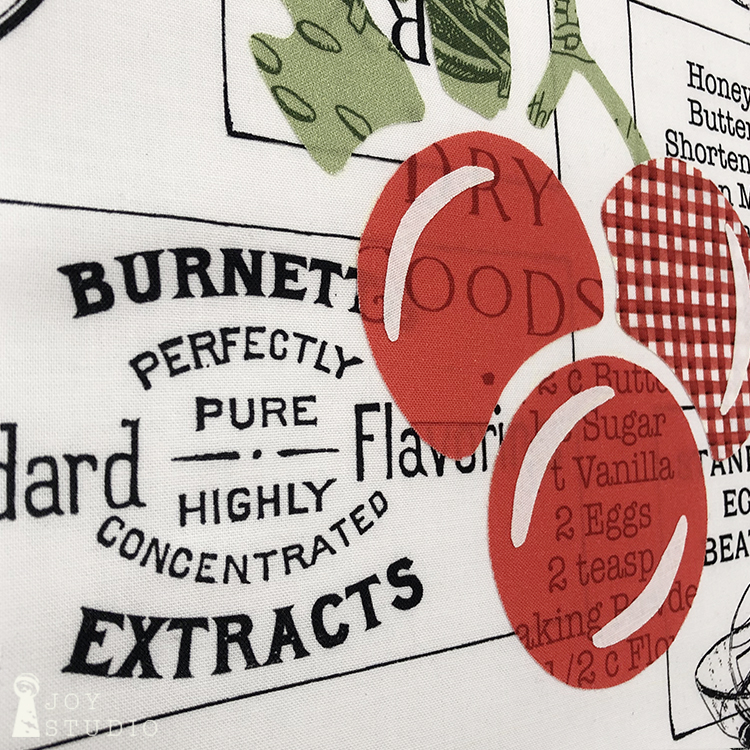
Here are our appliqué shapes described in last week’s post. You may notice that we chose to trade out a couple of the fabrics that were listed and shown on the cover art but this is each maker’s prerogative! All of the fabrics can be interchanged to suit your desired look. You’re the maker!
•

•
Let’s make doors!
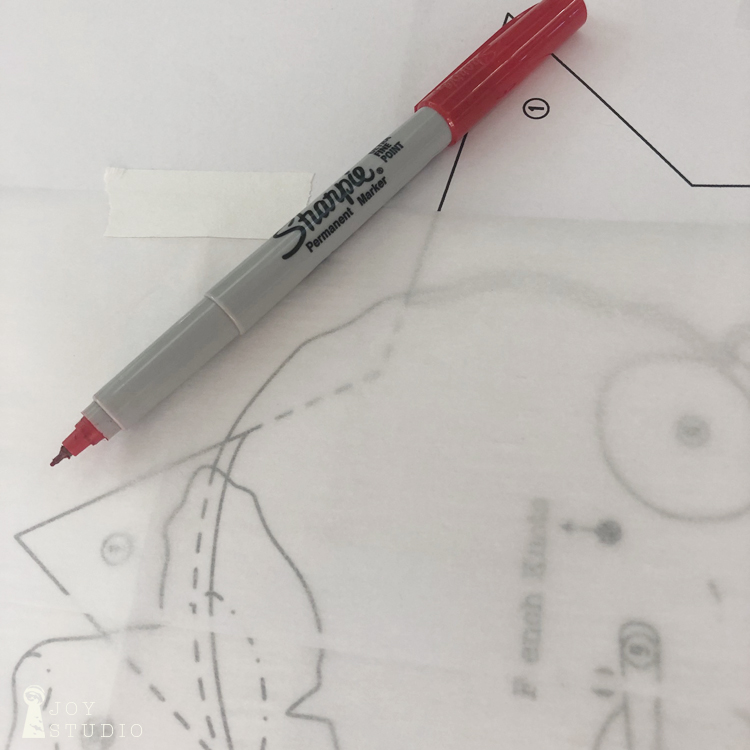
We like the tracing paper door for placement accuracy both in making each multi layered appliqué, and also centering on the block background fabric. This is an optional step if you are not such a stickler for detail as myself but a tried and true way for good results. Here’s a (link) little bit more about making a placement door from the Hat Shop SAL.
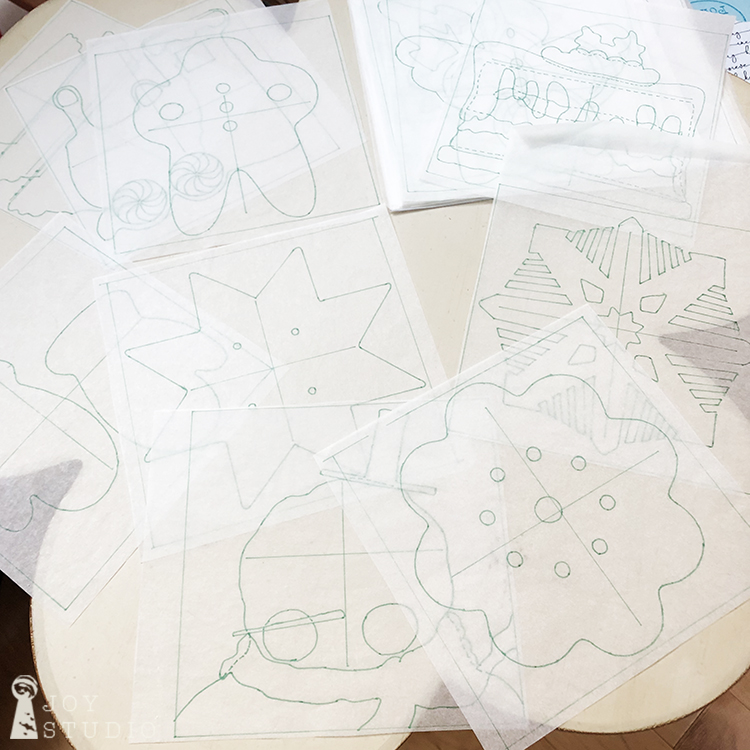
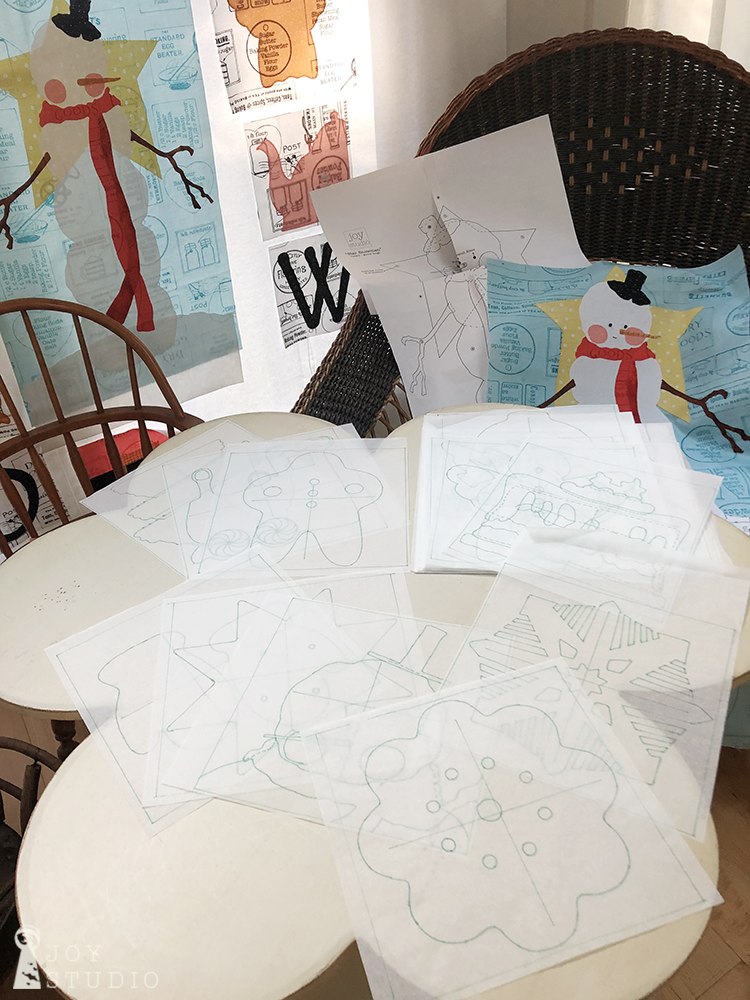
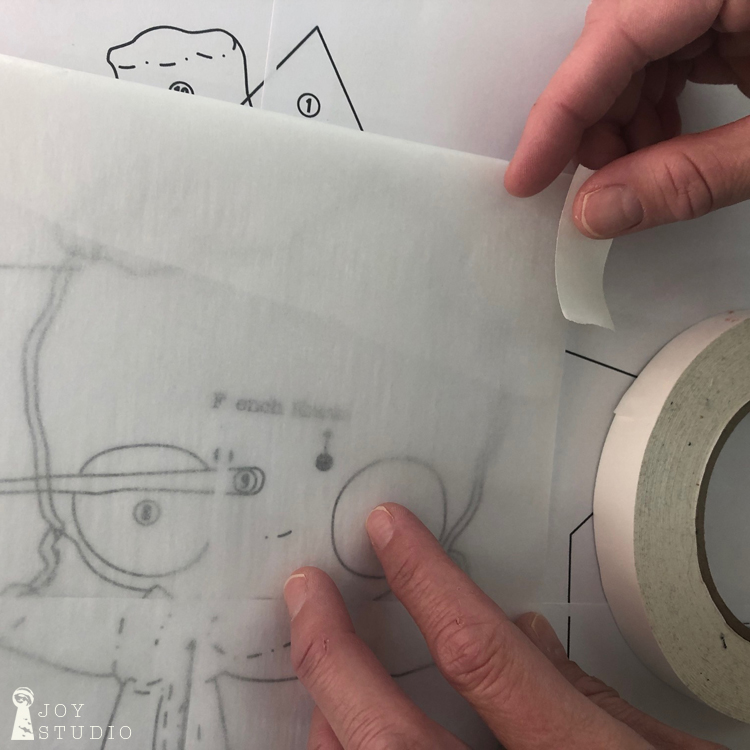
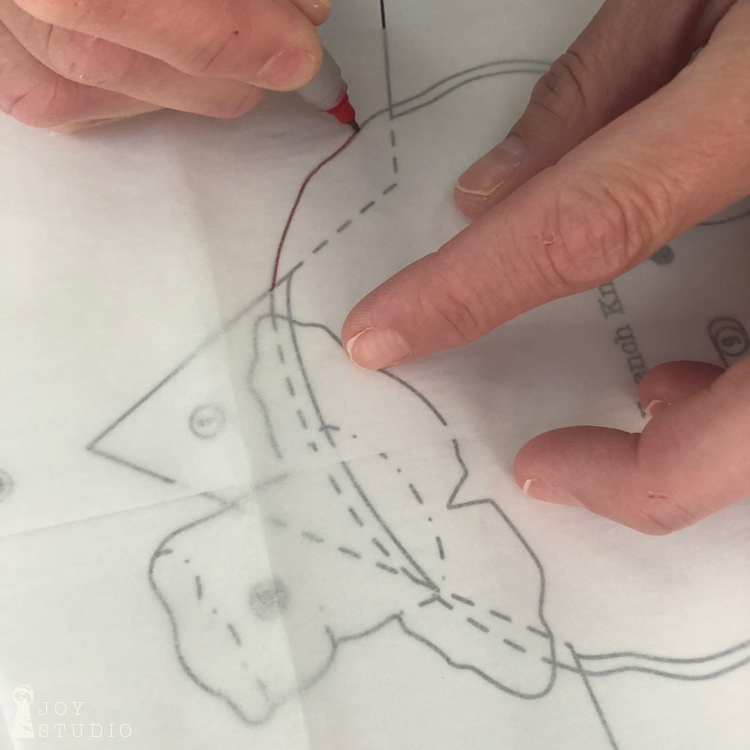
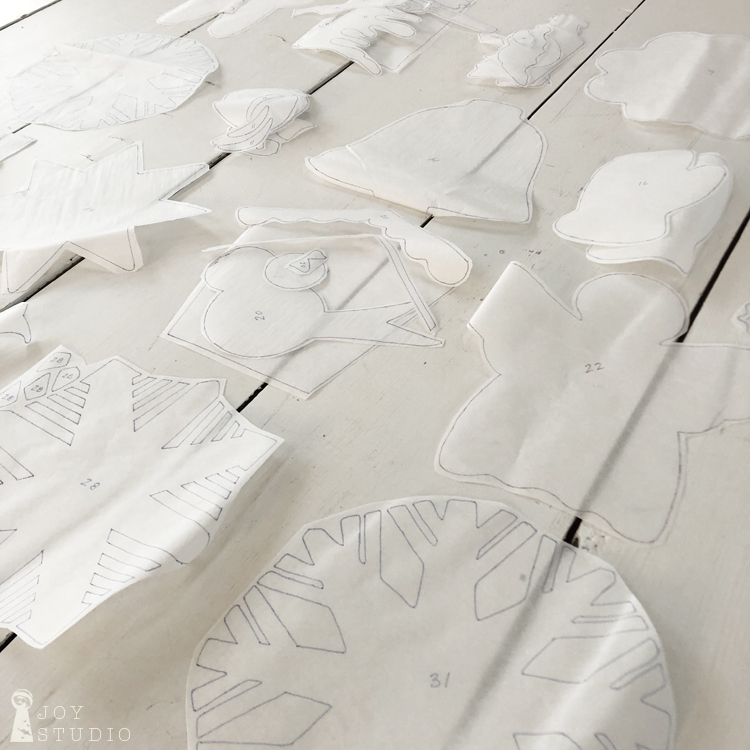
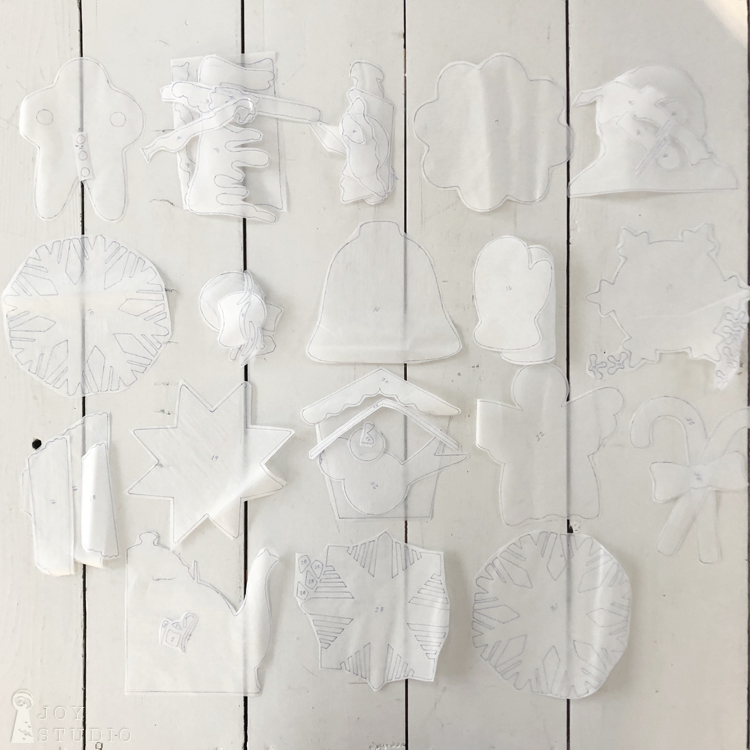
Use the same appliqué template sheets and trace them, again. This time on to a piece of tracing paper with a fine tip sharpie. Trace as much or as little of the details as you will need for placement guides. Tracing paper allows for turning over to reveal the image as it will appear on your block. Soon you will have several tracings that resemble the table top below:
•

•
And now, on to the fusing!
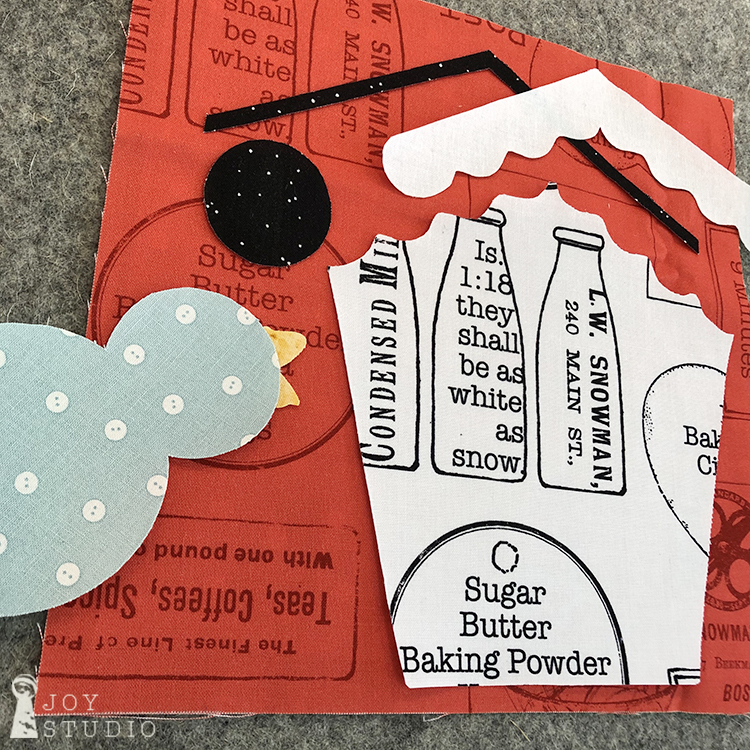
We are building each block from the bottom/underneath appliqué pieces, up.
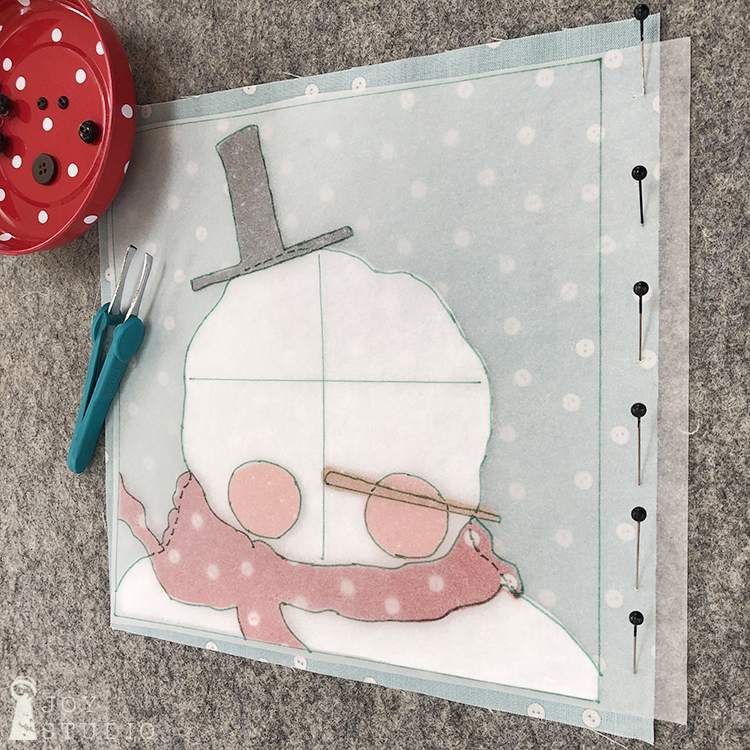
Place background block fabric on to your pressing surface.
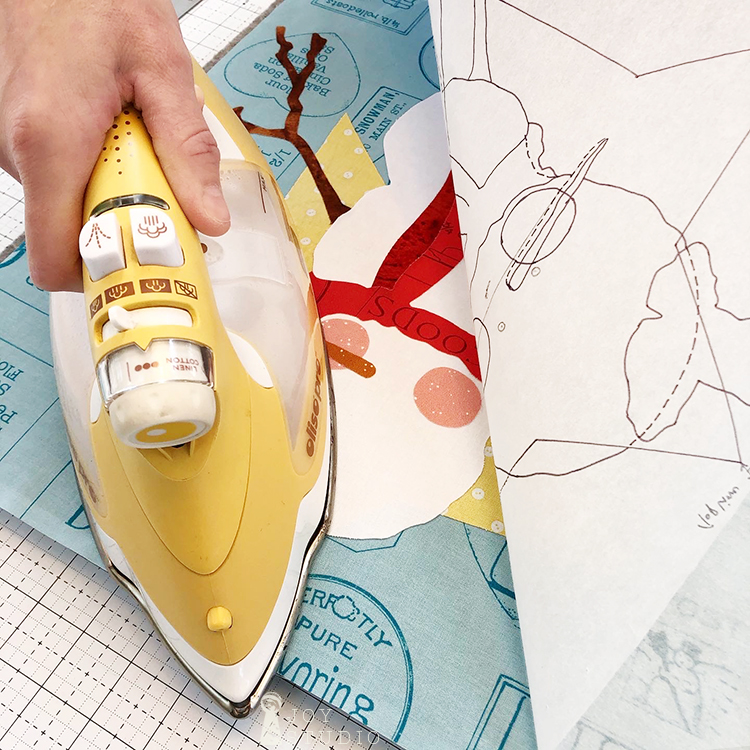
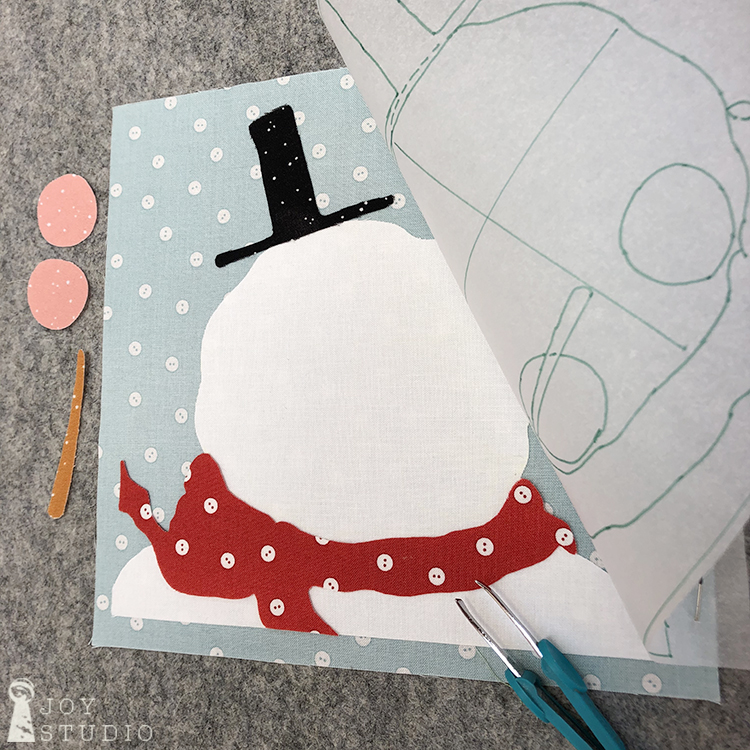
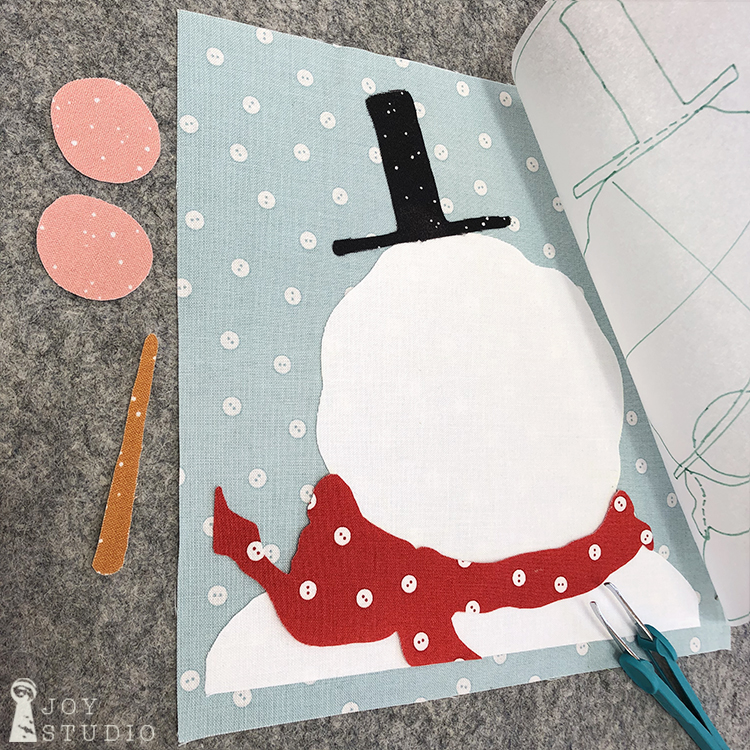
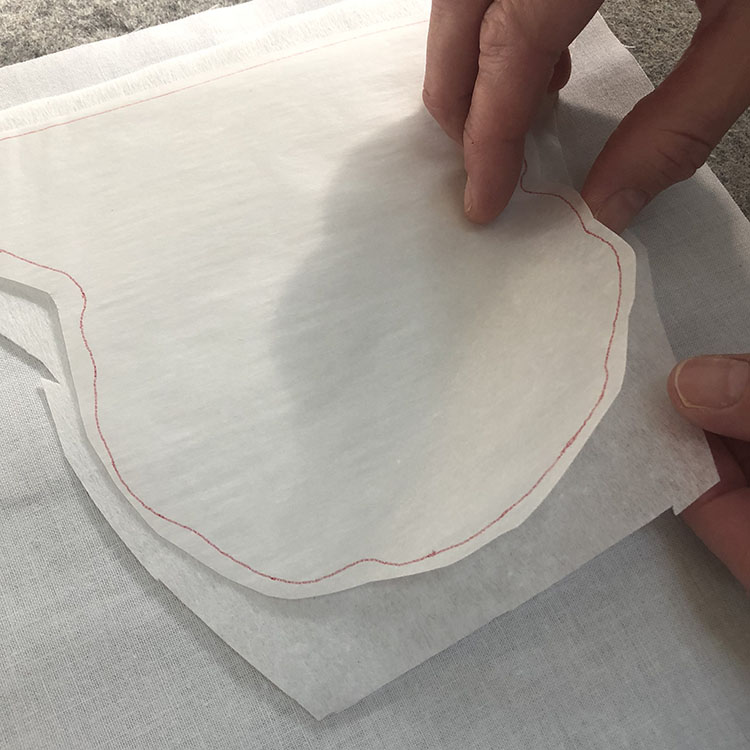
Then center the detail traced door, flipped over to match the direction of your cut out appliqué pieces, and pin along one side.
Then open your paper door and place the largest appliqué fabric, glue side down and nudge in place. You can easily open and close the door to line up your pieces precisely. Once you have them where you like, press according to the fusible product manufacturer’s directions ten seconds or so.
•
•
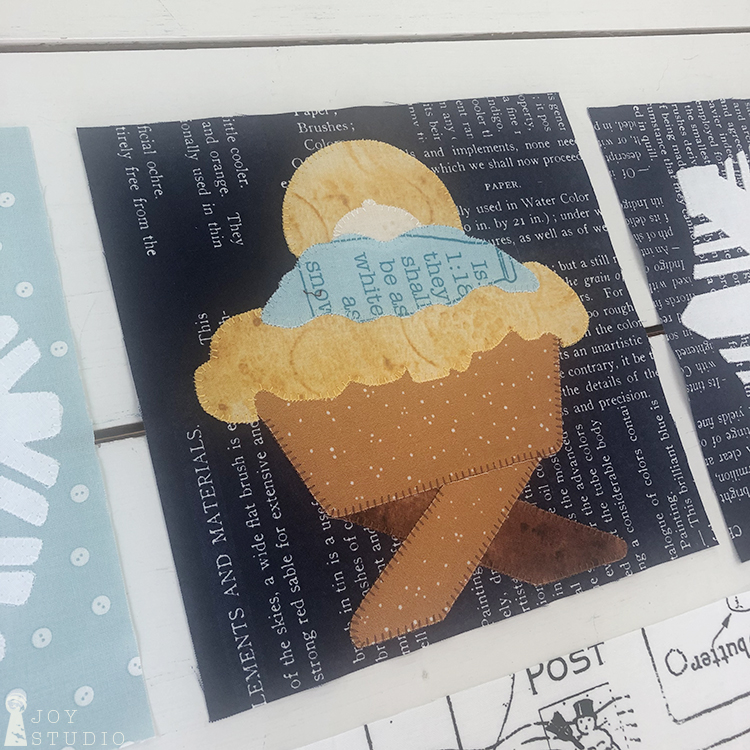
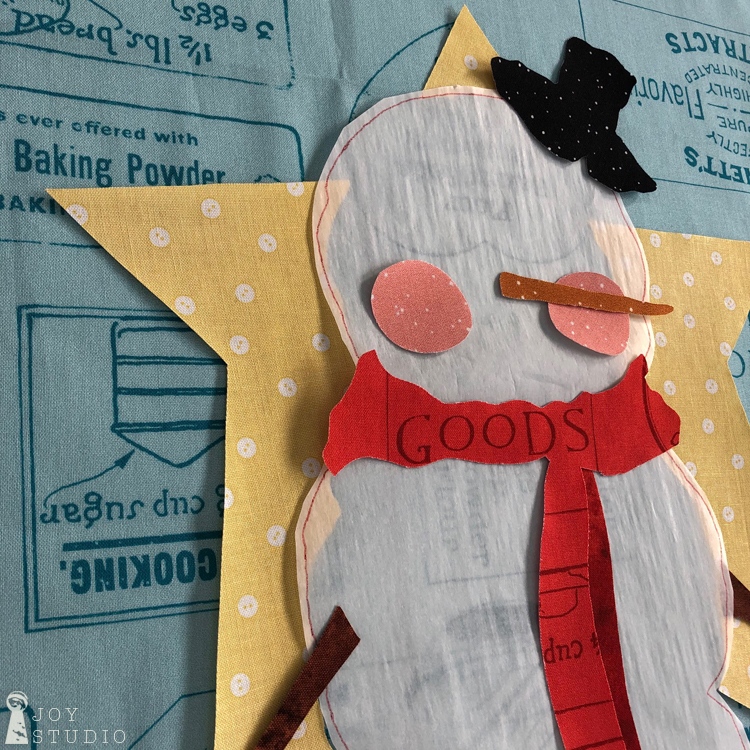
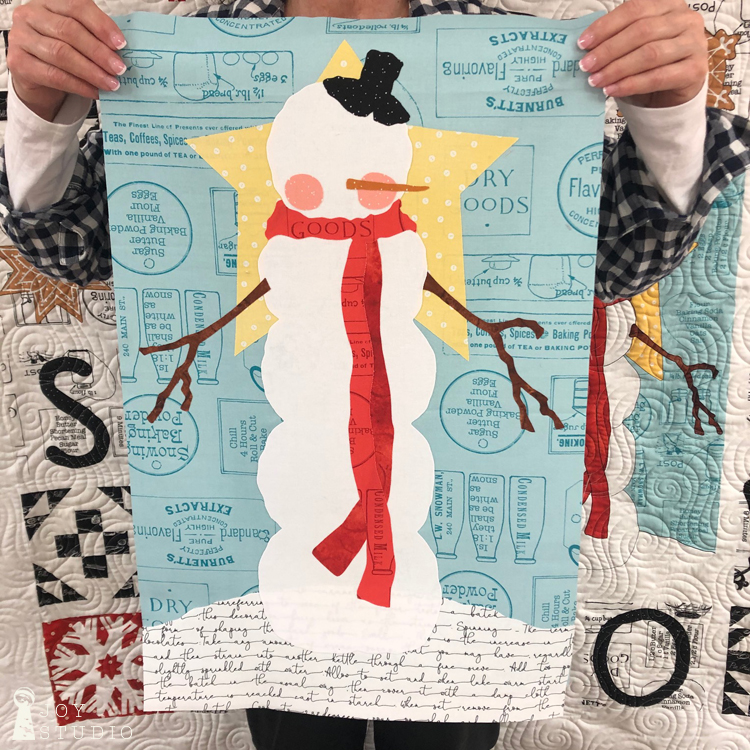
The large snowman template sheets are numbered so place each one according to the sequence marked on your pattern. We rough laid them out initially just to get an idea of how it would look and to determine which appliqué gets fused first. For instance one arm goes under snowman’s body and one goes on top. So again follow the sequence numbers and use the tracing paper door. It really helped us on the large snowman block.
•

•
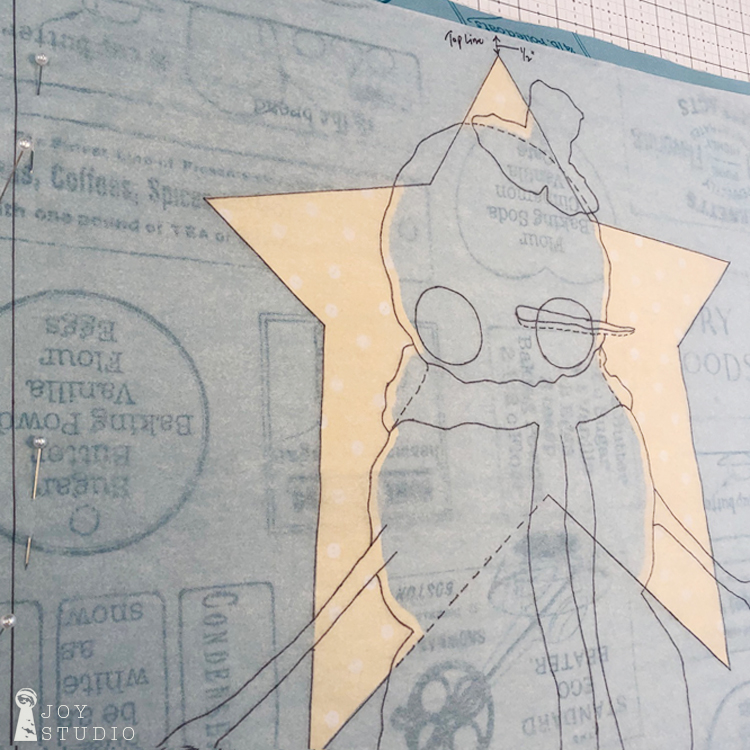
I also wanted to point out that the star was cut in three different pieces and is marked on your pattern that way to eliminate the yellow from showing through the white fabric. We recommend an extra layer of interfacing as described last week/post to help with this as well. Wherever light fabric goes over a darker one, use the interfacing to get a better result.
•
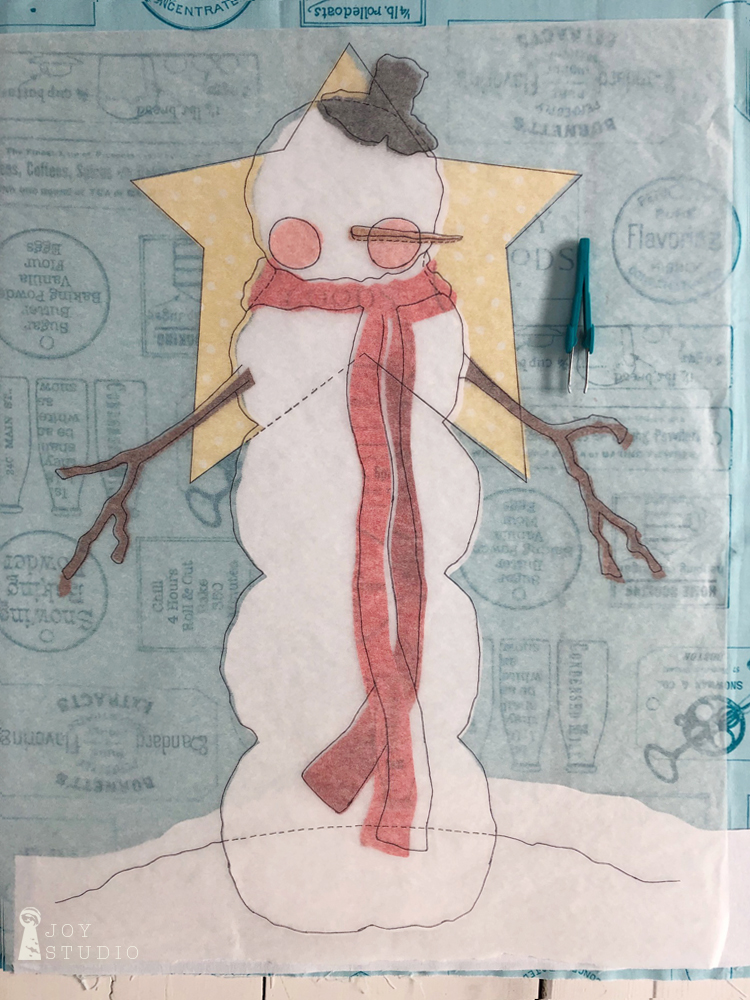
Ta-daa!
We made two, one with plain white snow for our quilt and this one was to be for a (now cancelled) class.
•
•
•
Keep going until all of your blocks are fused and we’ll see you next week. And take lots of photos so you can post and share for a social media GIVEAWAY op!
Save
by Great Joy Studio | Jul 30, 2020 | Quilting & Fabric
Hello Everyone.
It’s time!
•
•
To start the
SNOW-A-LONG,
featuring SNOW SWEET and PAINTERS PALETTE fabrics
from Riley Blake Designs.

I would like to remind all of you that this is only my second SAL so I welcome your comments, questions and constructive critiques.
Now, let’s have some fun in the snow!!
•
•
Some of you may not have received your patterns yet due to a last minute edit however, you will be able to catch up quickly in this first week. When you get them, be sure to read through the entire instructions section before you begin.
This week we will be making your appliqué pieces and cutting your block background fabrics.
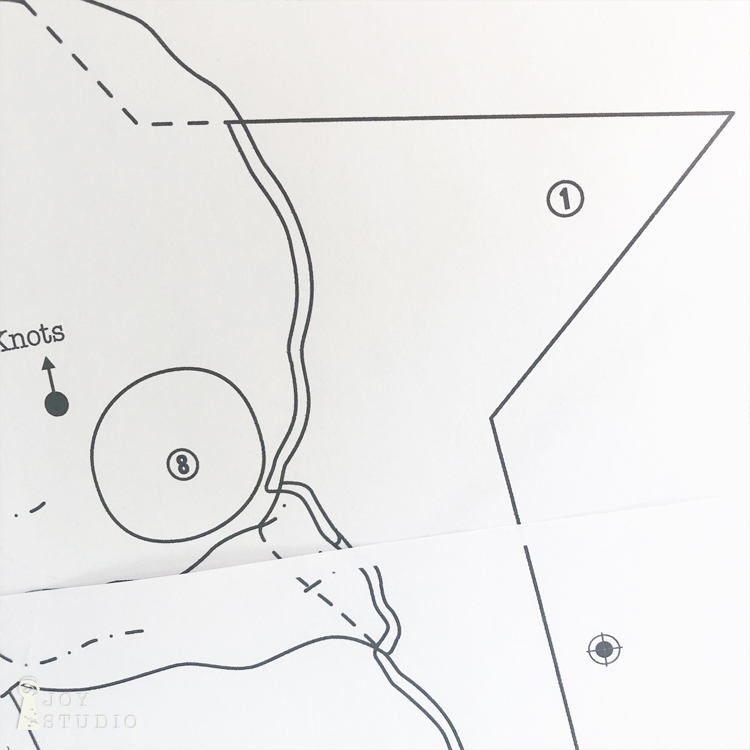
Begin by taping together the six Star Snowman pages. A light box or taping to a convenient window works very well for this. Match up the registration marks located on each page. You may choose to trim the edges of your six page snowman template first to eliminate gaps in the line art. As you can see in the pictures below, we did not.
•


•
Take your assembled Star Snowman and all of the other appliqué template sheets and begin tracing onto your fusible web, paper side up. Start with the largest pieces first such as Star Snowman, his scarf and snow base. We like to tape down the pieces so they do not move during this process.
•
•
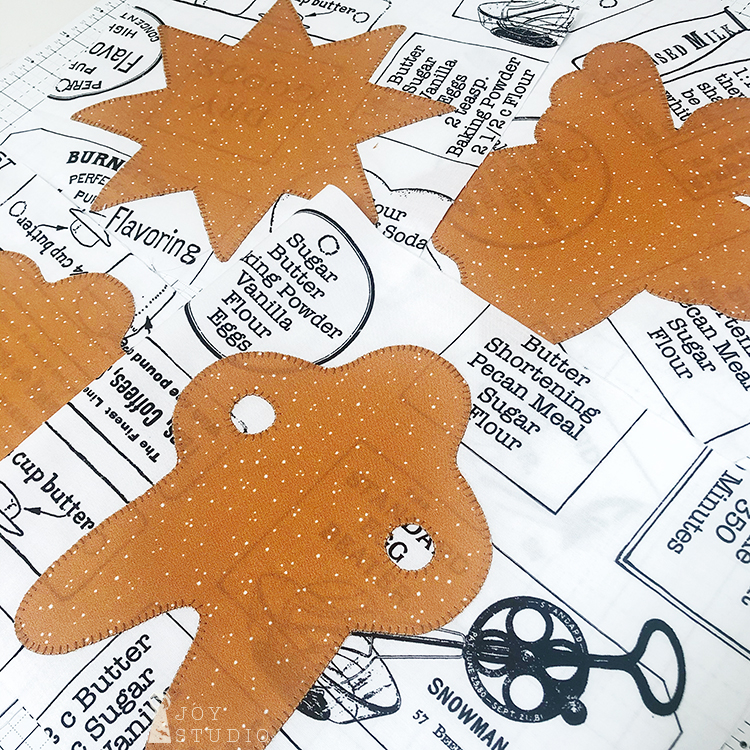
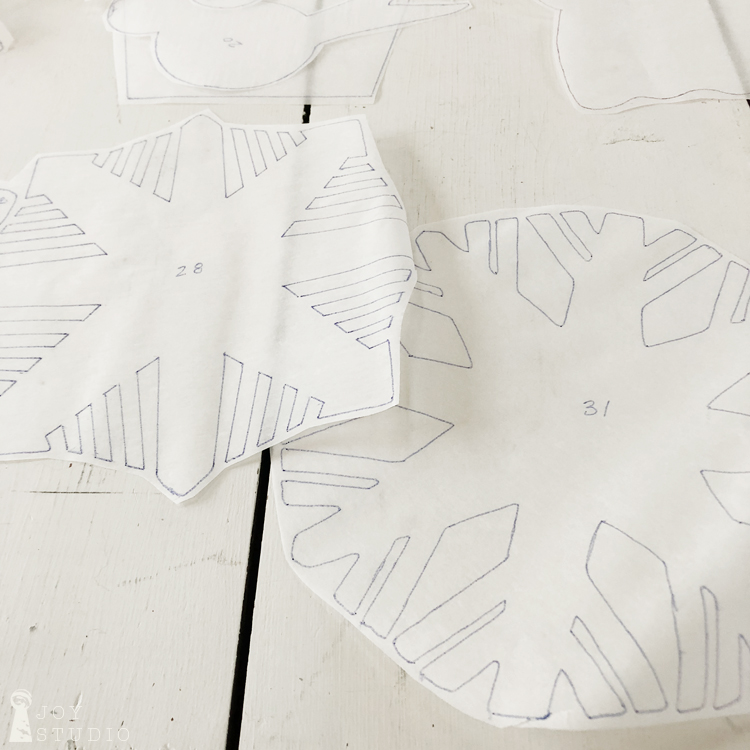
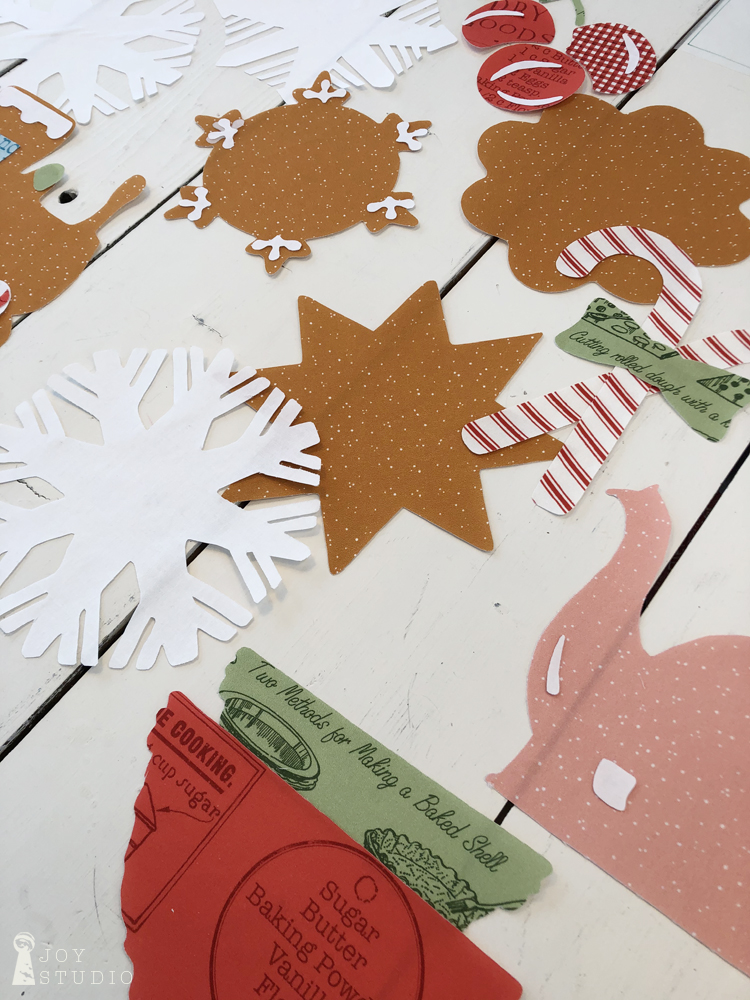
Every shape that you see on the templates will be an individual ‘glue’ piece so we numbered them as well by block for easier organization and quick identification when fusing. The appliqué designs are already in mirror image. Once all are traced, rough cut them apart. You will have something that looks like these:
•
•
Next: For all white and light colored appliqué fabrics you will want to add a second layer of fusible interfacing to mask the block background fabric you are fusing to. We did this with the Snowman and his base, snowflakes and bell.
•

•
Rough cut a piece of interfacing a little larger than your fusible pieces. Once again start with the largest items first. As you can see in the next photo group, you will simply ‘sandwich’ your white or light colored fabric on bottom wrong side up on your pressing surface, interfacing piece glue side down and then fusible web piece on top, glue side down. Once in place press according to the manufacturers recommended instructions. Darker fabrics will not require this step. So, for all other appliqué pieces using the pattern cover art as your fabric/color guide, simply fuse cut web pieces, glue side to wrong side of fabrics.
•

•
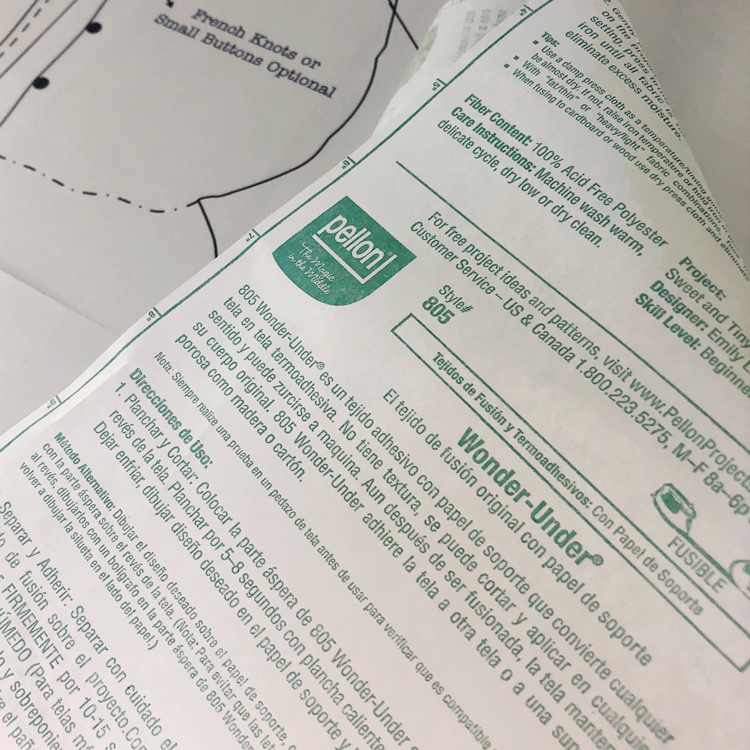
Here are the products we used. Pellon 805 Wonder-Under as our fusible web, Pellon 911FF Fusible Featherweight interfacing, and fine tip sharpies.
•

•
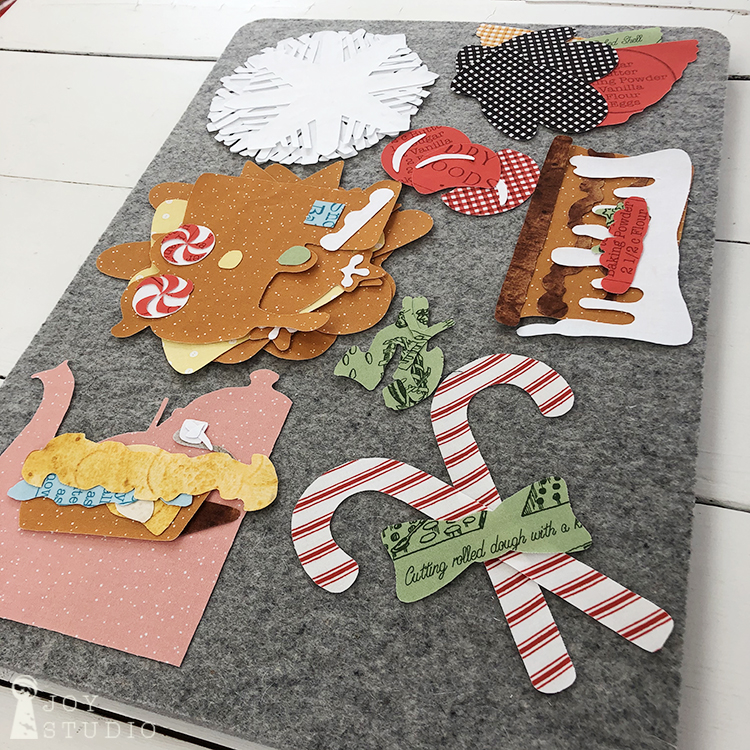
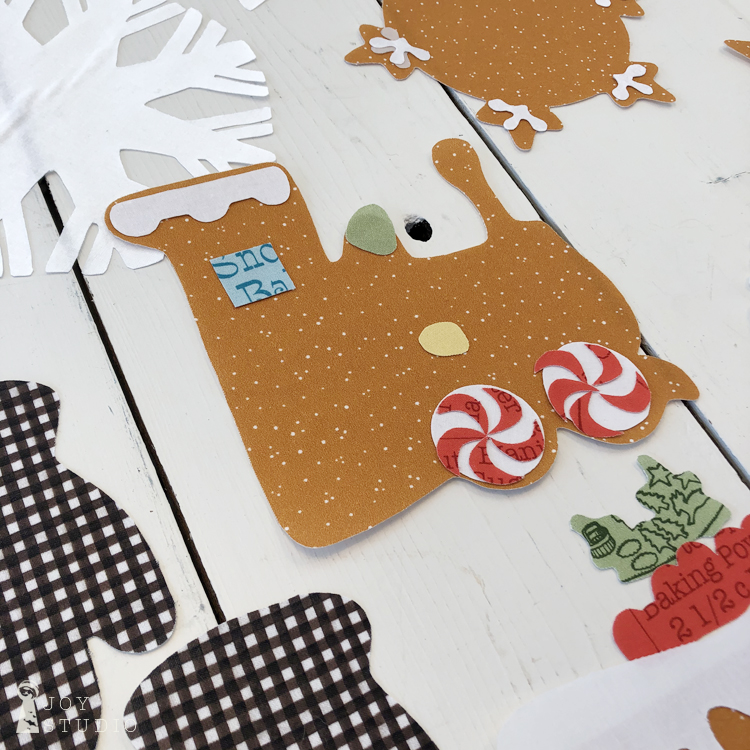
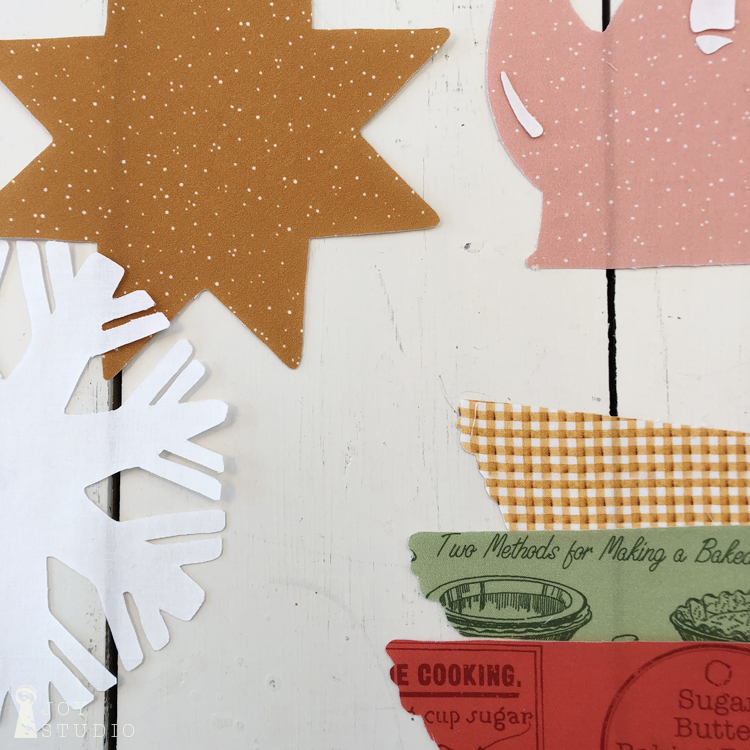
Once each glue piece is fused to its corresponding fabric you can move on to cutting out each appliqué. The more accurate you trim, the better the result. Use sharp scissors but not your “fabric only” pair as you will be cutting through the fusible web product. Here are the loose pieces organized and laid out that you will have before the final fuse to each block. Do not fuse together until week 2 for a helpful tip.
•
•
Next you will be cutting your block background fabrics, again starting with the Star Snowman. The sizes for each block are listed on your instruction sheets. Refer to the cover art for all of your fabric colors.
•

•
Note: There is one red fabric inconsistency listed from the original RBD storyboard as compared to our pattern. No worries! Either red fabric will work.
An optional but important step for week 2 will be creating “doors” for accurate piece placement. This will require any standard tracing paper you can get at your local art or craft store. This was not included on our original supply list. It comes in a variety of sizes. We used Strathmore Tracing Paper Pad, 300 Series, 9″ x 12″, 50 sheets. This will be plenty for this project.
•
We would love to see your progress photos on Facebook, Instagram and/or Pinterest so please let us know where in the comments.
Please tag us and follow on Instagram @jweckerfrisch and #snowalong whenever posting.
You can follow us on Facebook at Joy Studio News
And we’ve created a Sweet Snow A Long board on Pinterest.
Welcome everybody! See you next week!
Save
Save
Save
Save
Save
Save
Save
Save
Save
Save
Save
Save
by Great Joy Studio | Jul 18, 2020 | Quilting & Fabric
J. Wecker Frisch
•
Hello Everyone.
We have been hearing a lot of excitement surrounding the
Sweet Snow-A-Long!
And we are equally excited and thrilled to be bringing this classic fabric collection with our partners at Riley Blake Designs and FUN project to all of you!!
Please note the new “shooting for” date:
The Sweet Snow-A-Long originally scheduled to begin on July 23rd will now start on July 30th.
Patterns (P149)-Sweet Snow-A-Long) will be ready in the nick of time, for this highly anticipated event!
•
Meanwhile, if you’re shopping!
The REVISED Fabric Requirements and Supplies List:
•
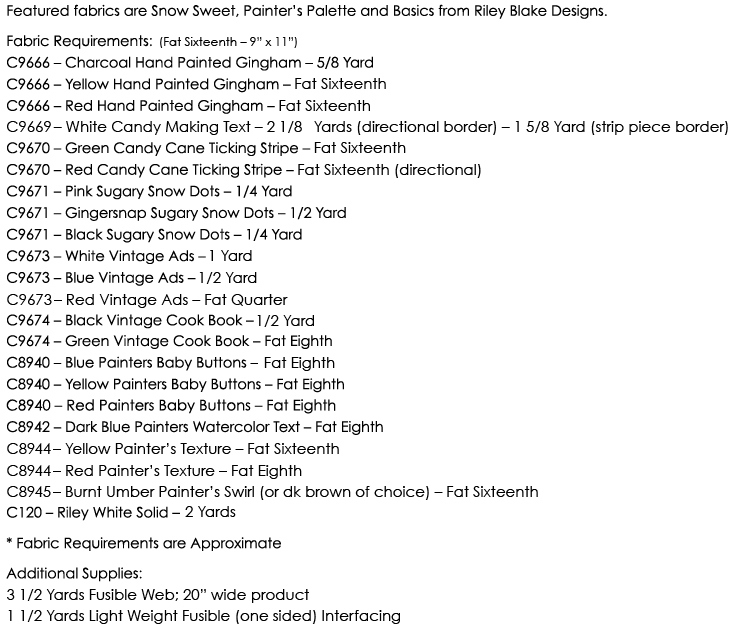
Sweet Snow-A-Long Update
•
The above items are available in Quilt Shops now.
•
We are sorry for the delay and are grateful for your understanding and patience. We want to be sure that everyone is able to gain access to the fabric and pattern.
So, hang on just a bit longer please.
Thanks again for all of You who have been supporting the Snow Sweet fabric collection, it has been amazing!
•
by Great Joy Studio | Jul 2, 2020 | Quilting & Fabric
•
Announcing,
SWEET SNOW-A-LONG
July 23rd
made with
SNOW SWEET
fabrics from Riley Blake Designs!
•
•
Follow us here at JOY STUDIO for each step over five weeks to make this delightful and delicious quilt top.
Patterns and fabric are shipping now so check with your favorite shop for arrival times. MANY shops have ordered this so patterns, kits and fabric should be widely available.
If your local is still closed check the on line shops. Search Snow Sweet fabric and Sweet Snow-A-Long.
•
J. Wecker Frisch
•
Anyone can make this. We know because WE DID!! Lol And as you know, we are still new at this. I hope you can join us to make this really fun snowy quilt and cool off your summer!!!

