by Great Joy Studio | Aug 16, 2024 | Quilting & Fabric
Hi Friends!
I’m going to be honest, summer is not my favorite and this one has been has been a little scary. And hot of course. It has been exciting but nerve wracking, a lot of hard work but fun and all the while fulfilling, as I complete the last steps of my entrepreneurship.
•

•
On a happier note, I’m still going! Here’s the latest:
We are nearly moved into our new office and workshop location at 16 Dreyer Ave., in Eureka, MO. Our new hours for visitors are
Thursday – Saturday from 10:00 am – 1:00 pm.
Follow us on Instagram @jweckerfrisch and Facebook Joy Studio-tiding of Great Joy for upcoming mini classes this fall.
•


•
My three NEW fabric collections from Riley Blake Designs, “Pumpkin Patch”, “Old School” and “Press On” are in quilt shops now! Check them out at your favorite local or on line location.
Our Wonderland Workshop for October 4th is sold out. Next one is scheduled for mid January so stay tuned.
Upcoming events:
This weekend it’s off to Hamilton, Mo. and on August 19 – 20 we will be visiting our friends at Missouri Star Quilt Company! Watch for me on Jenny’s Tuesday Newsday and my interview with Misty Doan on her Homespun channel, in an upcoming episode. I am quite excited about this as you can well imagine!
Studio Class: Fused Applique Fall Place Cards – Details to come on IG and Facebook
Studio Class: Vintage Watercolor Color-Mixing Chart – Details to come on IG and Facebook
Fall Quilt Market in Houston TX is Oct. 26 – 28 where Riley Blake Designs will be introducing my new fall collections, one of which is, “Costume Makers Act II” .
•

•
Well, I think that has us all caught up. I hope to see you soon at one of these events or just drop in to say Hello. We have been enjoying meeting folks, swapping quilt stories and sharing creative journeys. We would love to know yours.
•
by Great Joy Studio | Jun 21, 2024 | Quilting & Fabric
HELLO!
•
•
We are pleased to announce our 3rd Great Joy Studio workshop. This will be our first in the NEW space!
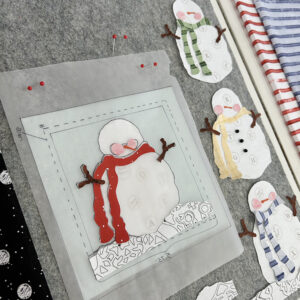
On July 19th we are hosting a Christmas In July event, from 9:00 am. to 4:00 pm.
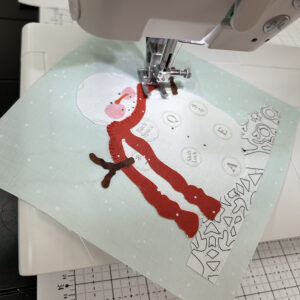
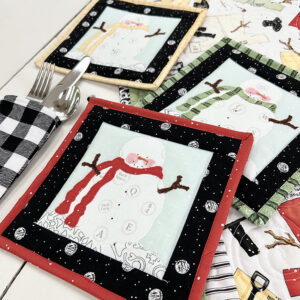
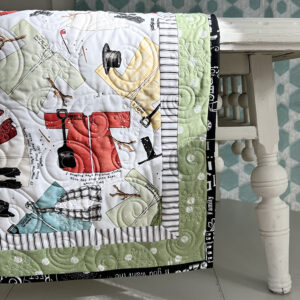
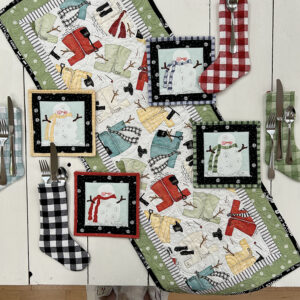
The projects feature the “White As Snow” fabric from Riley Blake Designs. The table runner and mug rugs projects can be found in the Wintry Project Booklet in quilt shops now if you want to follow along.
•
•
You can sign up with the Workshops tab to participate in person.
Kits for your projects, gift bags and a light snack are provided.
•
•
Your choice of several lunch options are within walking distance.
Agenda and a list of things to bring will be sent to participants previous to the event.
Workshop will be held in Eureka Missouri 63025 at 16 Dreyer Are.
Recommended accommodations Wildwood Hotel in Wildwood, MO
•

•
See you soon!
by Great Joy Studio | Jun 1, 2024 | Quilting & Fabric
•
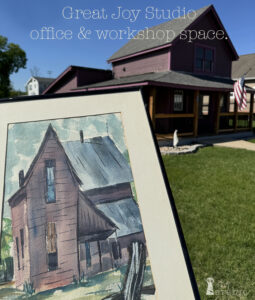
New Workshop Space
•
Before awareness of everything made the national calendar,
JUNE was MY BIRTHDAY MONTH!
And, oh yeah . . it still is. Lol
So, Happy Birthday to all of you who were born in June and to me.
As it happens I have some really exciting news happening this month for
Tidings of Great Joy, LLC – dba Great Joy Studio:
A NEW workshop and office space, all our own! Yes, another move and here’s the story:
Years before the last two floods (2015 & 2017) in Eureka MO I would occasionally drive by and day-dream about a small 1916 farmhouse in ‘Old Town’. When it came up for sale again this year, I began to re-visit the former possibilities. Seemed absurd, out of the question, absolutely not! So, instead we moved to an office rental up the street. Adequate but not too inspiring. On my commute passing to and from the very large For Sale sign on the tiny but charming purple house was a daily occurrence and impossible to miss. Then in February, I decided to call on the property again and even threw out a number to the owner much to my amazement. In the weeks following I did my best to leave it in the back of my mind. However, this along with everything else going on in the world and in my personal life, waiting and wondering became a bit transforming. I still cannot put any of this into words that make sense to anyone perhaps but myself. And God? Maybe.
Anyway . . .
Weeks go by, working and prayer, working and prayer, living life, working and more working and more thoughtful deliberation, much research, work, prayer . . . I’m sure you are getting a picture. Then, one night for whatever reason as I sat straight up in bed, my eyes zeroed in on a particular sentimental watercolor that I keep in my room. It’s been there for many years and goes by unnoticed for the most part. It was painted by my Dad when I was a baby and holds great sentimental value. As far back as I can remember it hung in my parents room. The piece sits right next to a photograph of my Dad and me. This night, as I realized the striking similarities to the property and the painting that I found myself exclaiming aloud, “Dad, it’s the purple farmhouse!” Suddenly, strangely I felt peace. Peace of mind somewhat and the first time in weeks, even still, and I don’t fully understand why. So, I began several weeks of investigation, not allowing myself to give it too much thought and just kept busy as I always do these days. The further I probed, the easier it became to give into the idea for one more office/workshop move. Although I don’t exactly know where this venture is going and still having some uneasiness from time to time it’s mostly EXCITING and fun to think of the uses! To say nothing of the decorating!
We take possession this month (a matter of days) and will work extra hard to have an open house/preview during the Eureka Block Party June 14 and maybe our first class there mid July. Keep an eye out on our new Workshop page we are currently in the process of creating. For our new space updates you can also follow us on Instagram @Jweckerfrisch
Thanks for your visit.
~Janet
PS – New location is – 16 Dreyer Ave. Eureka, MO 63025
by Great Joy Studio | Aug 30, 2023 | Quilting & Fabric
•

Hello there!
•
•
Well, I did not expect my fabric journal journey to take a full year to put up my next blog post! However, if you’re following me on Instagram then you have a pretty good idea of what Great Joy Studio has been up to. Five more fabric collections, a White As Snow Winter-y Projects booklet, lots of quilt design and some time to create a few inspirational pieces for church.
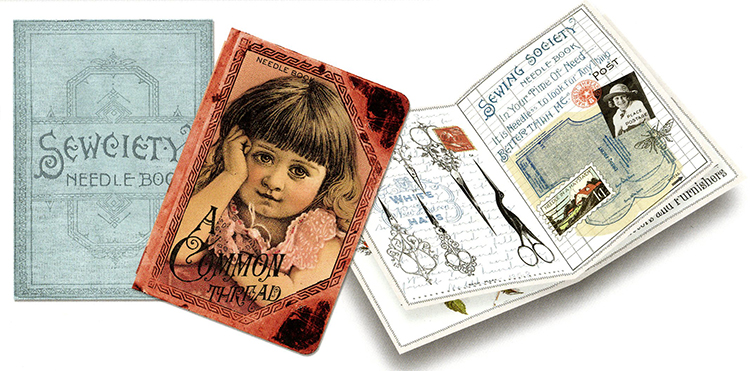
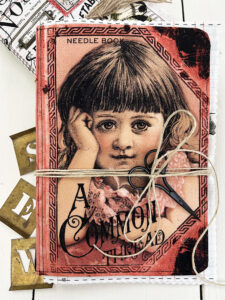
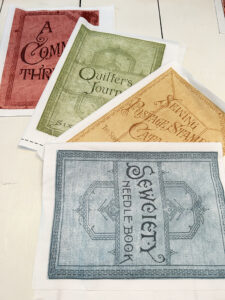
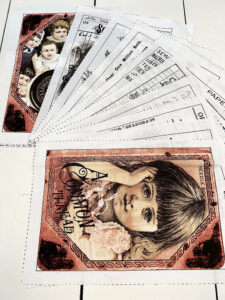
So, let me tell you what else is new like our latest collection from our fabric partners at Riley Blake Designs. “Sew Journal” is the name and is currently delivering (or delivered) to shops this week. Of course it is full of the coolest vintage and antique sewing imagery from my own personal ephemera stash. Some of the pieces are quite rare so I am especially glad that we can present this stunning art and can share on fabric and quilts for years to come.
•

•
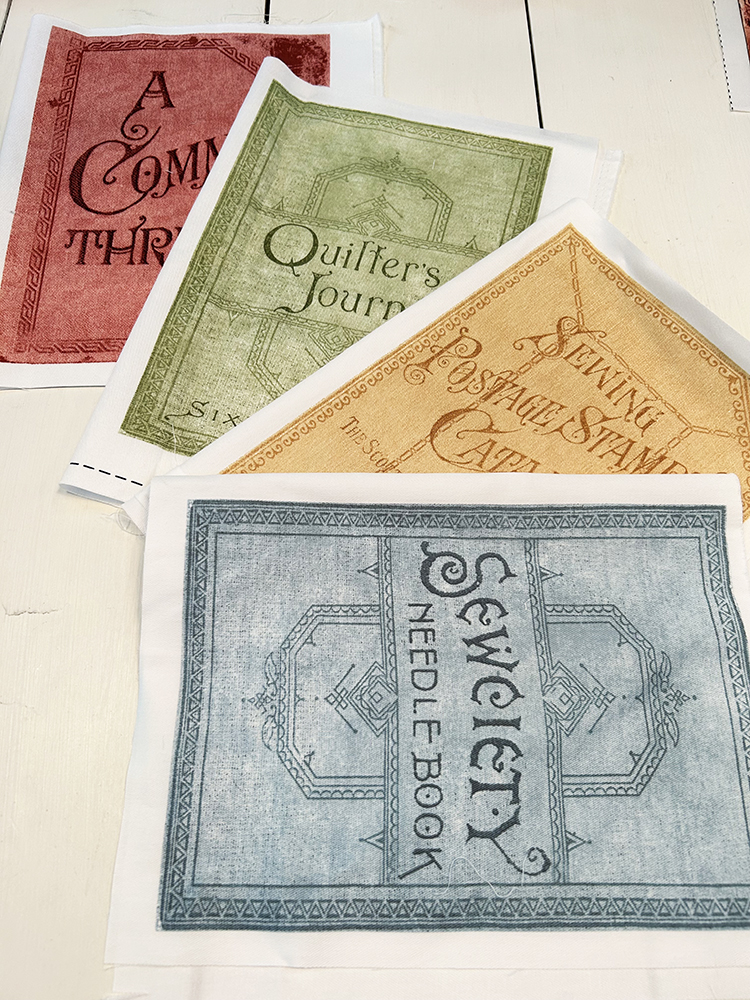
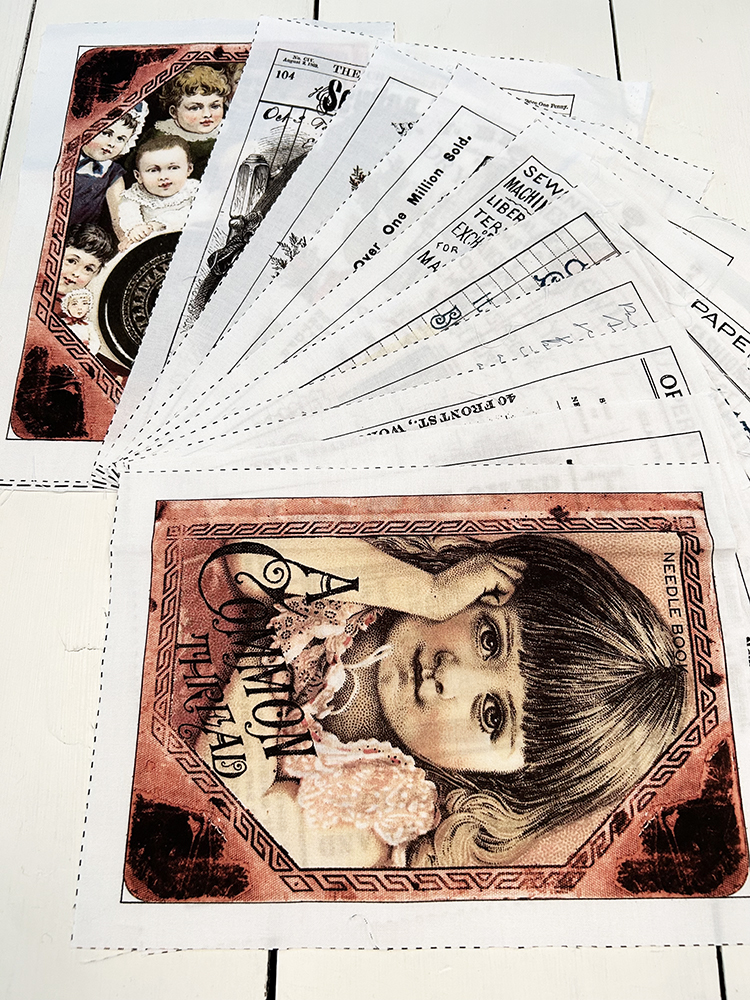
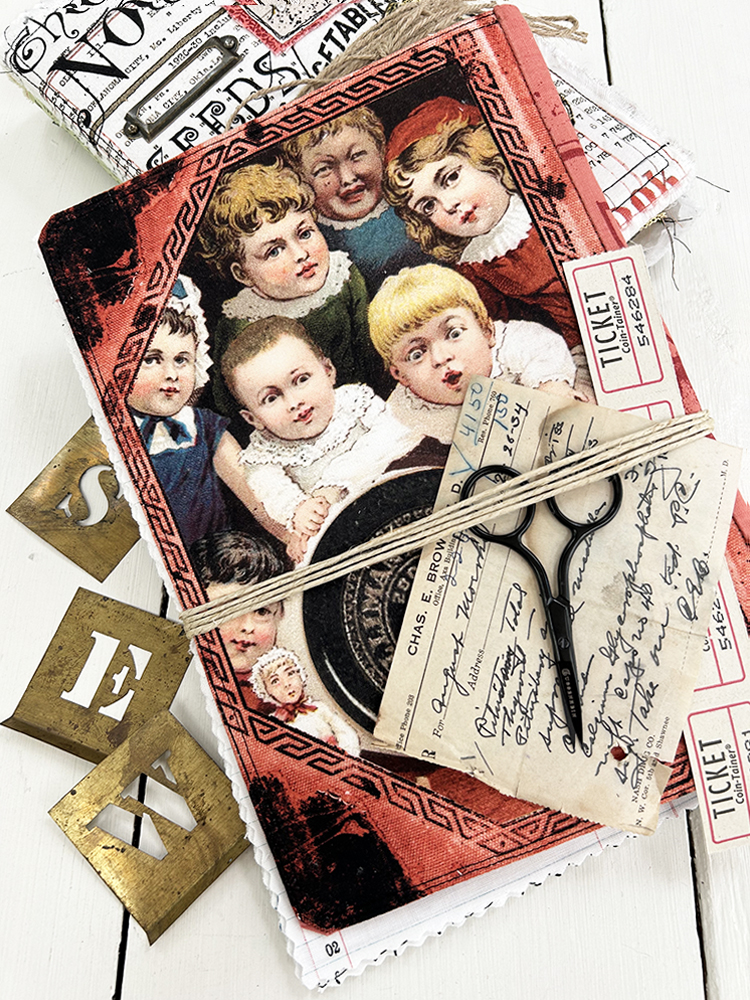
We used three of the Sew Journal panels and several scraps from all three of my ‘Journal’ collections, Art Journal, Journal Basics and Sew Journal to continue on our book making exploration. In addition I have gathered all of the tiny and interesting trinkets that one tends to collect through the course of a creative lifetime. You know the ones I mean, countless items that just don’t seam to go anywhere but you hang onto just in case you need for that special project? Well . . . we have it! And we want to invite you to join me at our first Sew Journal weekend retreat. Here are the details:
October 13 – 16
Quilt Town USA – Hamilton MO
MSQC Retreat registration click here!
See you there and keep following us on Instagram for inspiration and retreat updates.
•

•
by Great Joy Studio | Sep 22, 2022 | Quilting & Fabric
Hello once again.
We took some time at the end of summer to do a bit of traveling so, our week five for the fabric journal post was delayed. We also took a couple days for garage and closet cleaning! In addition, the actual execution of this project is somewhat new to me and I am learning what works and what doesn’t. So I’m giving myself plenty of time for my fabric journal style to evolve. There are many techniques to try and experiment with.This is going to be an ongoing, learning process to enjoy.
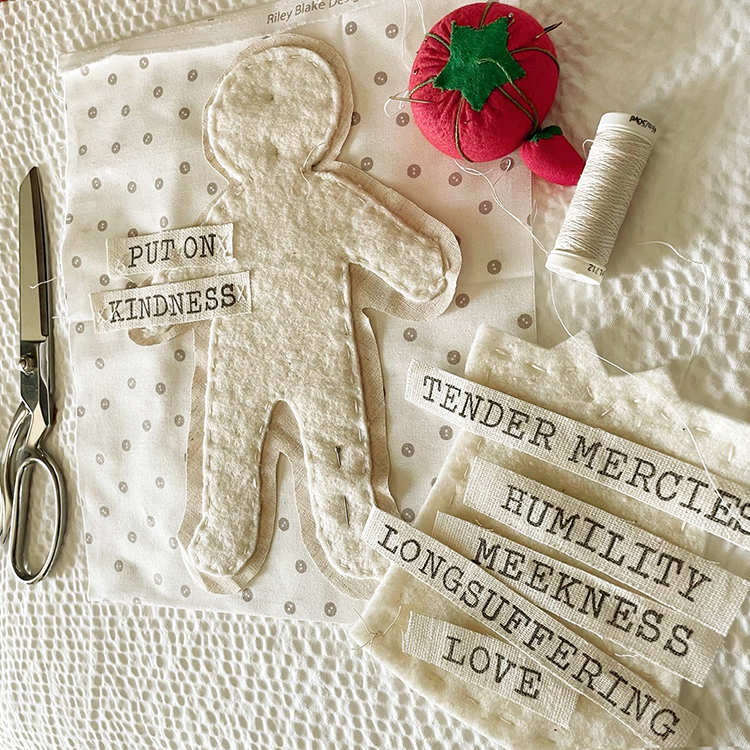
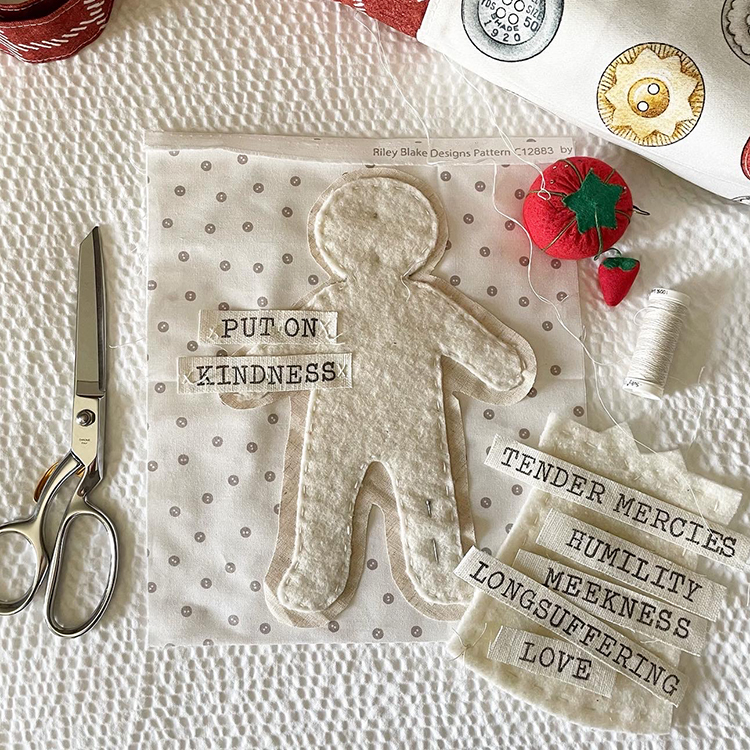
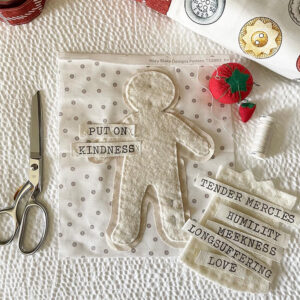
Now, back to the fun fabric stuff! I have two more fun layouts signatures/pages to share. One I did in the car while riding along on the road trip. We had just received a bundle of Hush Hush II from Riley Blake Designs before we left so I grabbed our Baby Button Dot low volume sample and a bit of inspiration for this one. I stamped some words on linen scraps from Colossians 3 which was my scripture reference for this piece.
•

•
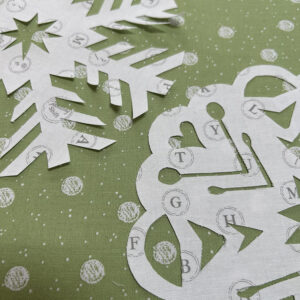
I had purchased some craft board paper doll templates some time ago and decided to cut one from Riley Blake natural linen and one out of ordinary batting. Then a dress from our Doll Closet appliqué template and adjusted to the right size. I simply layered in a pleasing layout and began to hand stitch. A perfect project while taking in the sights.
•
•
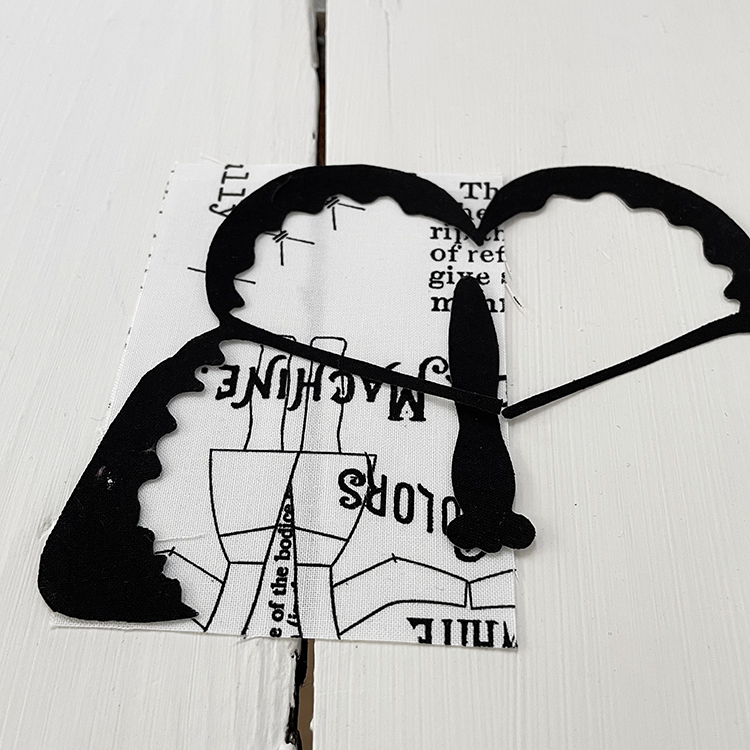
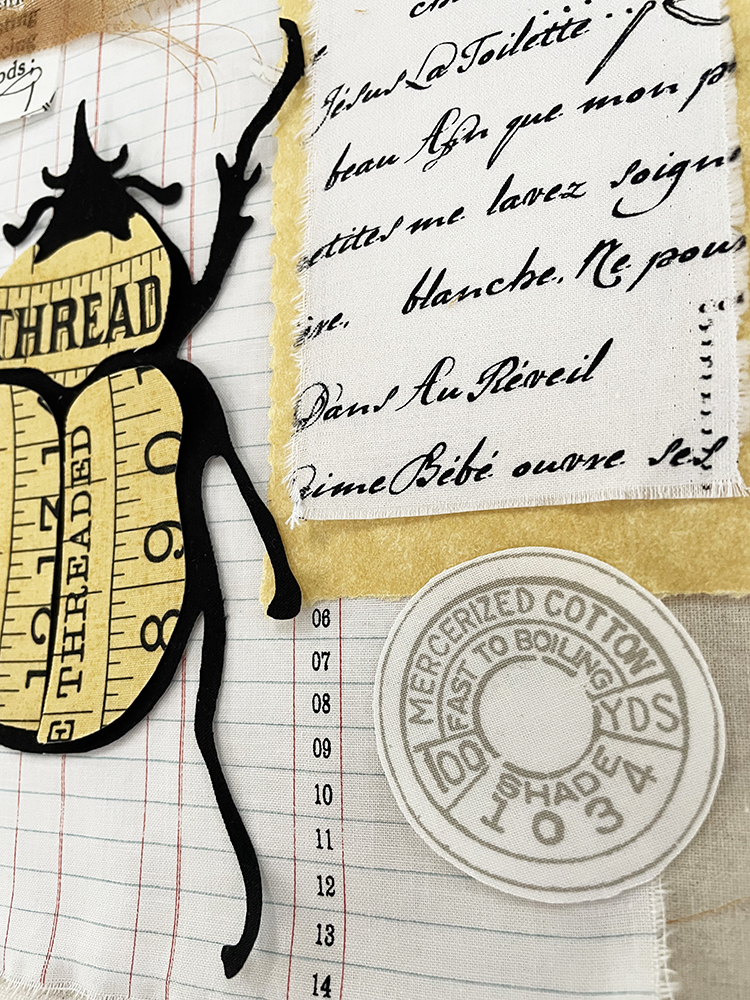
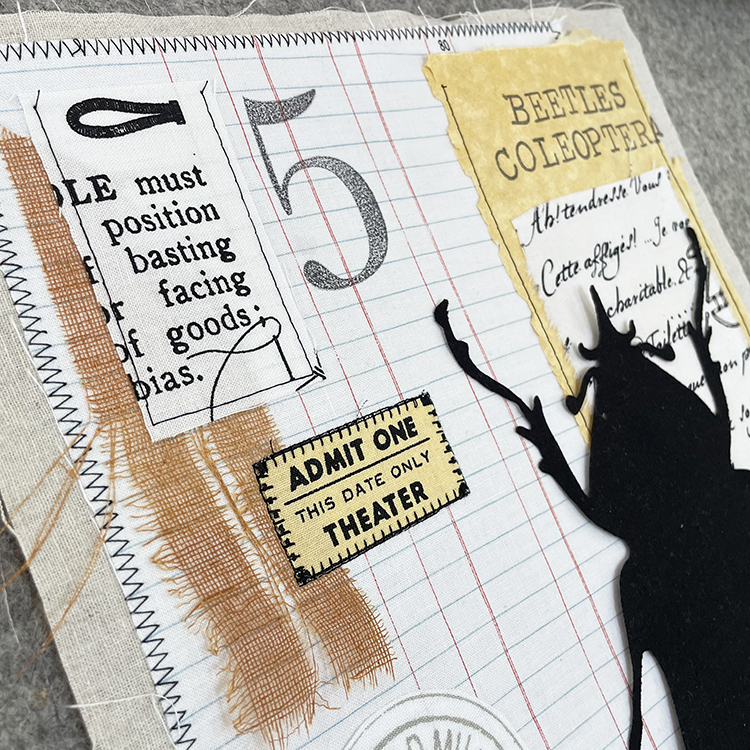
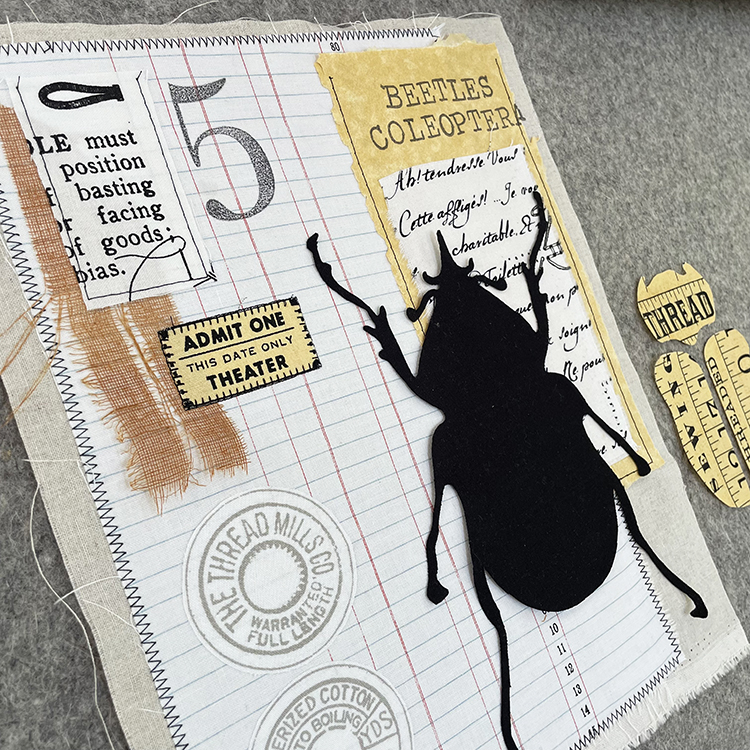
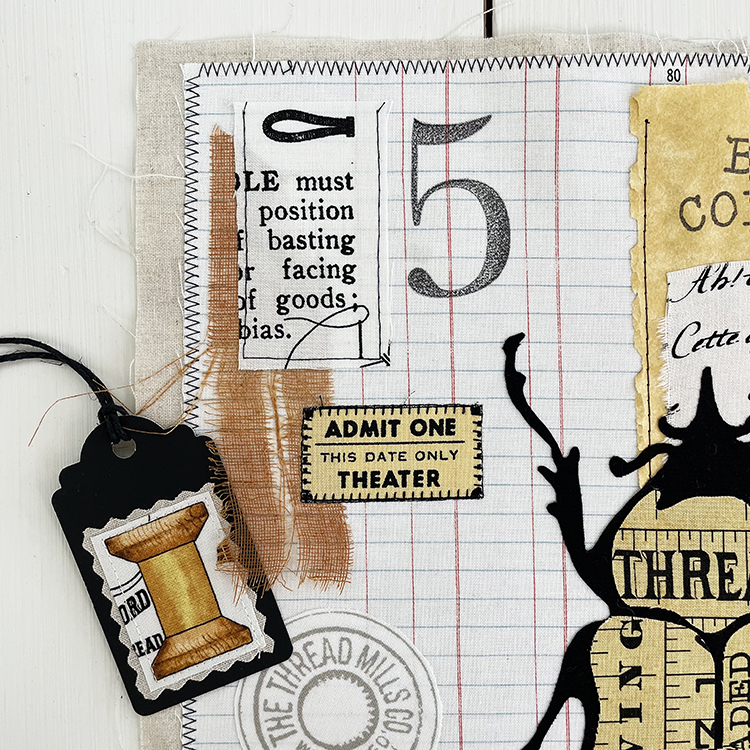
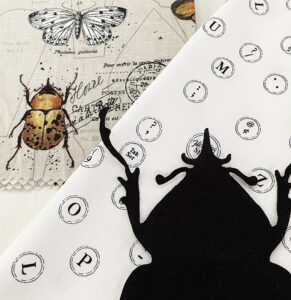
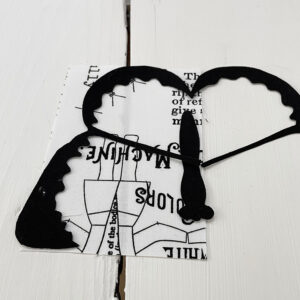
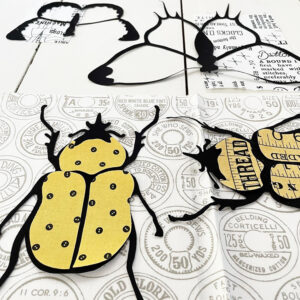
The second group of images were inspired by insects from our upcoming “Art Journal” fabric (above)! We are so eager to introduce this collection (February 2023 delivery) from Riley Blake Designs that we could not resist including a few early samples that were sent for color approval in our finished piece (below).
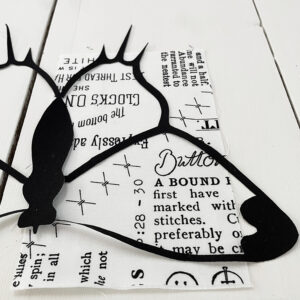
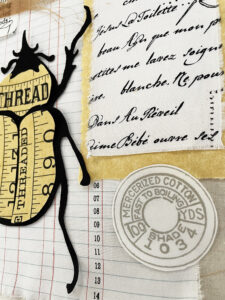
I asked Kate to design and cut out silhouettes in Riley Blake Black and then highlight with Best of She Who Sews measuring tapes and button dots. Once Kate had the black appliqué pieces cut out we auditioned a few of the Best of She Who Sews fabrics to see what to use for the beetle highlights and butterfly wings. Best of SWSs offers so many great options it’s difficult to choose!
•
•
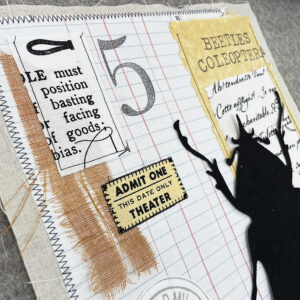
After fabrics were chosen, we prepped our base signature/page fabrics, Again we used RBD Natural Linen layered with Journal Basics Ledger Paper and assembled in place to fuse. I like fusing before sewing down to assure precise placement and this offers more stability to the signature/page. We added a little more stamping and plan to continue with the sew-y theme with vintage buttons and maybe some labels. Plus I have much more sewing details to try/add but see what you think so far! We will have these bug-y appliqué kits in our shop soon.
•


•
I’m saving the Baby Button Dots beetle for a small accent pillow! Stay tuned:
Great Joy Studio/J Wecker Frisch on Instagram and Facebook