
Week 4, already?!!!!
We have been sewing down all of our appliqué pieces in rows 1 and 2. How about you?! We are still trying to figure out how we can patch our derby form correction so we will keep you posted in case you have the same problem.
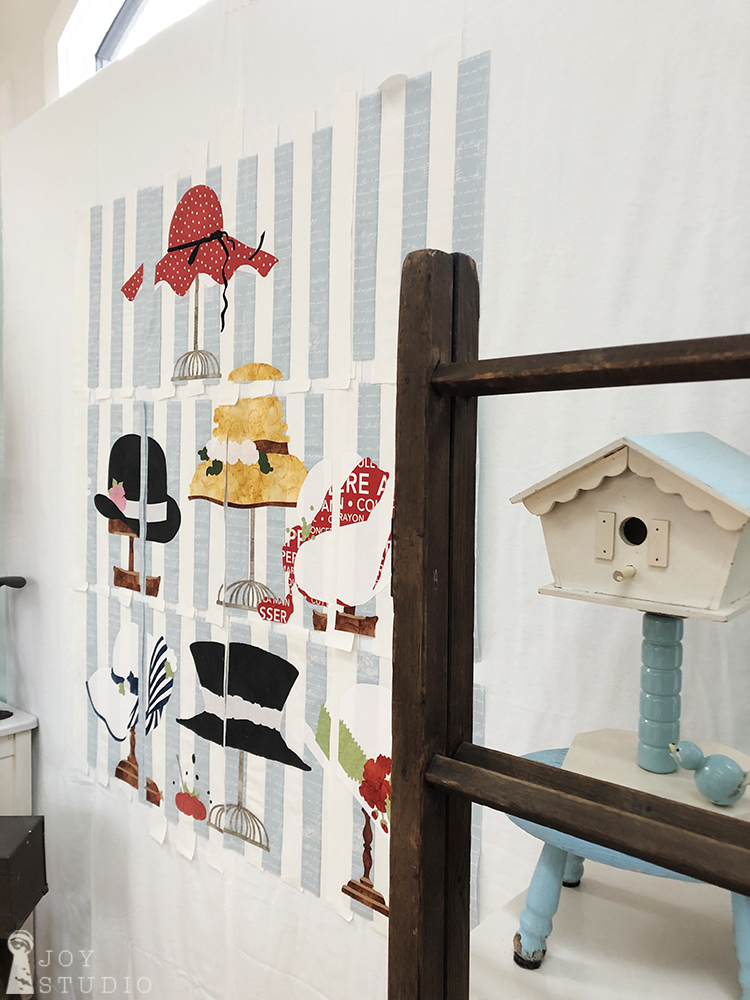
To help us get a better view of our progress, we purchased materials to construct a much needed design wall. Refining is still underway but for now, it works. If you have the room I recommend one although I’m sure that most of you are way ahead of me on this already. We purchased 2, two inch thick, 4′ x 8′ sheets of styrofoam from a local building materials supplier and then covered them with flannel.
•
So, this week we finish the last four window blocks. Hurray!
Fusing row 3
Be sure to begin as we did last week by lining up your vertical striped background with the row above as you place your pattern tracing over each of your blocks. Review the images using this link and scroll down to Lining up the vertical stripes.
Likewise as in the week two, use your pattern tracing paper door method to begin placing and fusing all of your appliqué pieces. Review using this link and scroll down to Making an appliqué placement door.
Applique fusing sequence.
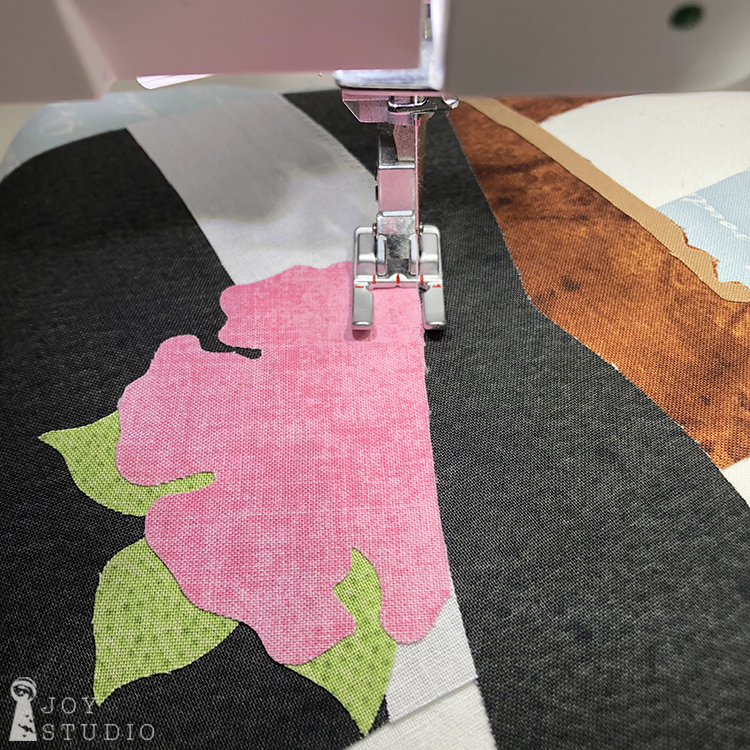
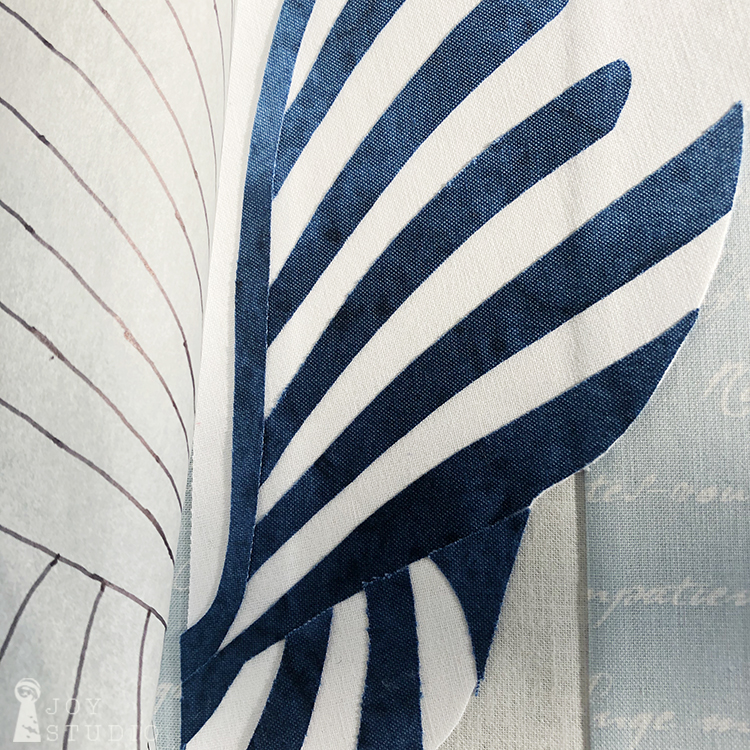
Repeating, the best way to determine what is fused first is by laying out all of your appliqué pieces on their corresponding blocks, underneath your tracing paper rendering, carefully checking with your pattern cover and technical illustration. Much like the red hat described in week 2 and the derby in week 3, the majority of the hats are fused in a similar order. Hat stand parts and then hat parts, However, hat one (left to right) took a bit more concentration figuring out the stripes. We cut a few of these pieces to go under each other, e.g. the hat brim stripe, which we added last. Shown here in these photos, the hat brim stripe covers the other angled stripe ends.

•
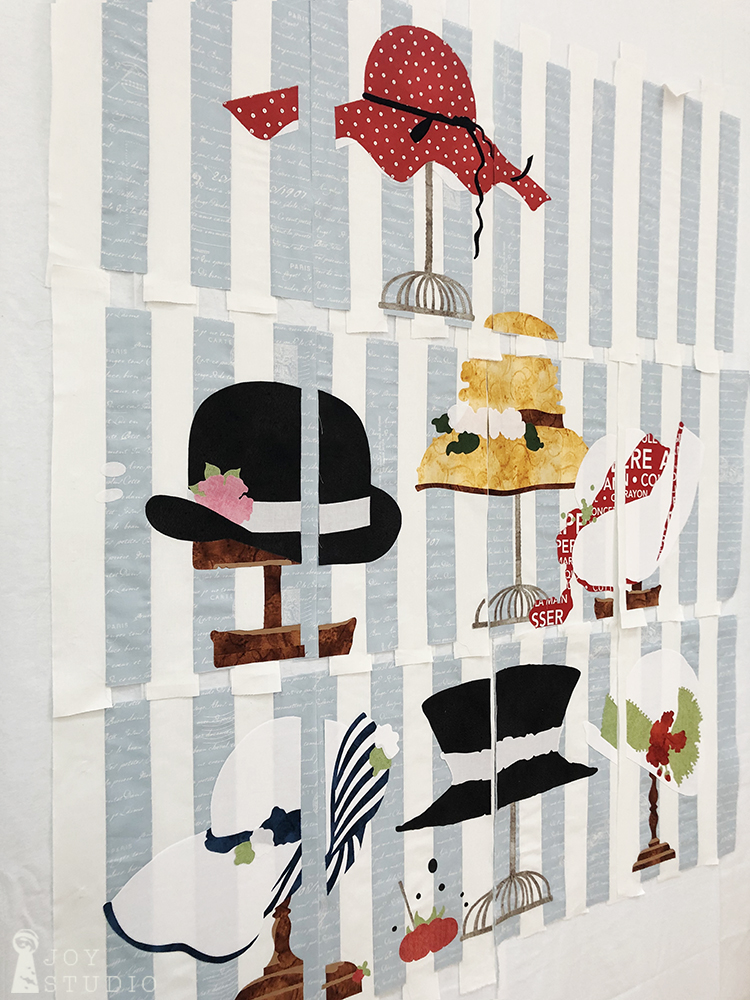
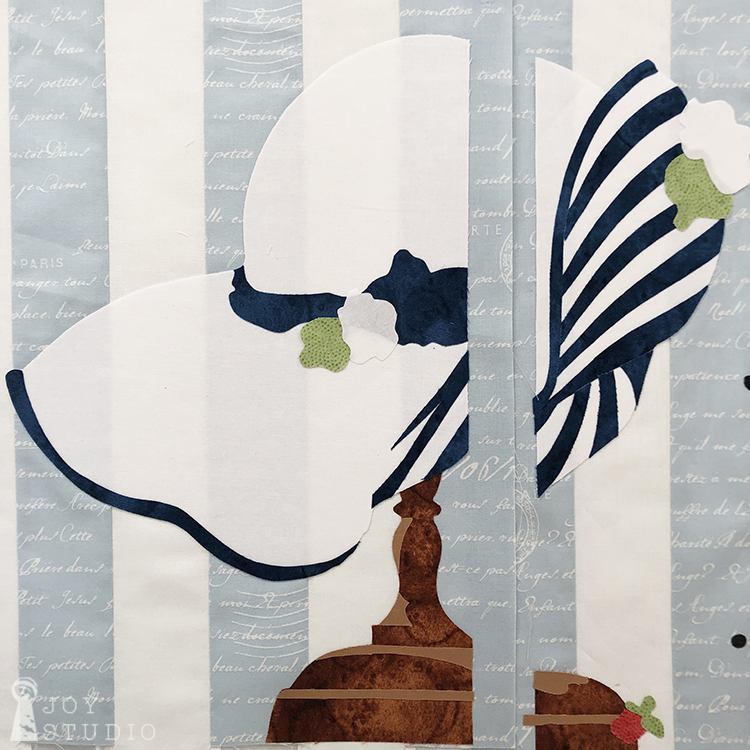
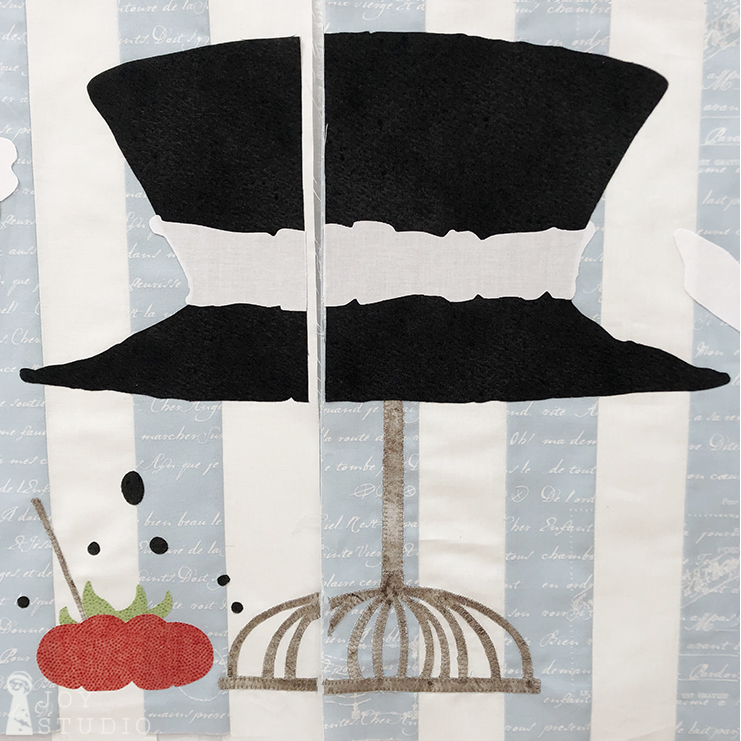
Here is how the rest of our row three hats look like before stitching, except for gray. I confess, jumped ahead to sew all like colors to avoid so many thread changes. You can notice that we swapped out black fabric for the pin heads to show up better or you can stitch these if you like.
Also, I cut all the green trim on last hat (below) to include all of the round beading detail. You can eliminate this if you do not wish to do that much extreme cutting and replace with French knots or some other type of decorative stitching or trim.

•
Have I mentioned lately that we are using my two new collections, Painters Palette and Couturiere Parisienne for this project? And we are loving the rich colors and painterly textures of these gorgeous fabrics from
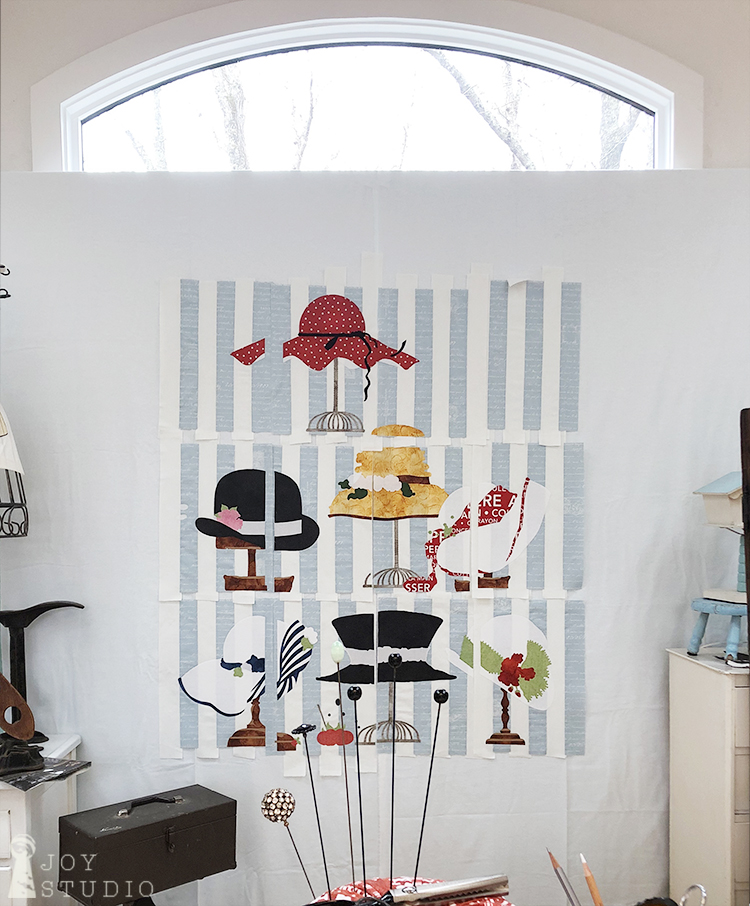
I hope you have enjoyed seeing our Hat Shop (Atelier de Chapellerie) windows progress and now, we would LOVE to see yours! So, if you would . . .
post a photo of your progress and use #hatshopsewalong on your social media channels
so we can find them,
FOLLOW here, on the blog:
And/Or
@jweckerfrisch on Instagram or Joy Studio on Facebook
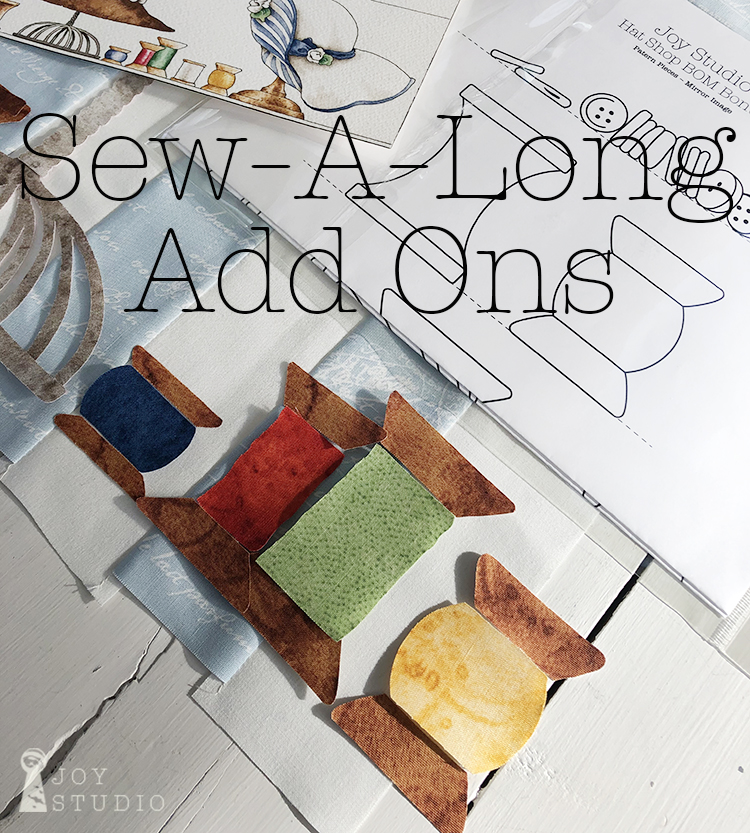
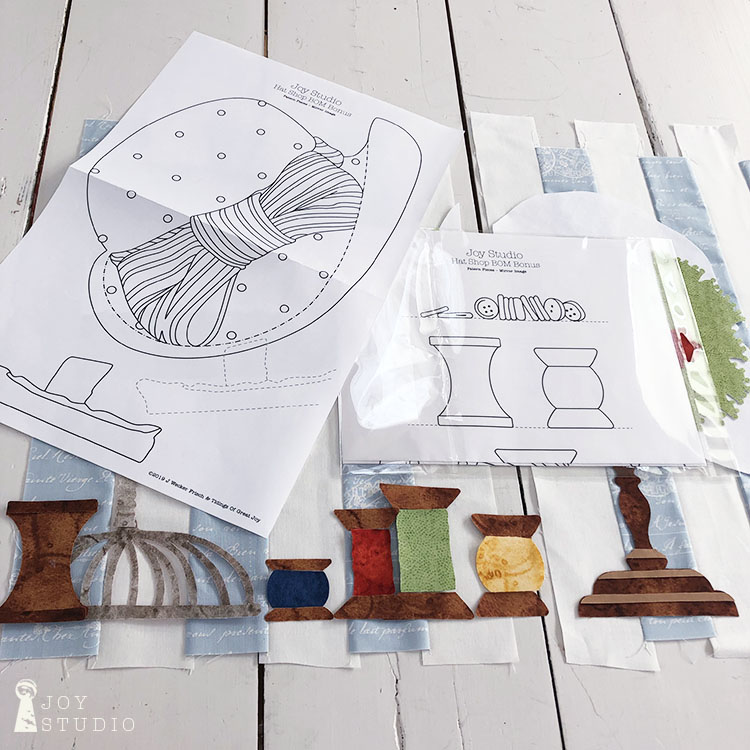
We will be happy to send you these CUTE add on appliqué and bonus hat pattern GIVEAWAY! Vintage spools, buttons and button jar.
•
Drop me a line if you have any questions or comment here. janet@greatjoystudio.com
Happy hatting this week!

Great content! Super high-quality! Keep it up! 🙂