by Great Joy Studio | Feb 4, 2020 | Quilting & Fabric
Again welcome to the Hat Shop Sew-A-Long!
Picking up from last week,
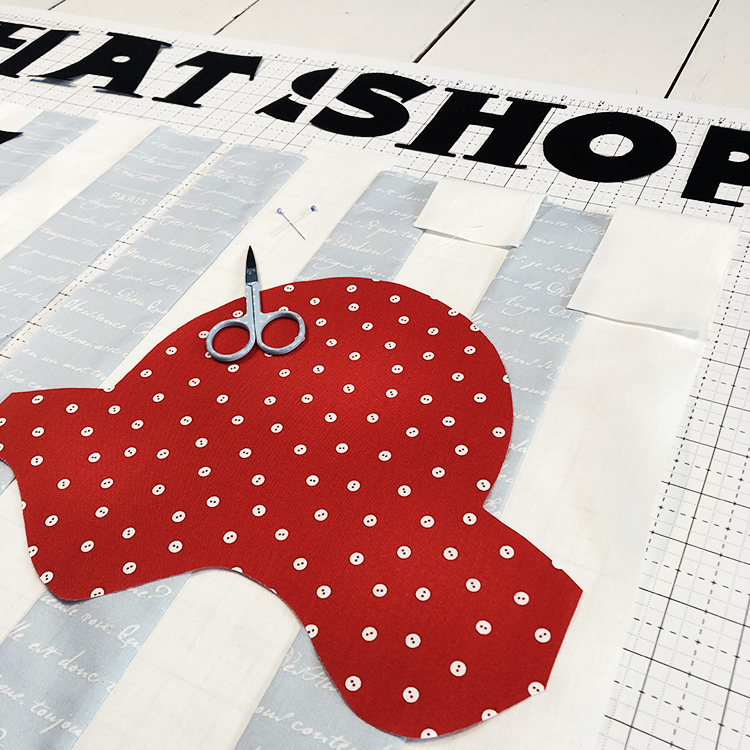
Sewing the details.
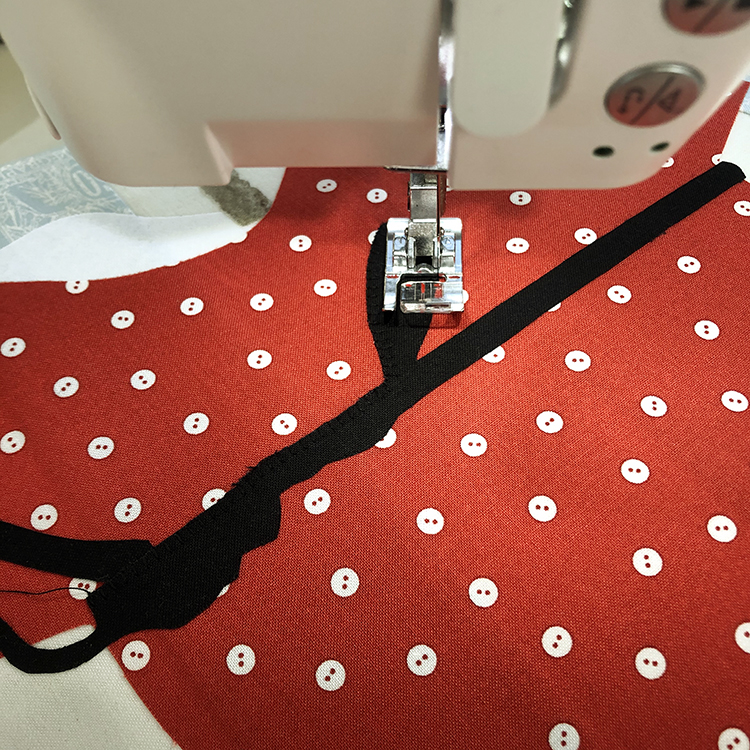
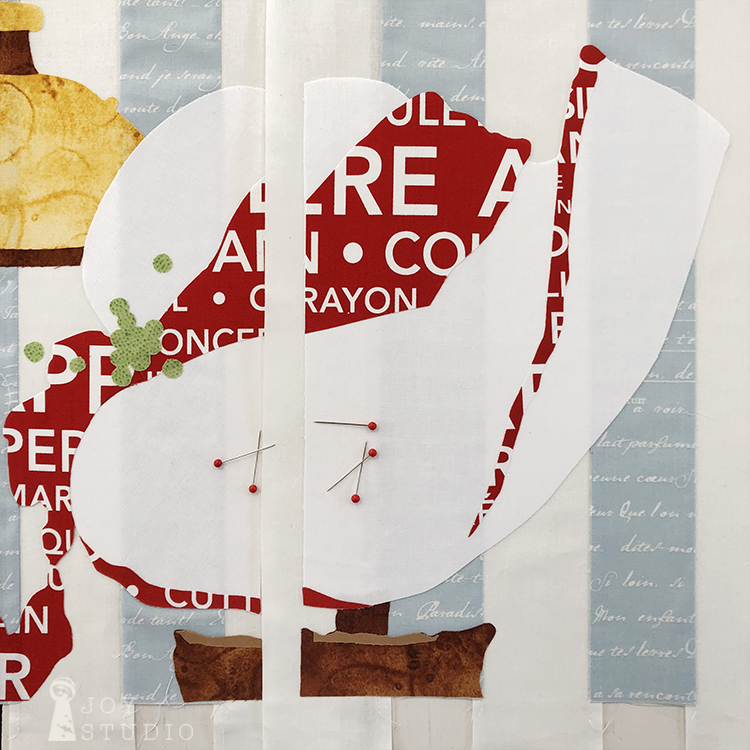
As I shared in week two, if you want to add decorative stitching and other trims to enhance each block, you may want to do that before piecing all four blocks together for easier turning. Whether you already assembled your top row before placing the text or not, either way is OK. I still have only fused and stitched down the red hat pieces. We will be stitching the remaining eight applique blocks in their entirety before assembling each row.
•
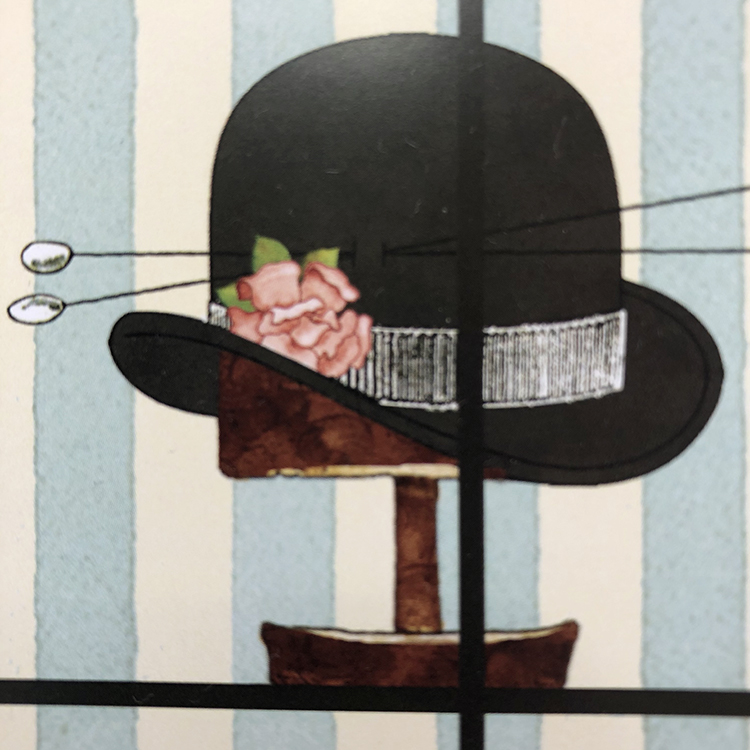
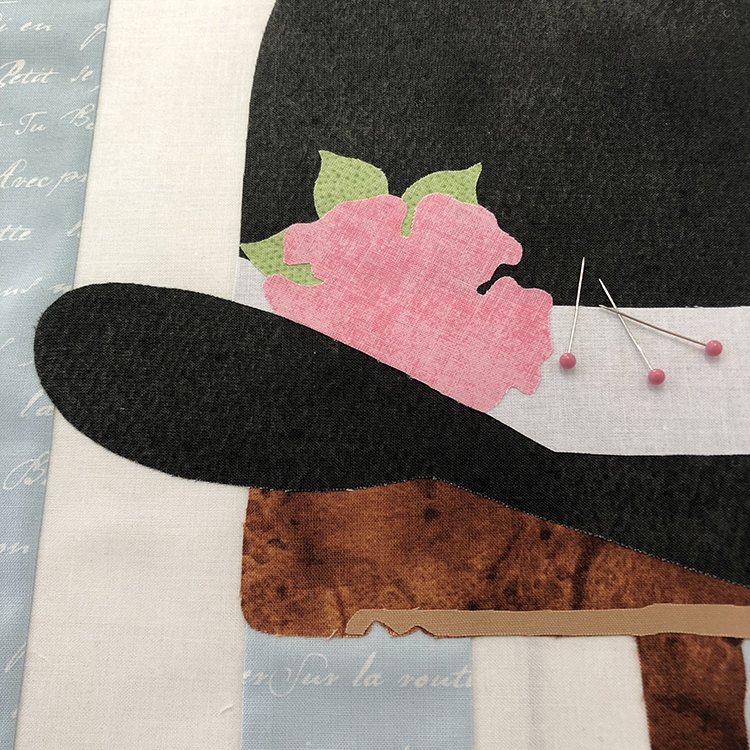
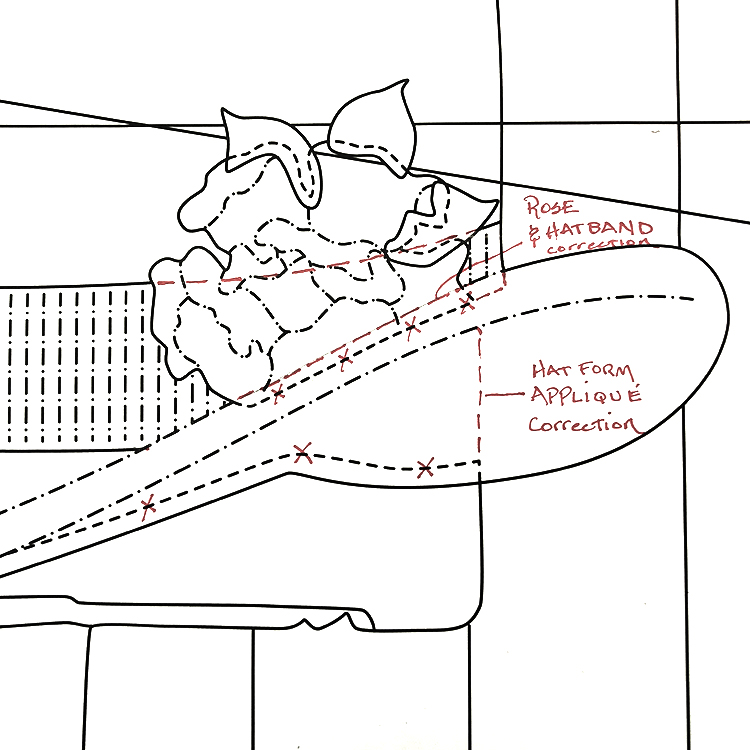
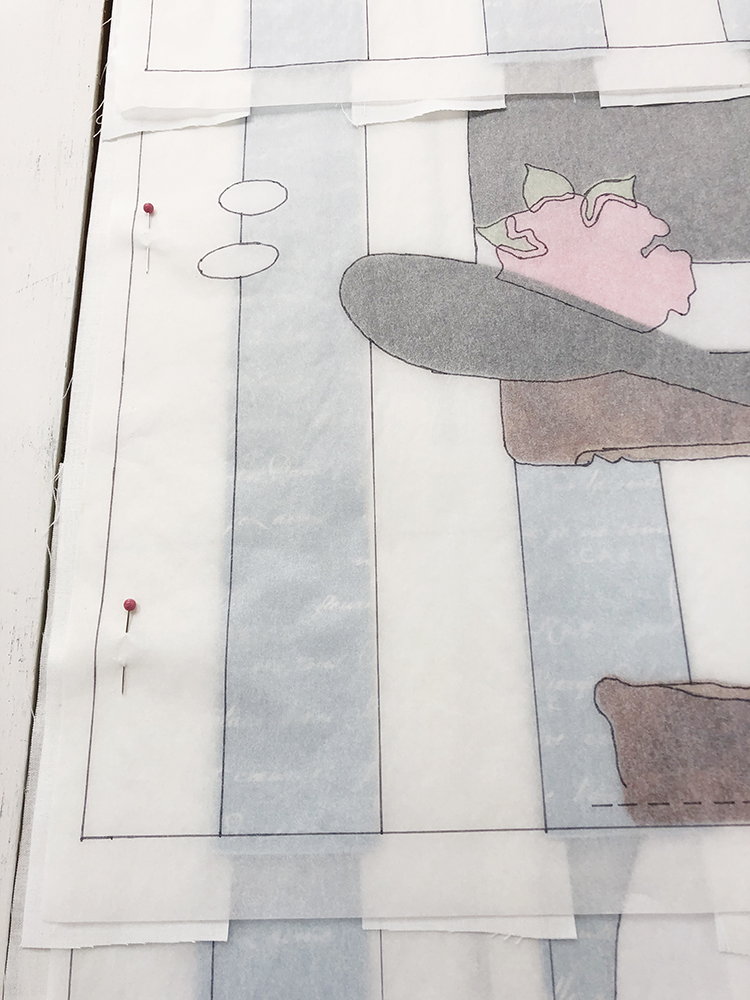
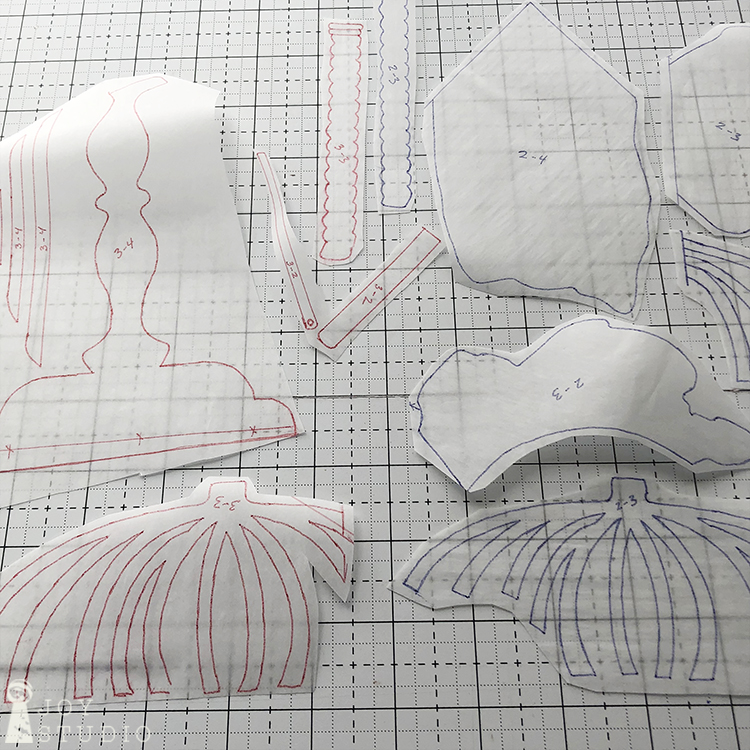
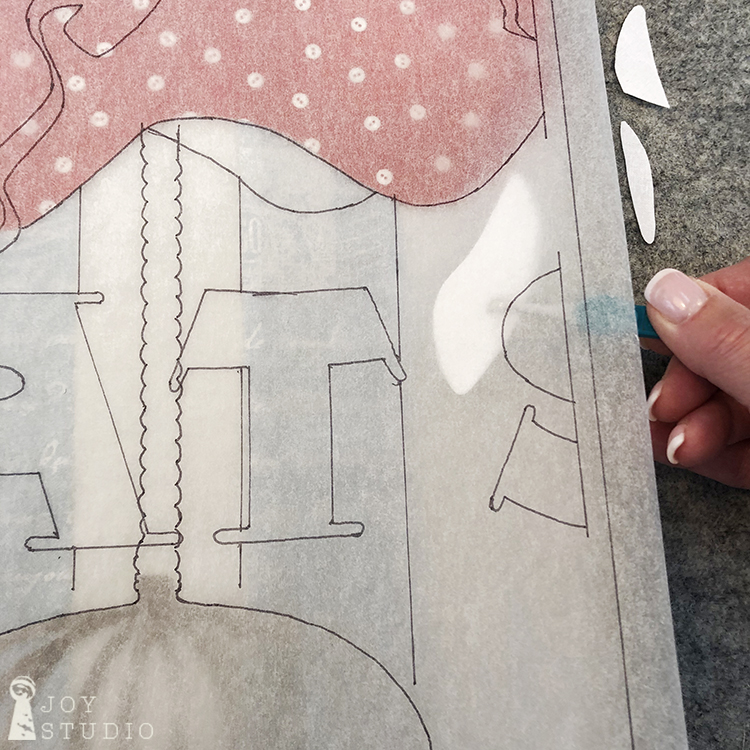
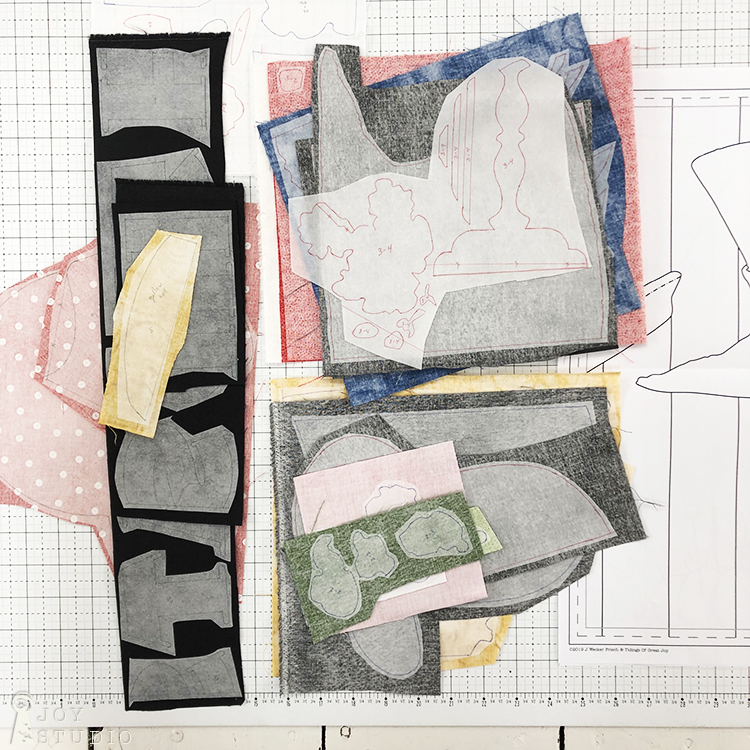
Pattern correction, derby wooden hat form applique should be extended to the hat brim, as if to appear going up into the hat. I marked the pattern with red dashed lines in the photo below. Also, the bottom of the rose needs to move up to be even with the hat band also indicated with red dashed lines. See third photo:
•
This week, fusing row 2.
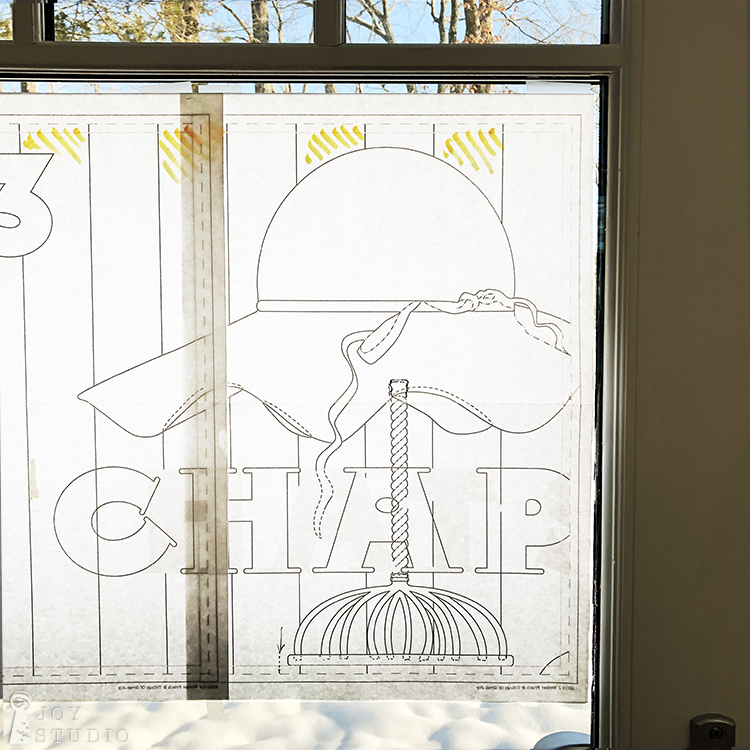
Lining up the vertical stripes.
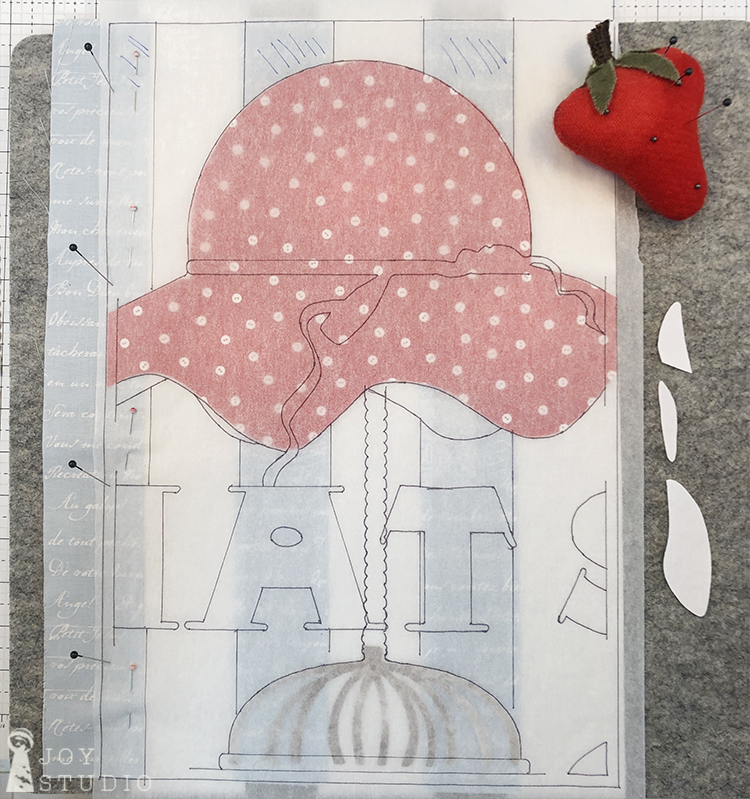
If you have a pieced background the most important thing to check in starting row 2 is matching up your vertical stripes! So, before pinning or fusing, match your stripes using your traced block patterns described in week 2, Making an appliqué placement door. Most likely, your stripes will not match the patterns stripes exactly. Mine did not, but were close. As long as you keep the second and third row consistent with your blocks in the previous row, then placement should match up. See below that my blue stripes are slightly to the left of the traced sheet in all three rows/photos. Next we will be using our tracings and placement door, for each of the four blocks in row 2, repeating the same steps as we did in row 1.
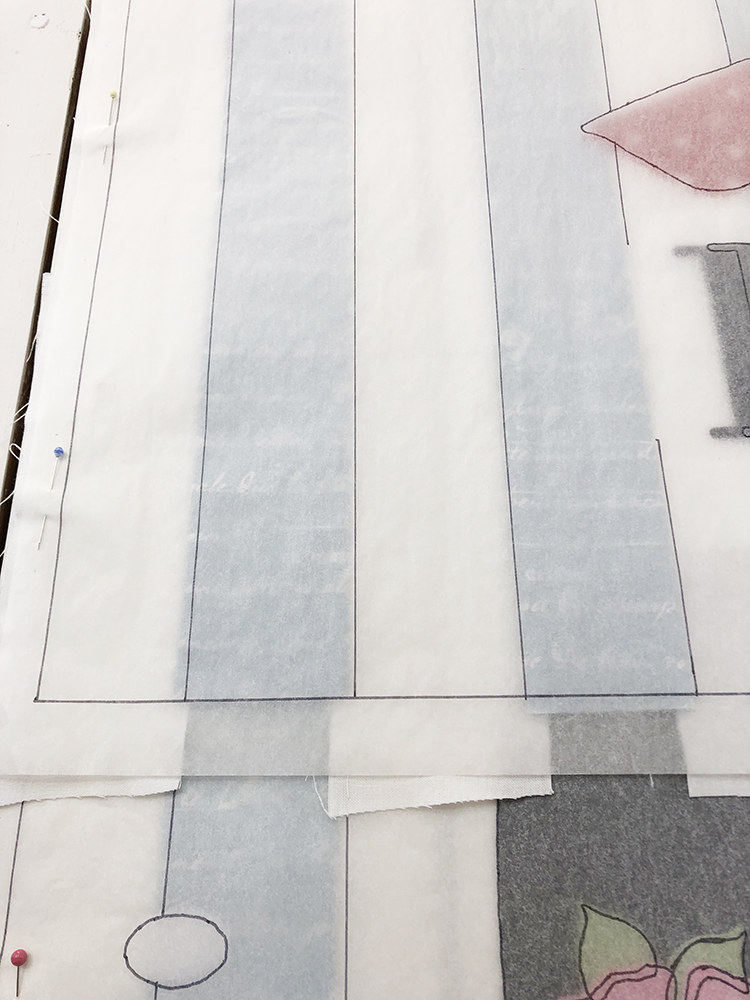
Block 1, Row 1
Block 1, Row 2
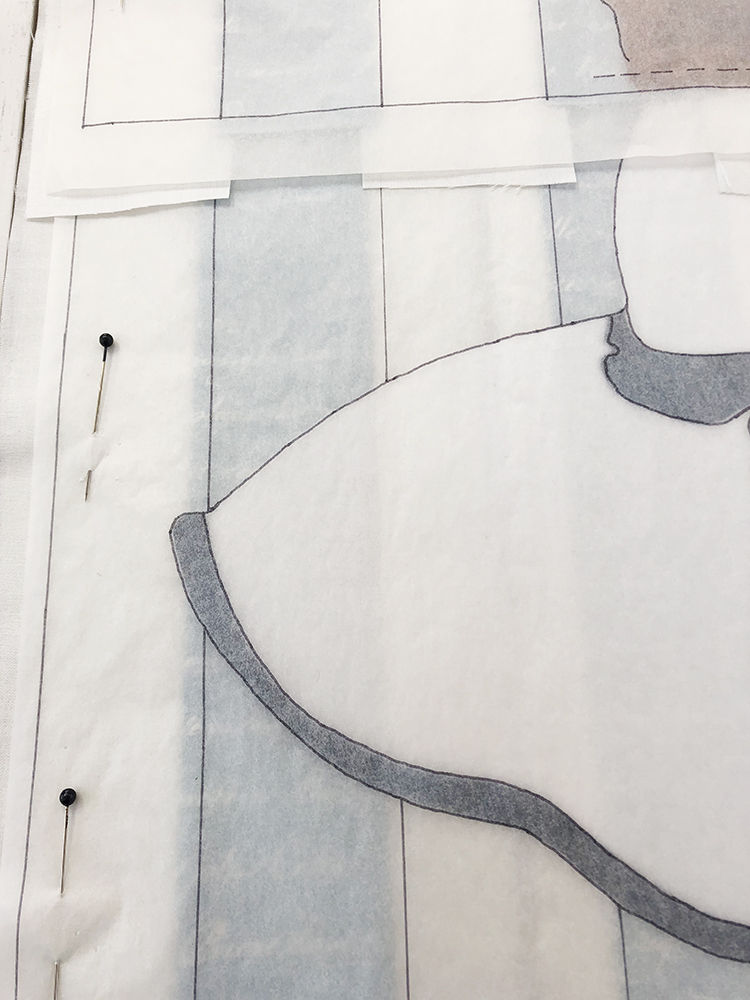
Block 1, Row 3
•
Applique fusing sequence.
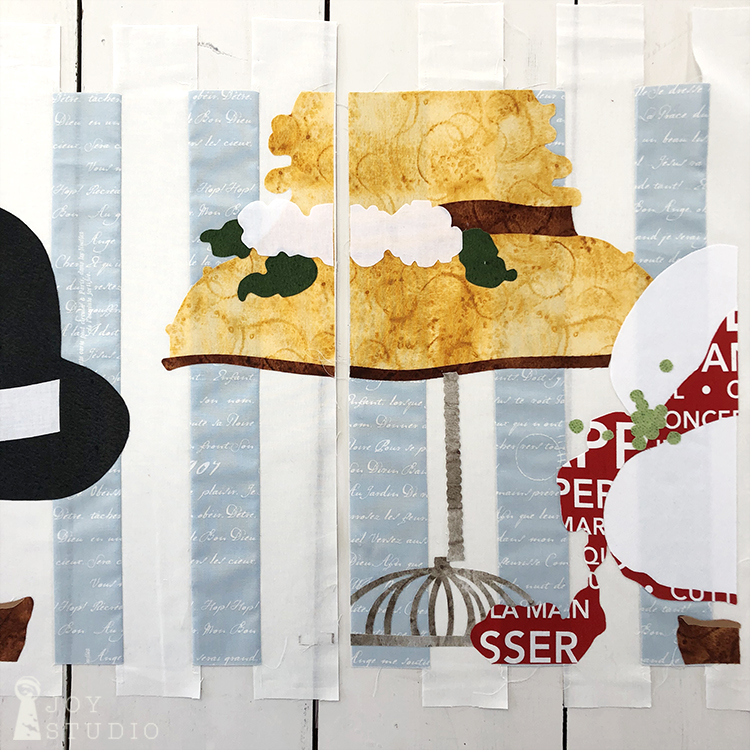
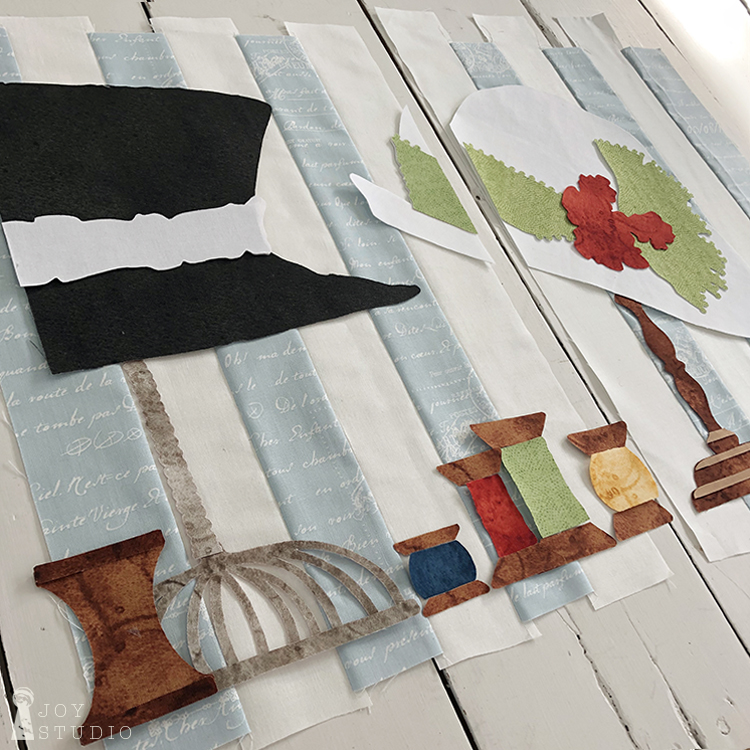
The best way to determine what is fused first is by laying out all of your appliqué pieces on their corresponding blocks, carefully checking with your pattern cover and technical illustration. Much like the red hat described in week 2, the majority of the hats are fused in a similar order.
For example the derby:
vertical stand post,
stand base,
derby,
hat form,
band,
leaves,
and then the rose.
•
Hat number 3
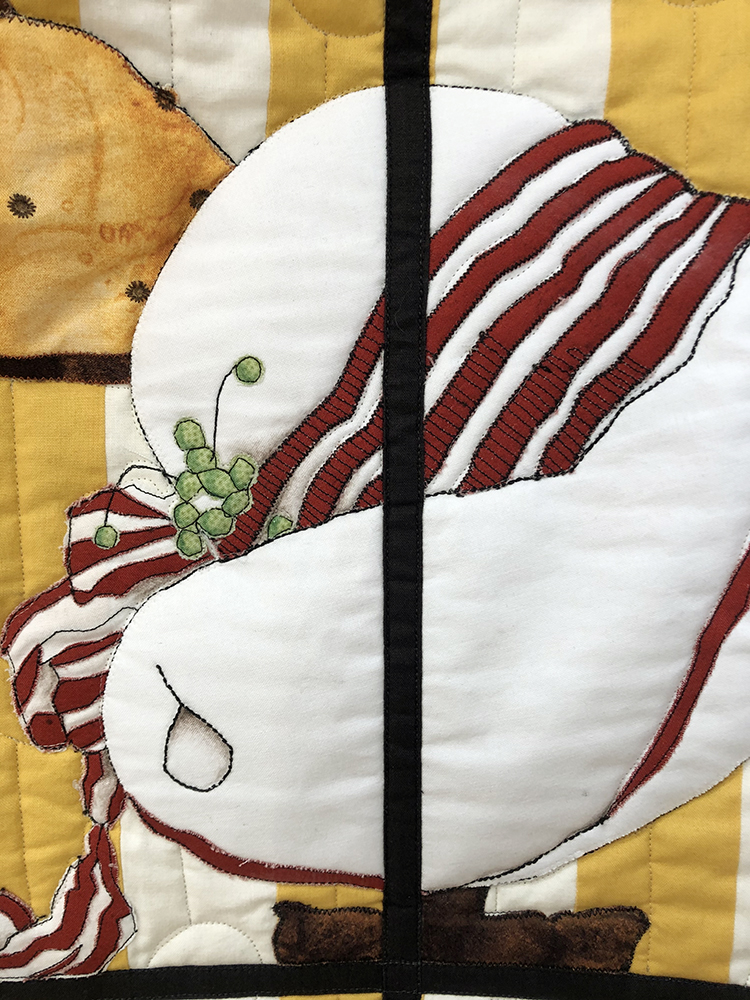
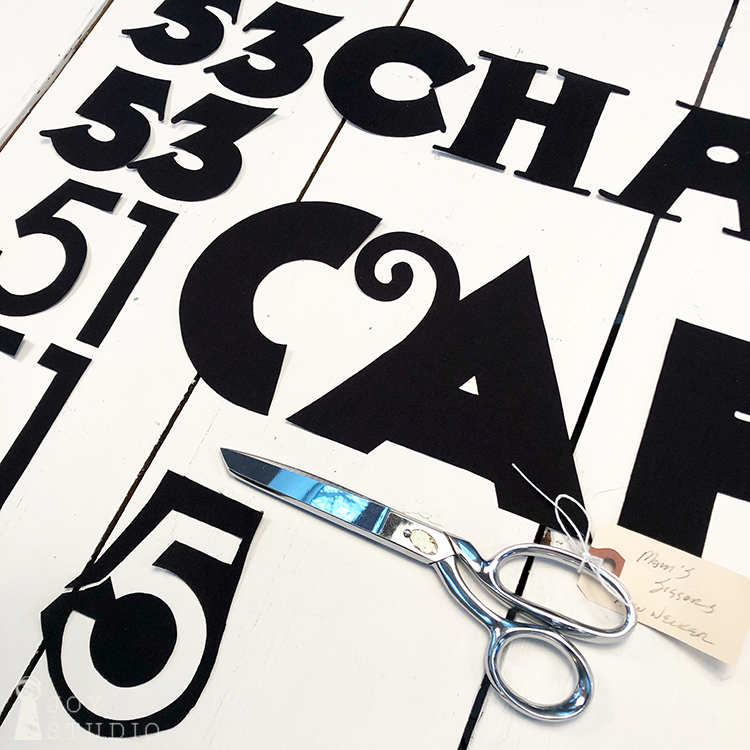
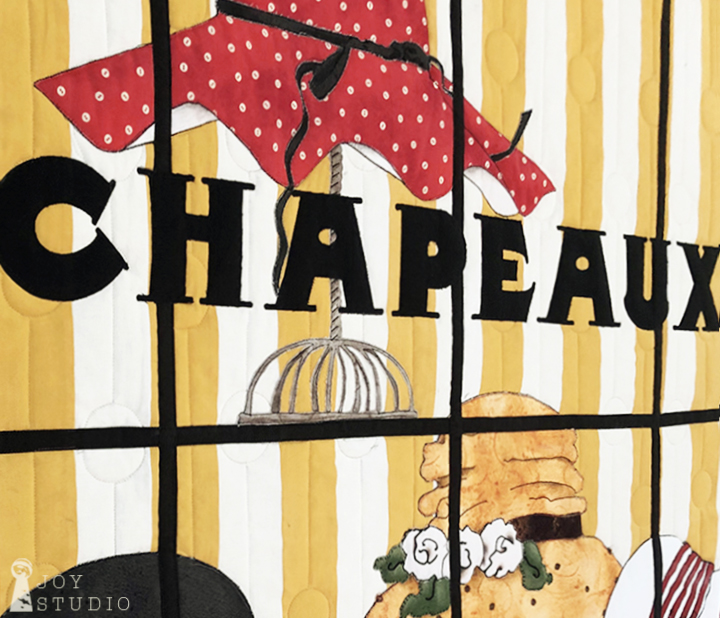
I chose to use Couturiere Parisenne from Riley Blake Designs, red bold text rather than attempting the red stripes on hat three with my limited sewing experience. Letting the fabric do the work for me while still offering a similar visual impact was a lot less intimidating for me, a novice.
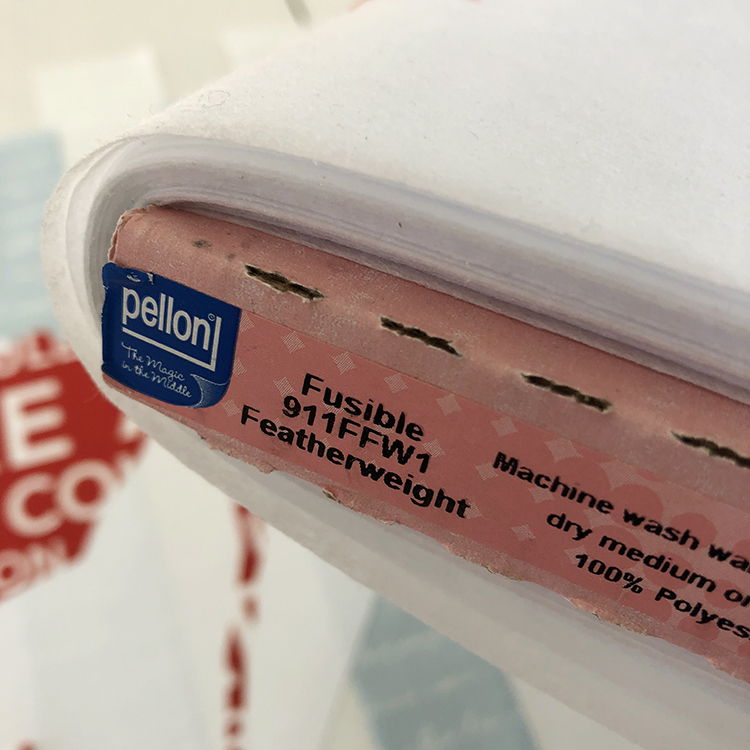
Secondly, we used an interfacing in between the applique and the fusible web to help hide the background for all of the white hats. We used Pellon 911FFW1. As you can see, my stripes are still visible so you may want to choose something heavier for a total mask.
Appliqué Fabric Option
•
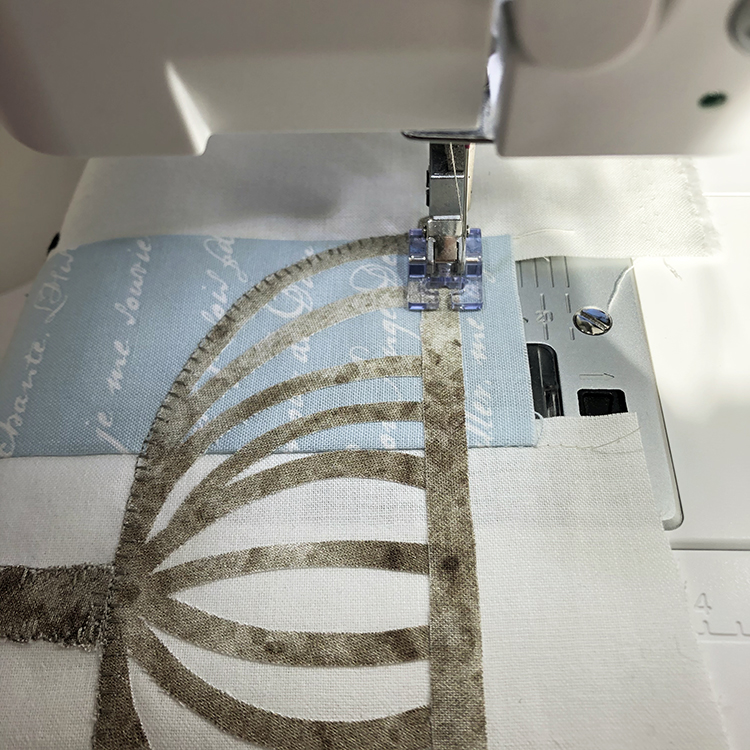
Once everything is fused in row two, you can begin the decorative stitching. Take your time, have fun. This part is where you can really get creative! Again it’s always a good idea with fusibles to at least secure your appliqué with some stitching.
•
We will plan to assemble all blocks after rows one, two and three are fused and sewn down.
•
Please forgive me, we did not forget last Saturday’s giveaway, only postponed. We’ll keep you posted.
Stay tuned to Instagram and Facebook for additional news and hat shots.
by Great Joy Studio | Jan 29, 2020 | Quilting & Fabric
Welcome back to the Hat Shop Sew-A-Long!
Picking up from Week 1.
Tracing your appliqué pieces.
In addition to numbering by block and row we also used different colored Sharpies for each row. This offers another visual reminder to help identify similar pieces quickly. Hopefully this step is behind you however, if you are preparing your appliqué pieces each week, this may be helpful.

This week, fusing row 1.
Making an appliqué placement door.
This is a practical method that should help with accurate placement of detailed appliqué. Take one sheet of tracing paper, a black Sharpie and your mirror image pattern for each of your four blocks. Rough trace everything in teach block including the solid, block finish size outline. Also indicate the dark and light stripes. There is no need to take a lot of time with this. Since the tracing is mirror image, turn it over revealing the direction of items as they appear on your cover.
Note: Be certain that you are working with the correct blocks (if you chose to do stripes) that match the marked (on your pattern) dark and light stripes.
I chose to begin with block 2 because it had the focal red hat appliqué. Take your second pieced (or solid) block and place the tracing over it. Try to match up as best you can to your striped drawing using the vertical background pieced stripes as your guide. Be mindful of top to bottom placement as well. When you are satisfied, pin tracing paper pattern and fabric block together down one side. My piecing was a little bit off but block seams were fairly consistent at 1/4″. If yours are off also you will need to refer back to the blocks in each previous row as you continue vertically, keeping your stripes lined up.
Then you can either choose to tape your sandwiched piece down on one side or pin onto a pressing mat to eliminate shifting before pressing. My suggestion is to do this on the left side so you can open your pattern door as you would a book. Below are a few photos demonstrating this step. The order you will be fusing is:
white underneath parts of the hat,
gray hat stand base,
vertical post,
horizontal base bottom bar,
red hat
and then the black bow.
•
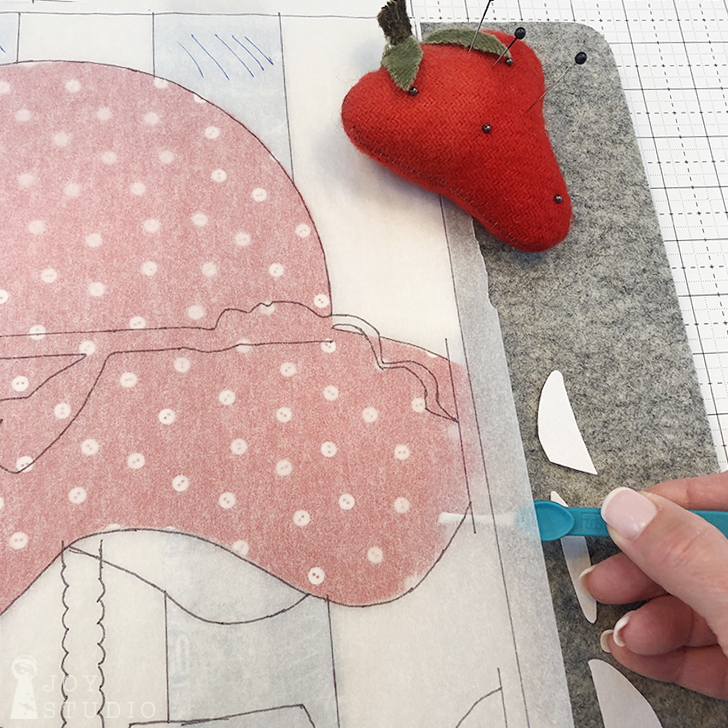
You can see how easy it is to position, coax and nudge your pieces accurately using this method and a pair of tweezers. Once it is where you like it, press! Hold hot iron on your appliqué as long as the fusible product manufacturer recommends.
•
I was unable to post our full length version but here is a short video demo that will add a bit more clarity to the above method for placement accuracy. I will also try to post partial footage on our Instagram story today @jweckerfrisch and add to my profile in Highlights to keep this available.
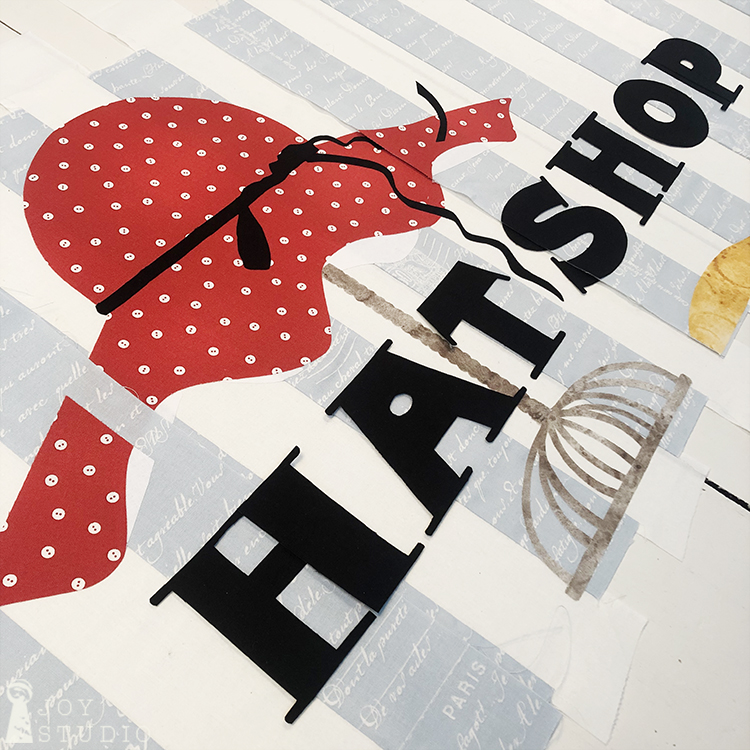
Adding the text.
It is up to each maker to decide when to add the Hat Shop or Chapeaux text. You may choose to fuse your letters by the block and assume they meet/seam together OK or to position after joining all four blocks in the top row. The latter I think is my comfort zone. Remember the window mullions will offer a little forgiveness and cover any parts that do not quite match up.
•
Sewing the details!
If you want to add decorative stitching and other trims to enhance each block, you may want to do that now, before piecing all four blocks together for easier turning. It’s always a good idea with fusibles to at least secure your appliqué with some stitching. Blanket stitch has become my preferred. Sewing is the intimidating part for me although I’m getting a lot of practice lately. All of you more experienced sewers could really have some fun with this part of the process! I can’t wait to see what you do.
Watch for the Show Us Your Progress Giveaway on Saturday!!
•
Below is a sample of some fancy stitching that our friends at Aunt Henri used. She will have a video tutorial on this soon.

Have some fun this week hatters!
•
Fabrics we used are,
Painters Palette
and
Couturiere Parisienne
from Riley Blake Designs and AVAILABLE in quilt shops now.
by Great Joy Studio | Jan 22, 2020 | Quilting & Fabric
Hat Shop Sew-A-Long begins today!
What better way to start off than with a blog follower’s GIVEAWAY! We have a bonus hat plus some fun sewing related add on-s for this project that were included in the original art but are also cute stand alone-s. Oh, and did I mention, we are including some of my new fabric fat quarters to that!! Chances are if you are participating in this Sew-A-Long, you are already following here, on the Joy (blog) Journal. If not, simply click on the subscribe button above right if you would like to enter for a chance to win the bonus pattern. Follow us on Instagram too for another chance with a comment tagging a friend. @jweckerfrisch You can still enter by subscribing even if you are not participating in the SAL.

•
As you read in the previous announcement post, I am sharing my art that we have translated to appliqué design. Please know that I am not a qualified expert in sewing technique and/or quilt assembly. I wanted to remind everyone of this up front. This is my first time making the project also, together with you. It is the 5th quilt I have pieced! One of them was “doll” size too so, I’m not sure that one even counts. The encouraging news is, that even a beginner like me can make these charming appliqué blocks and have fun.
•
Raw edge fused appliqué is the method that works best for my very detailed images and one I am most comfortable executing. Our pattern was designed to work with this technique only, although you can certainly add an allowance to create turned appliqué if you choose. I am still learning so please feel free to comment any tips, questions, or critiques below or email to janet@greatjoystudio.com. I’ll do my best to address them all.
•
OK, let’s get started!
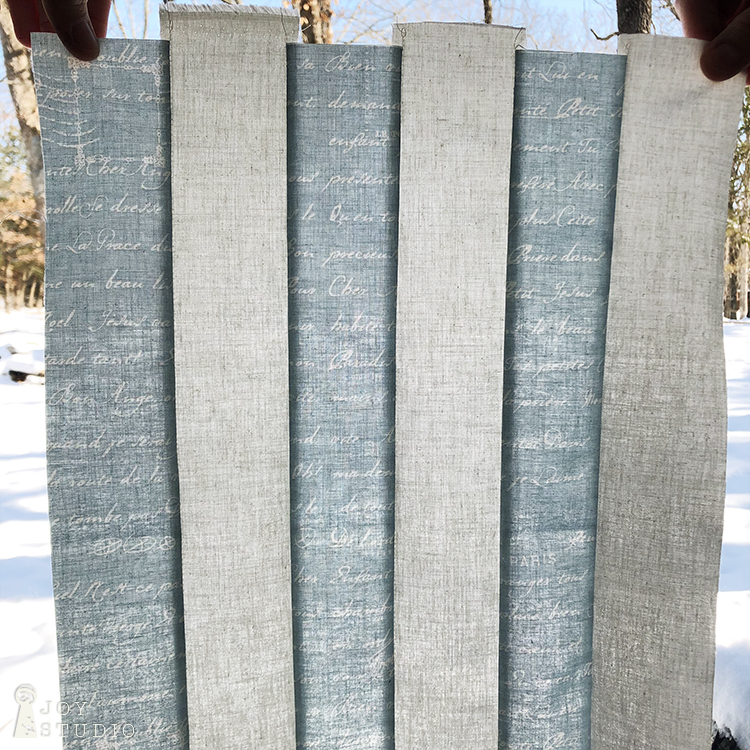
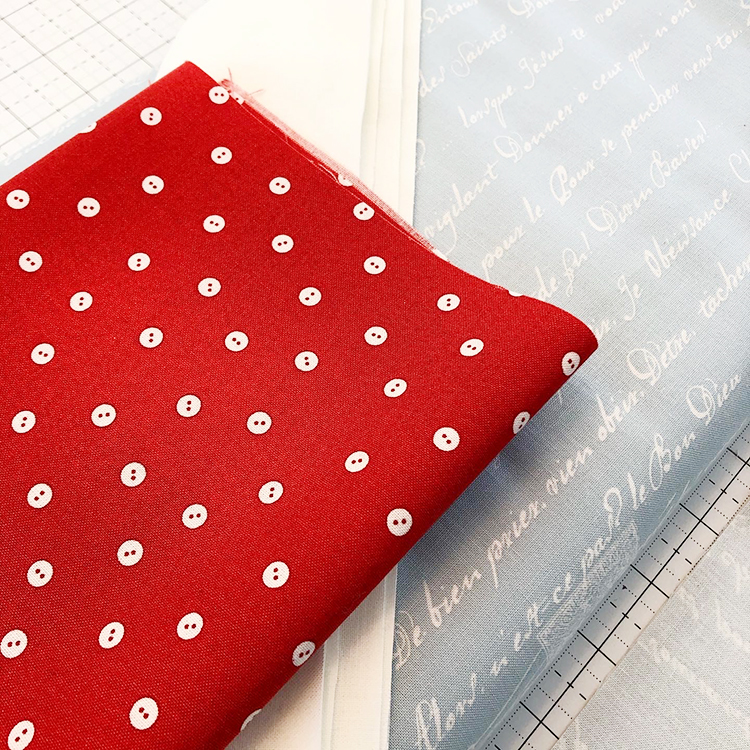
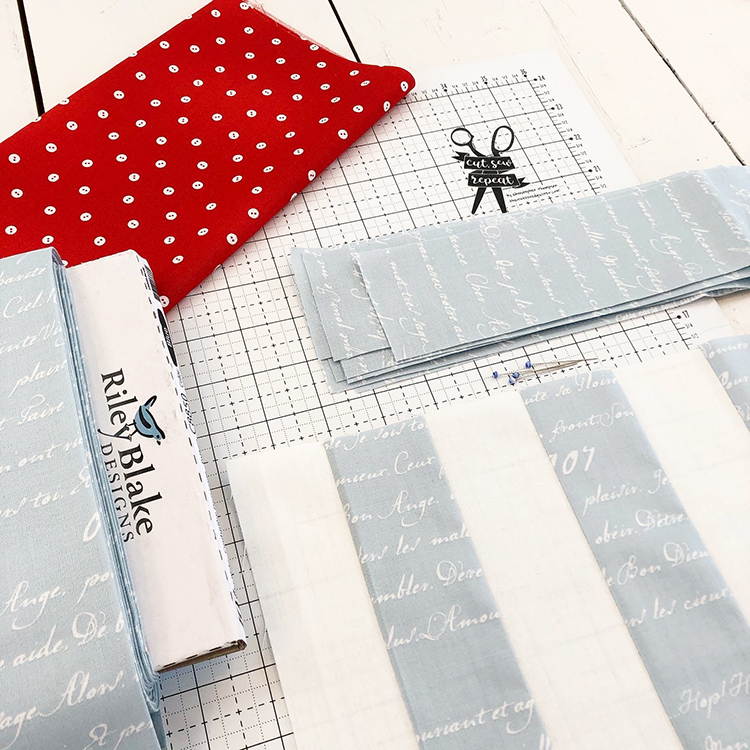
We will be making the 12 blocks that make up the window background in the main body of the quilt this week. First decide if you want a striped or solid background. We chose to make a striped background using Couturiere Parisienne light blue text (#C8850-BLUE) and Confetti Cottons vintage white (#C120), both from our fabric partner, Riley Blake Designs. As indicated on the pattern, you will be cutting equal number of 2.5″ x 18″ (or longer) strips from both, for a 2″ x 17″ finished size, 1/4″ seam allowance. If you choose a directional fabric as we did, you will be cutting your strips parallel to the selvage.


•
Some of the blocks begin with a light strip and others begin with a blue and in several blocks, the stripes overlap! As you can see in the photos below, we flipped the pattern over and taped all four blocks in the top row together, matching the horizontal dashed seam lines, to our window in order to view the pattern lines as they will appear. Then we marked the darker stripes with a highlighter for an easier visual reference. The top row then will be your guide as you work vertically for the next two rows of blocks.

Strip Background Piecing Tip:
I learned the hard way that you will want to stitch each of the strips together from alternate ends of your block. As you can see, I started each strip at the top and my first 3 blocks had a distinct curve to them.
Once you have all of your blocks made, you you are ready to start on you appliqué pieces.
Choosing Fabrics
Pattern correction, not listed is yellow swirl (#C8945-Yellow). You will need a fat eight.
On the back of your pattern in fabric requirements is a list of Riley Black Designs fabrics used for each hat as they appear top to bottom, left to right. You can also reference the picture (worth a thousand words) on the front cover. Our Painter’s Palette Collection from Riley Blake Designs include a wide range of colors, values and artful textures to create from when you want to achieve an interesting watercolor look. I plan to keep plenty on hand to use with former and future projects.
•
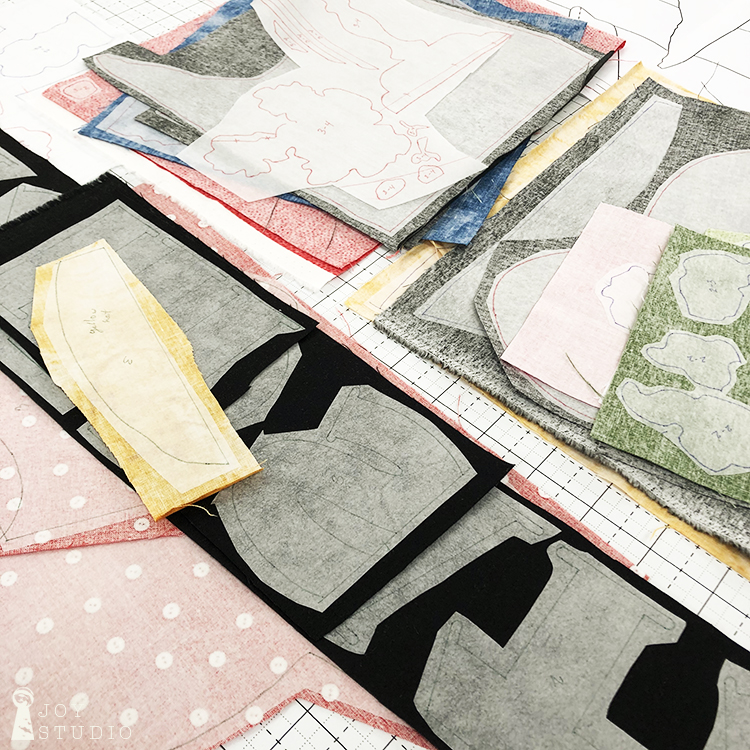
Making Your Raw Edge Fusible Apliqué Pieces
Begin by tracing your appliqué pieces onto your choice of fusible web product. We used Pellon 800. The pattern is already in mirror image so trace each appliqué piece from the printed side of your pattern. With so many similar pieces, it is very important to mark each one with a system you will remember. We chose to use the row and block numbers. Once traced, rough cut your fusible pieces.
•

•
Organize them on the appropriate block. and you are now ready to fuse!
See you next Wednesday for further fusing instructions.
•
by Great Joy Studio | Jan 18, 2020 | Quilting & Fabric
G I V E A W A Y !
To Enter:
• Follow us HERE on the Great Joy Studio (blog) Journal, in the upper right hand corner
• For an extra chance follow us on Instagram as well.
That’s all!
This is for a chance to win one of our BONUS hats and sewing motifs, fused appliqué pattern plus,
Painters Palette fat quarters and
Couturiere Parisienne fat quarters.
Both collections from Riley Blake Designs.
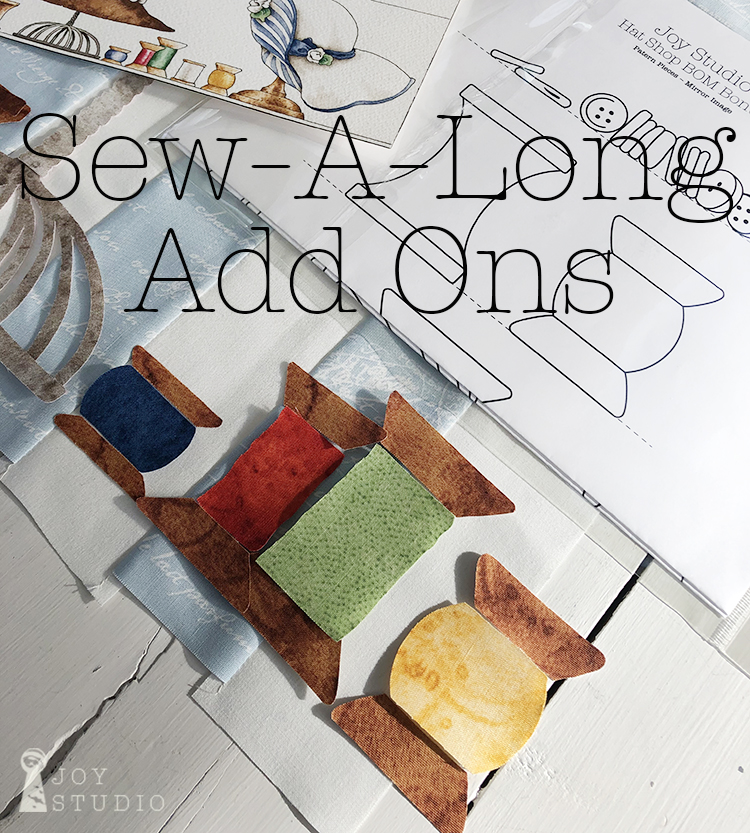
Pattern includes bonus hat, vintage spools, buttons and button jar EXTRAS and we will be adding them onto our Hat Shop Quilt shelves as you will soon see.
• For one more opportunity to win one of these, tag three friends on our Instagram post announcing this @jweckerfrisch. We have plenty of all to giveaway and it’s fun to share!
•
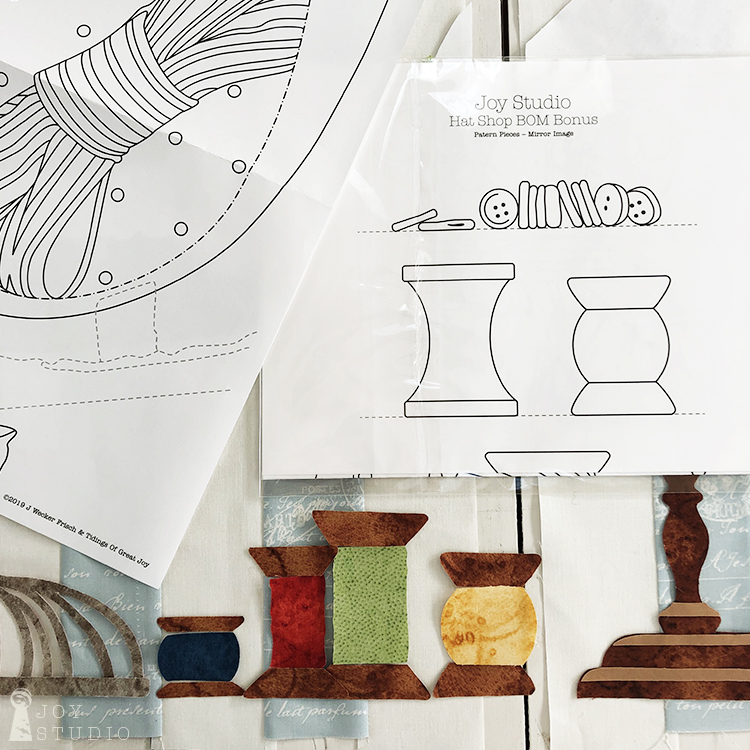
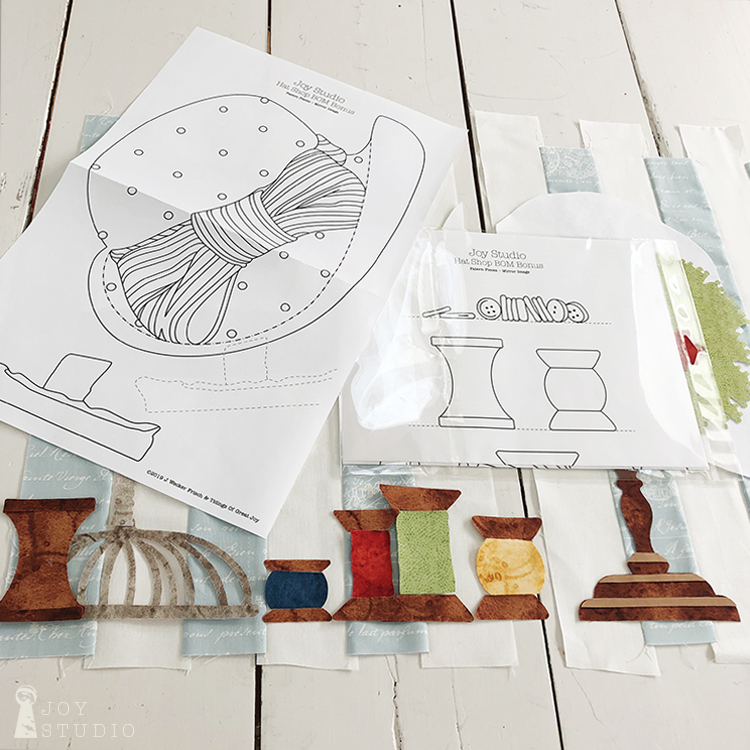
Look at all of the cute spools taken from the original art, made with Painters Palette textures! We’re loving these painterly watercolor fabrics.
•
We are on a BLOG FOLLOWERS BUILDING campaign in 2020 so be watching weekly for GIVEAWAYS throughout the year. We have LOTS to share with you from an abundant lifetime of creating and collecting; and it’s time to clean house!
We will be offering Janet’s artist samples through giveaways, here and eventually, some
ORIGINAL ART & QUILTS!!! Another first.
Our gift and THANK YOU, to our faithful followers and all of you who have finally found us. Yay!
•

BTW, Hat Shop Sew-A-Long starts next week.
•
by Great Joy Studio | Jan 16, 2020 | Quilting & Fabric
Used with permission from Quilts & More® magazine. ©2020 Meredith Corporation. All rights reserved.
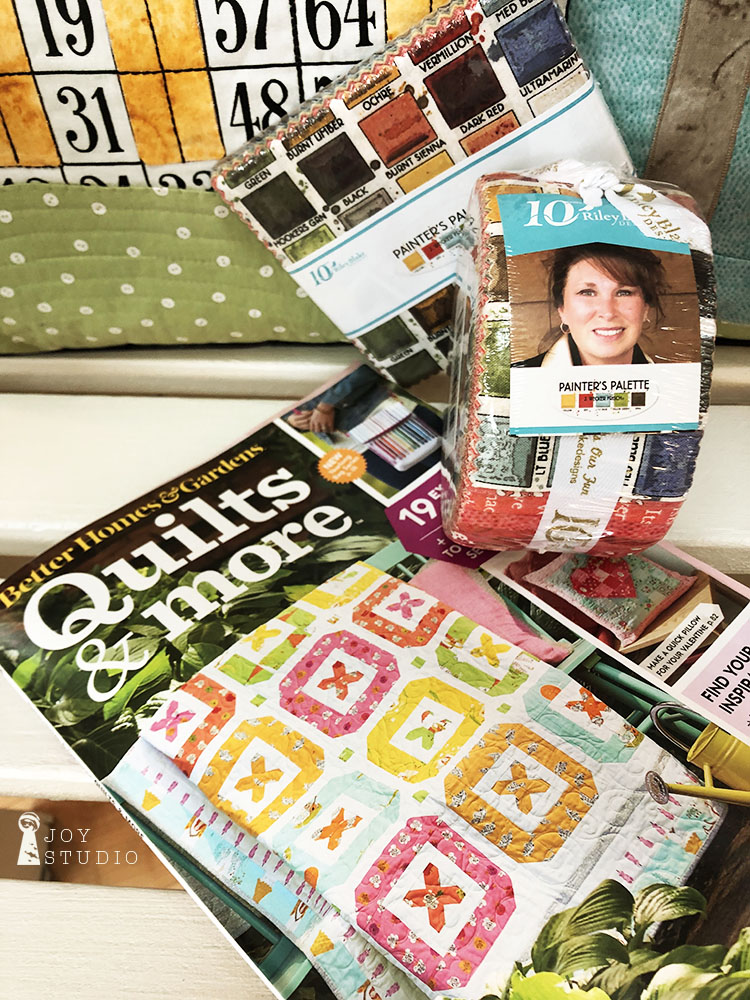
Earlier this year I was invited to be one of the guest designers for the
Better Homes & Gardens
Quilts & More
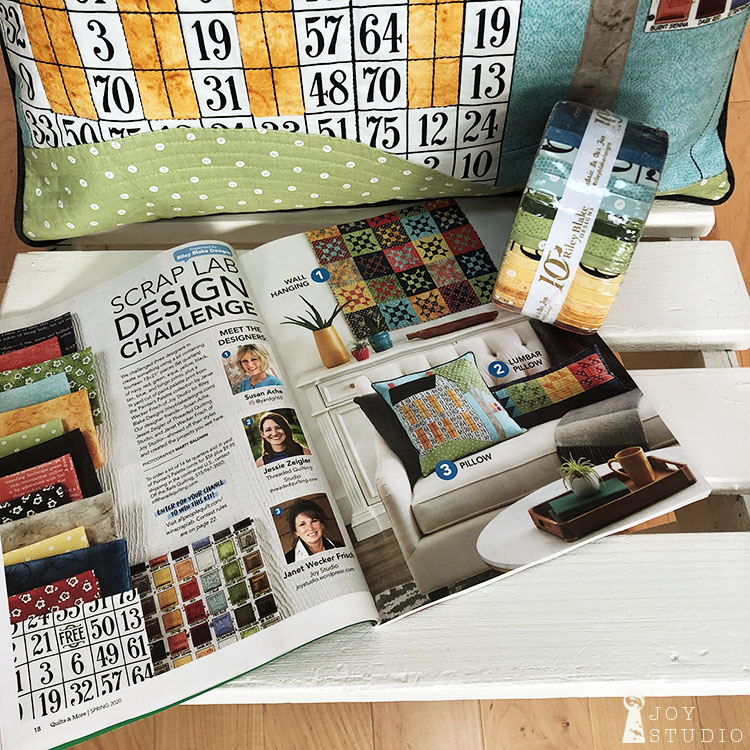
Scrap Lab Design Challenge
presented by Riley Blake Designs.
This issue hits news stands January 17th so be sure to grab a copy! Inside are instructions for all three designer’s projects and how to enter the
Scap Lab Sweepstakes!
Or visit allpeoplequilt.com/winscraplab for details
•
•
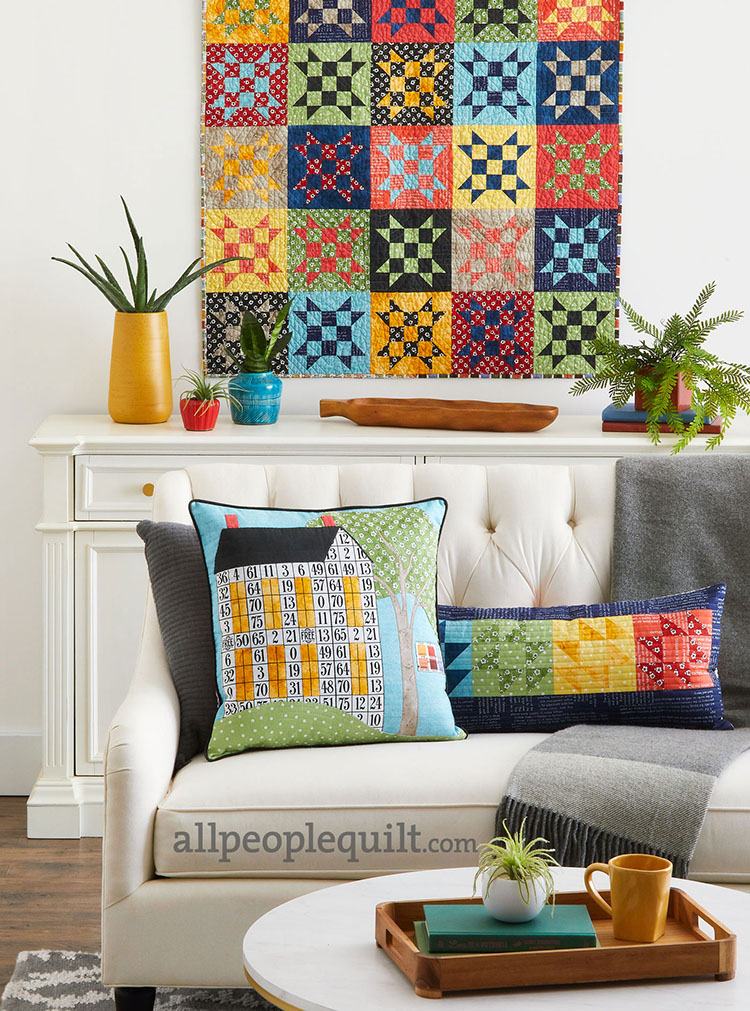
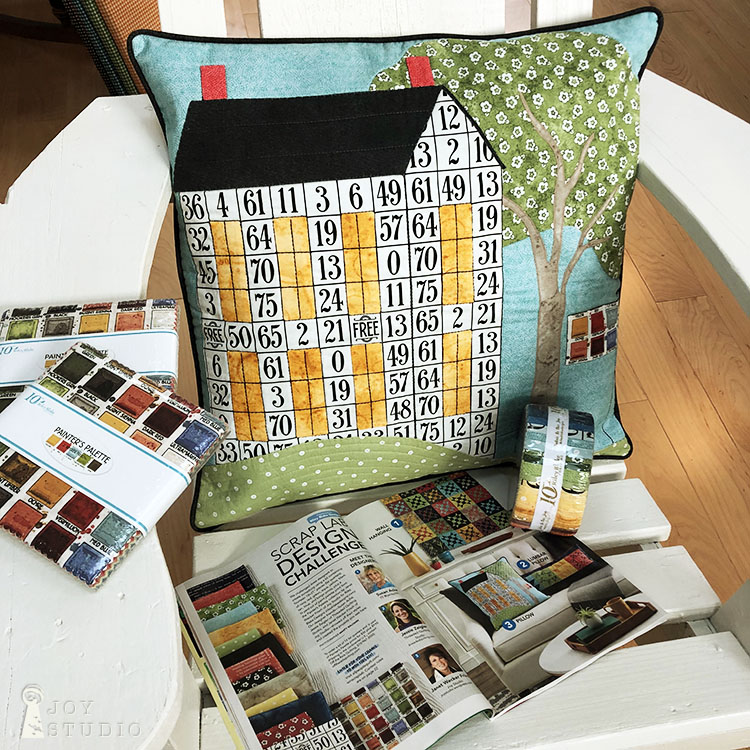
The challenge features my Painters Palette collection from Riley Blake Designs. Our project is in keeping with our ‘Art to Appliqué’ theme this year, on a 20″ “Welcome Home Pillow”.
•
•
Painters Palette can be found in quilt shops now!
•
AllPeopleQuilt.com
Facebook: www.facebook.com/allpeoplequilt
Pinterest: www.pinterest.com/allpeoplequilt
Twitter: @allpeoplequilt
Instagram: @allpeoplequilt
by Great Joy Studio | Jan 6, 2020 | Quilting & Fabric
First day of the week, in the first month of the year, in the new decade
&
my first sew along!
Hat Shop Sew Along
is scheduled to begin here, January 22.
So, if you’re joining us, I’ll need lots of help.
As some of you know, I am a watercolor artist, not a sewer. Please understand that my offering is appliqué design rather than expert stitching and/or quilt assembly. This is also, my first time making this quilt. Feel free to comment your questions, tips and critiques here or email to janet@greatjoystudio.com. I’ll do my best to address them all.
This project uses:
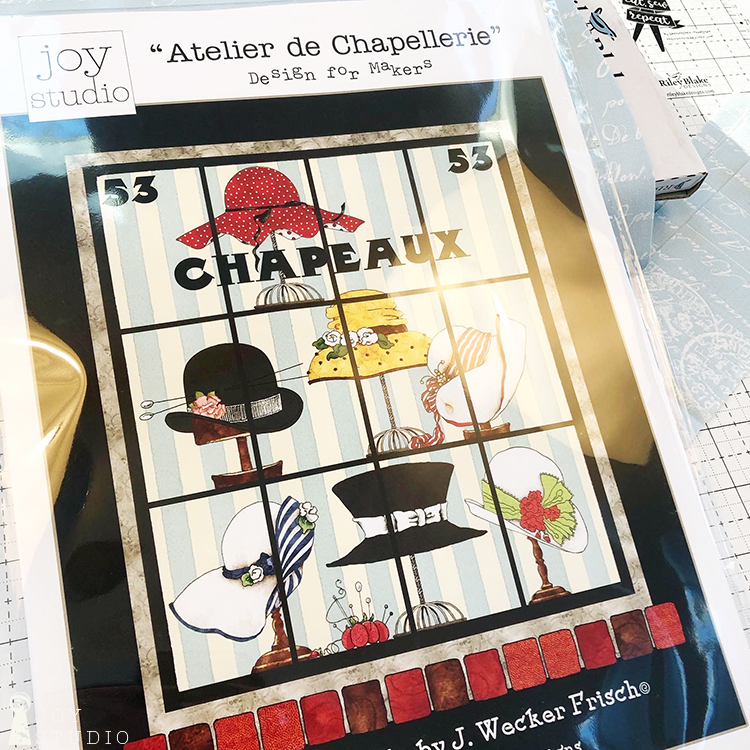
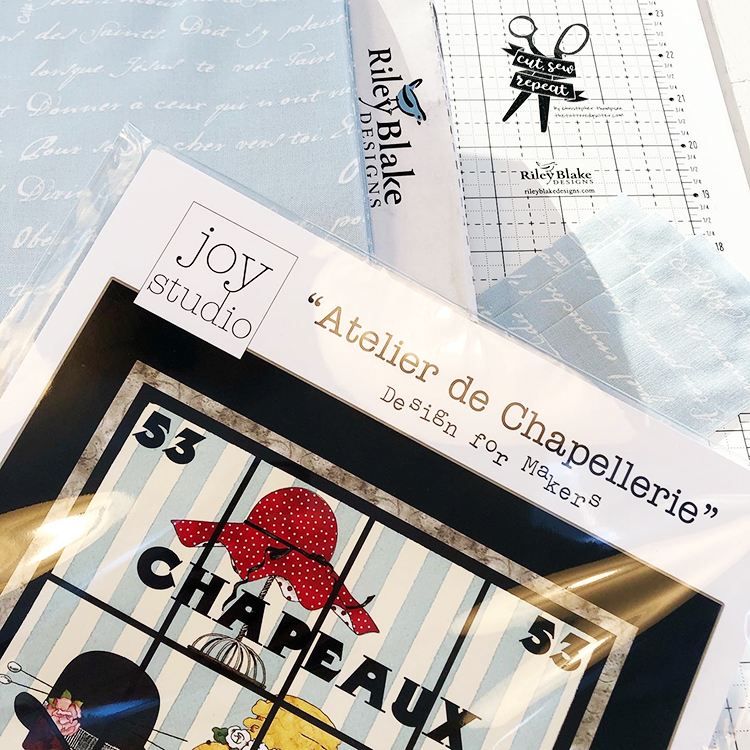
Atelier de Chapellerie fused appliqué pattern from Joy Studio and can be found in shops or here on our shop page,
Painters Palette
&
Couturiere Parisienne
fabrics from Riley Blake Designs.
Some of you have expressed difficulty locating Painters Palette fabrics so email me (address above) for the quilt shop list in your area.
Excited to get started!
Save
Save
Save

