All About Christmas fabric has delivered and is in a shop near you. Find a list of retailers in my last blog post here.
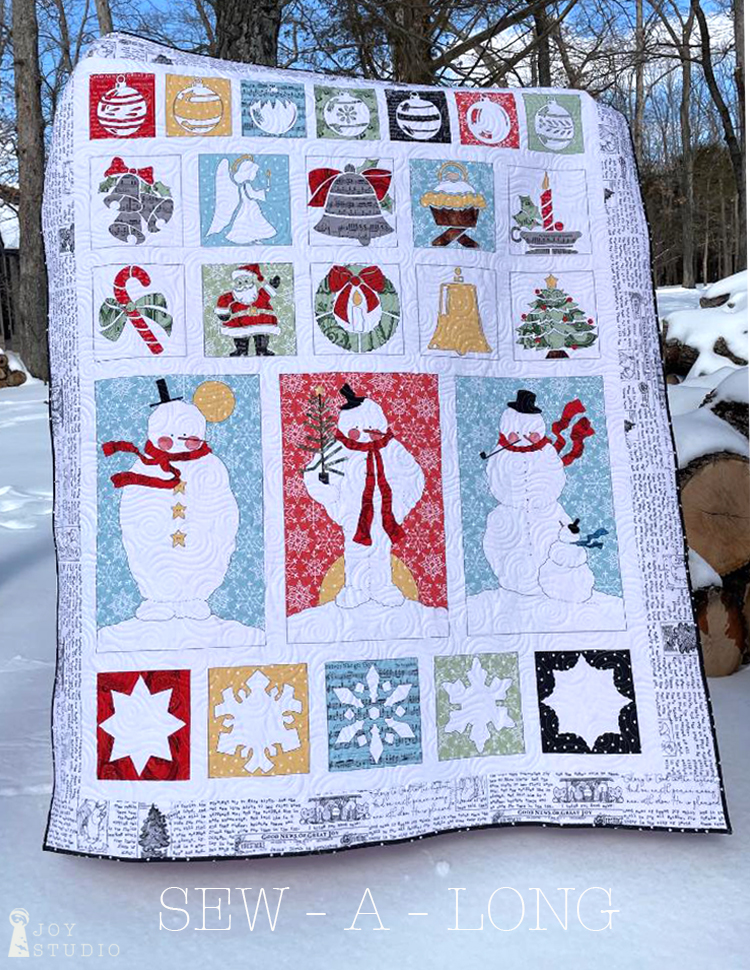
This collection is beautiful! It includes the Christmas story from Luke 2 making it VERY Christmas-y and we especially love those details. In addition, the printing quality is wonderful thank you to our fabric partners at Riley Blake Designs.
•
•
So, here we go with another little Sew-A-Long. This time it will be a mini. The two items that we will be sharing over the three weeks are,
Our three large snowman blocks (row 4)
Reverse raw edge appliqué blocks (rows 1 & 5)
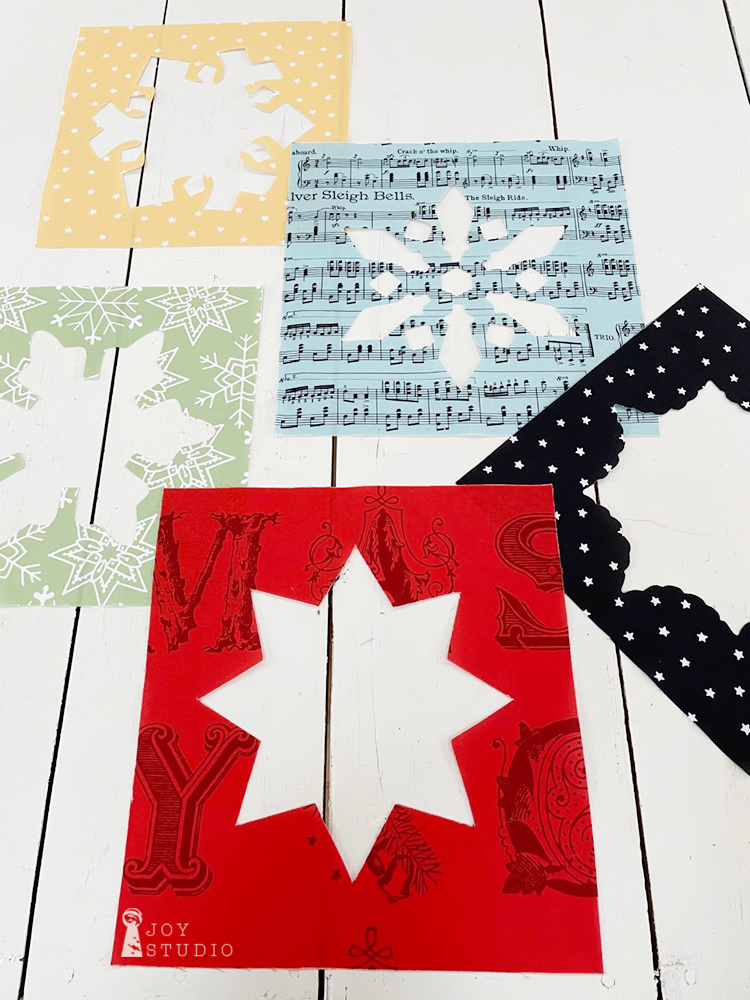
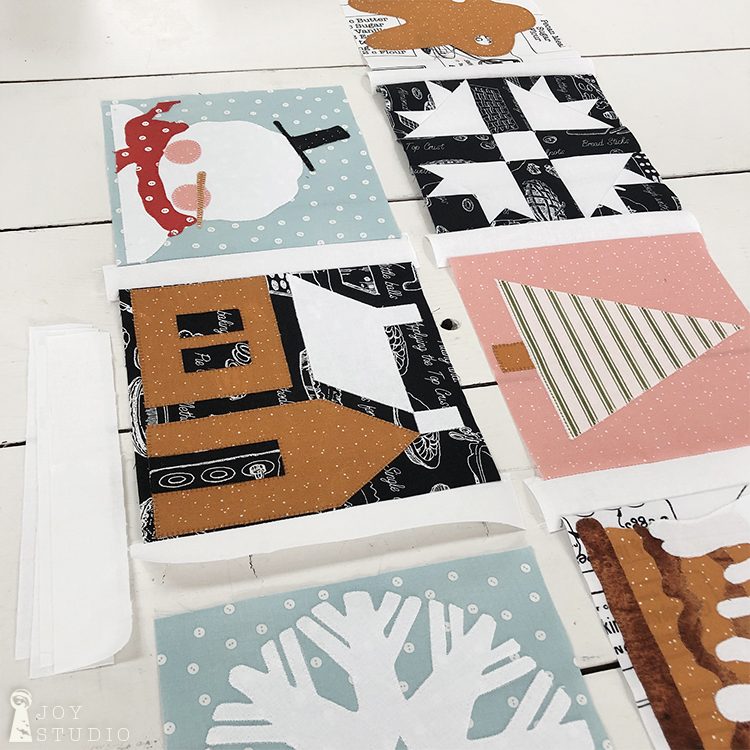
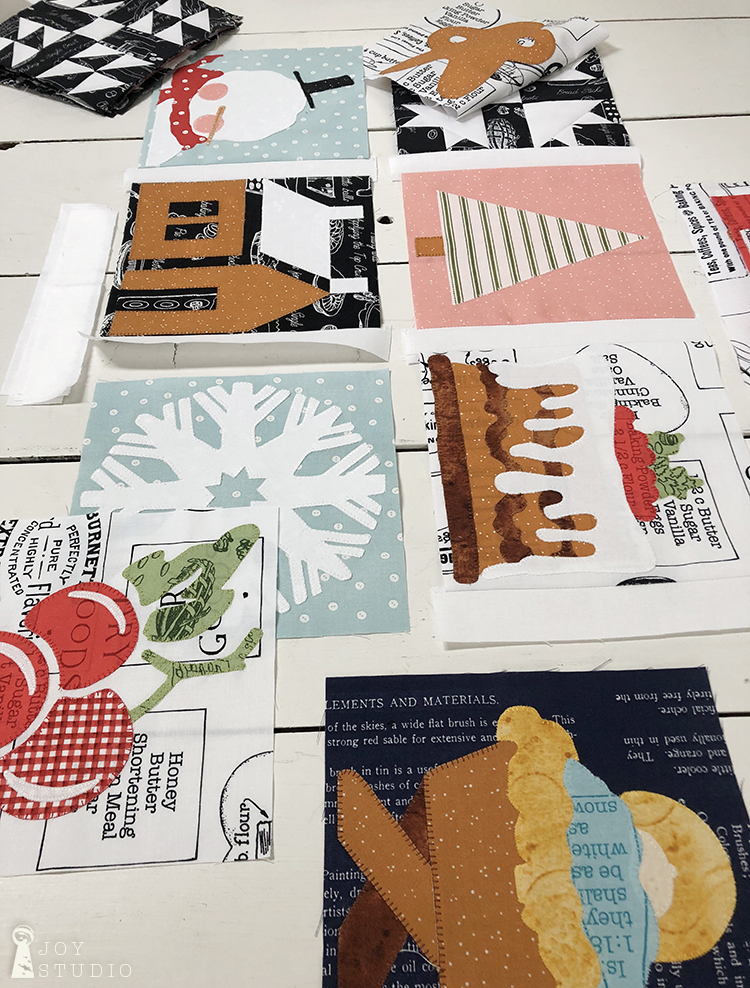
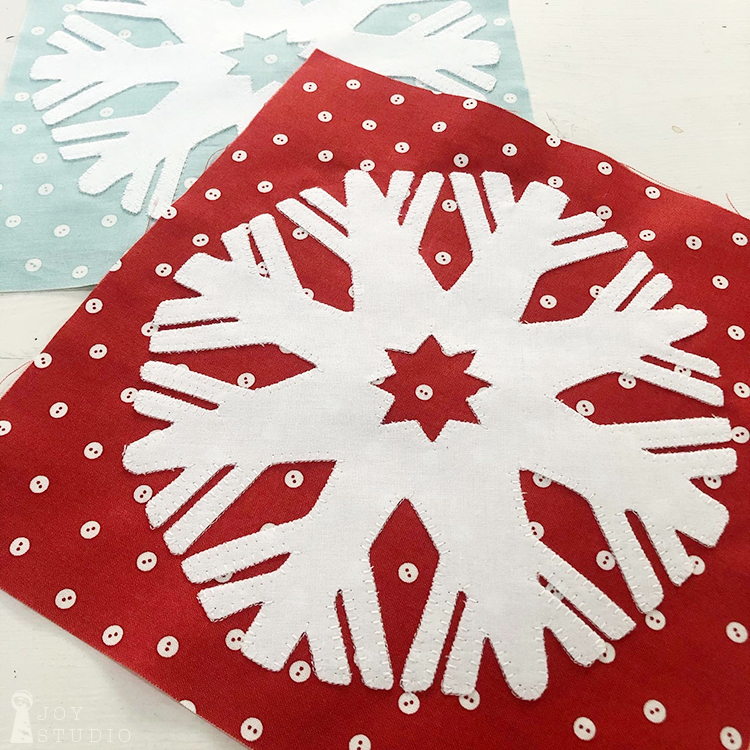
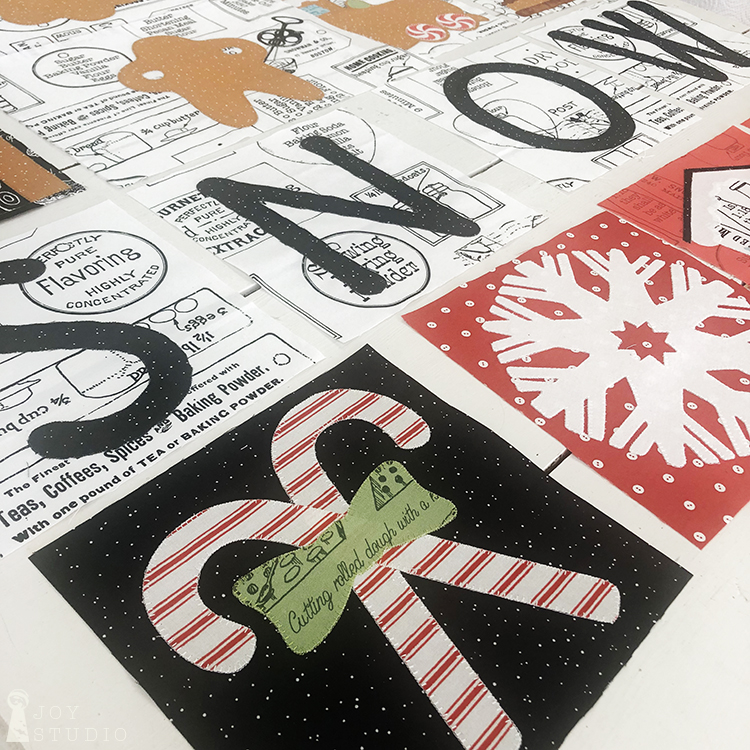
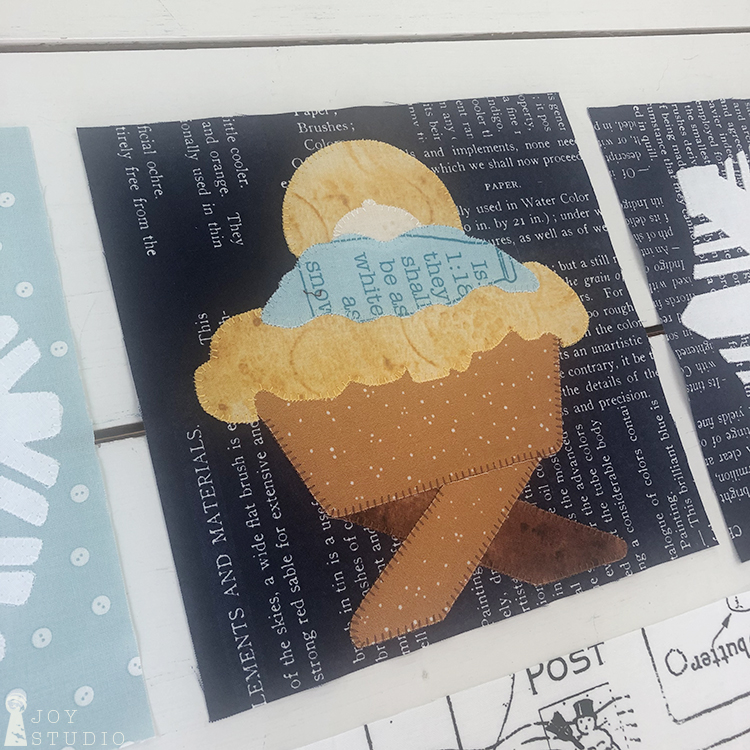
This week we will be looking at number 2, reverse raw edge fusible appliqué for the ornament blocks. The snowflake blocks are done the same way only much less detail so we will be focusing on row one.
Do you have your pattern and fabric ready? If not, visit this link to find a shop.
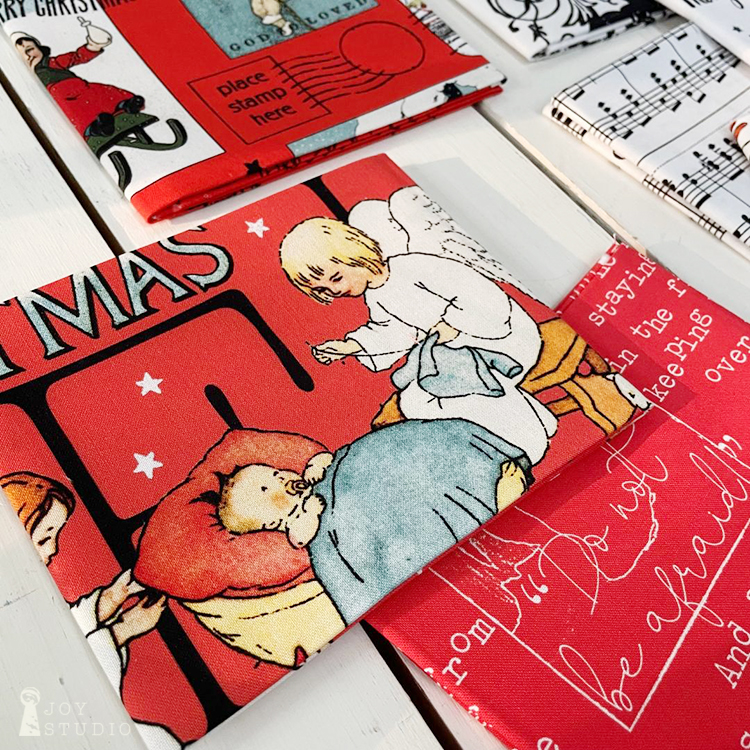
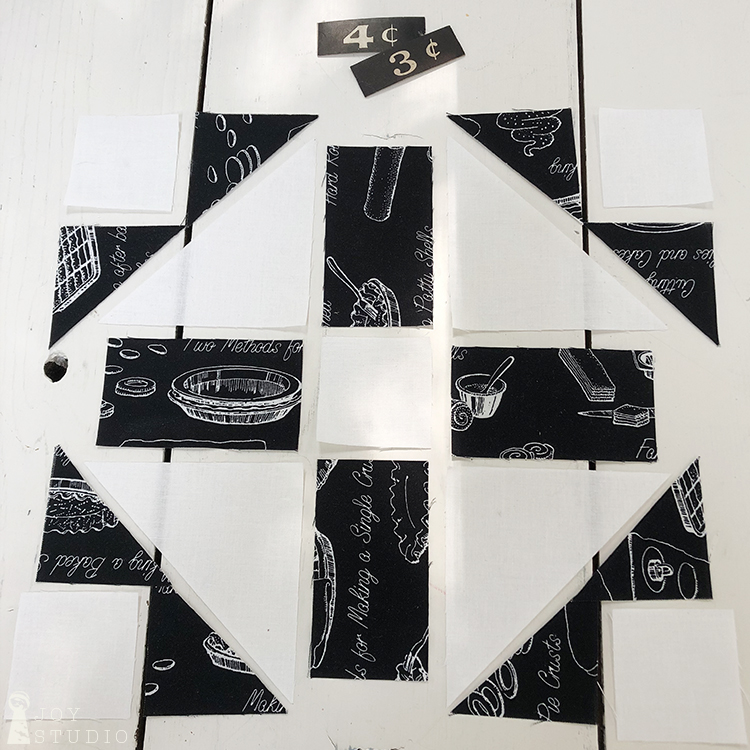
Are you ready to sew?! Let’s go! According to the All About Christmas pattern instructions, it is important ‘To Get Started’ by cutting fabrics for the large snowmen blocks FIRST. This assures that you will have the larger fabric cuts set aside when you need them. Follow the cover art for the fabric choices and make cuts according to the pattern instruction page(s) and directional fabrics. If you are new to the technique of reverse raw edge appliqué I highly suggest reading the pattern in it’s entirety before starting or cutting into your fabrics.
•
•
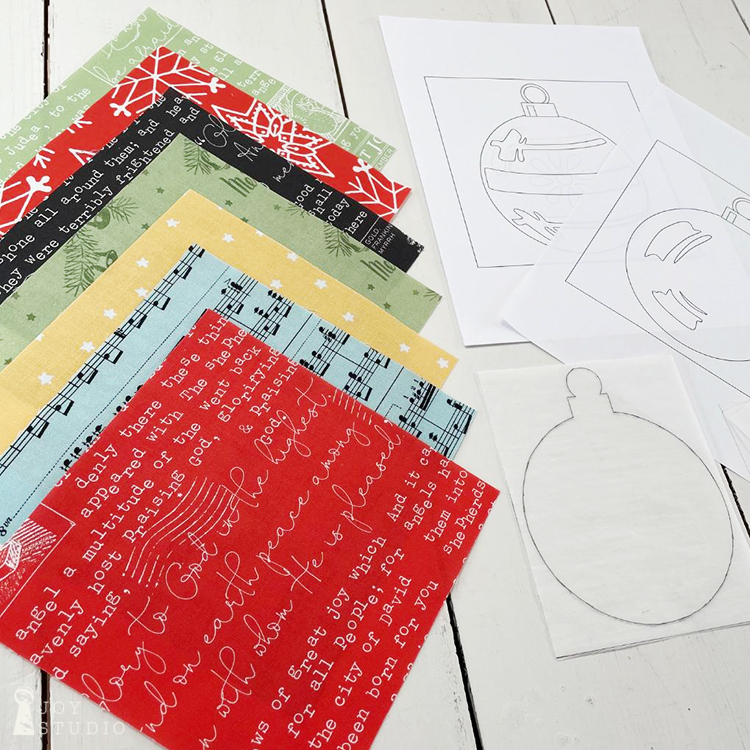
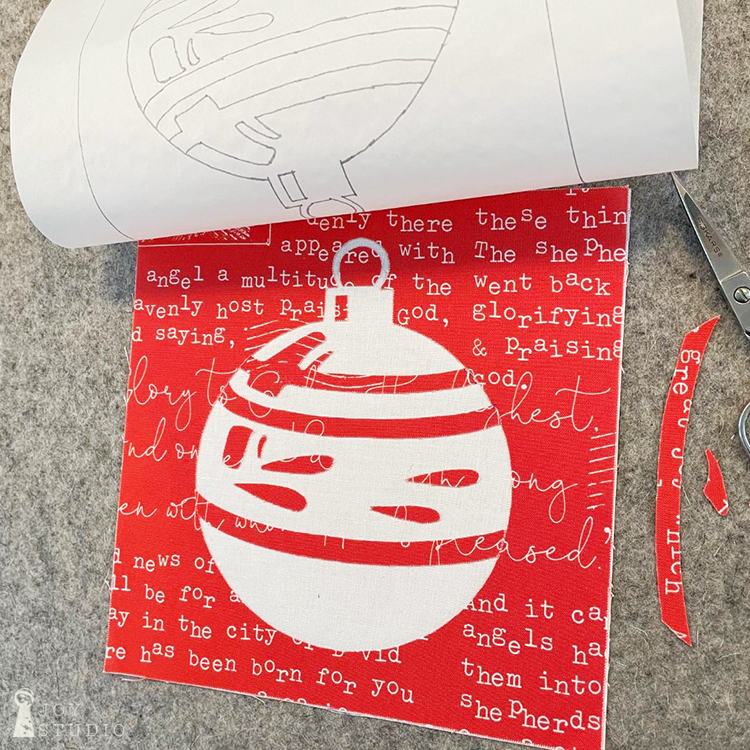
Since some of our designs for this quilt were stencil-like with white as the main center image (see the snowflake and ornament rows), we selected this reverse appliqué technique. Often with appliqué we will use a second interfacing product to mask the background fabric from showing through our white however, we found this to be a better option for the ornament and snowflake blocks on this quilt. The photos below will offer a visual aid so-to-speak to support this explanation.
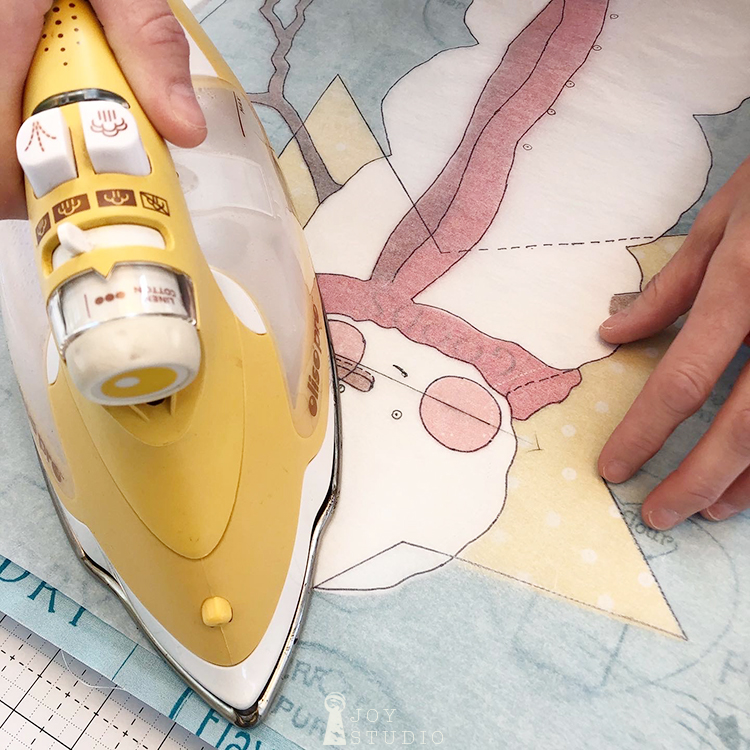
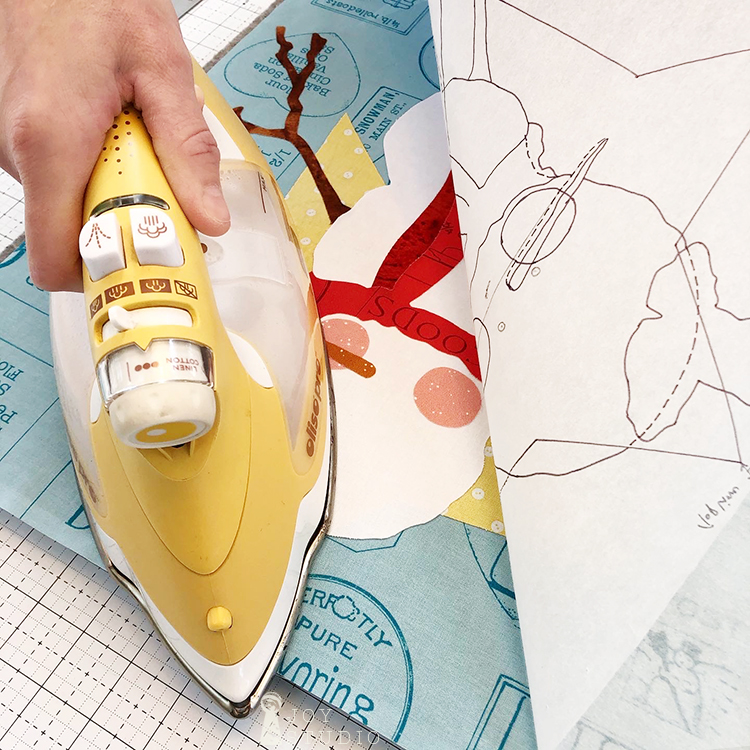
Once you’ve cut your fabric squares for blocks in Rows 1 and 5, you can begin tracing the designs onto your fusible web product according to manufacturers directions. We like Pellon Featherweight Fusible 805. Be sure to trace all of the pieces that make up the inside ornament designs before fusing. You will be using those to help your fabric remain as a continual image. Fuse to wrong side of fabric considering whether your fabric square will be using a directional print and align accordingly.
•
•
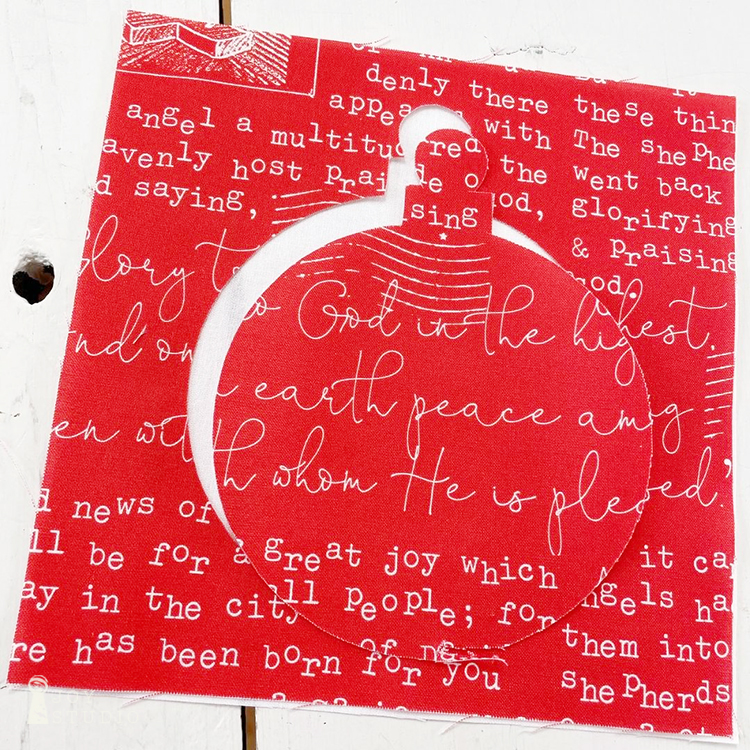
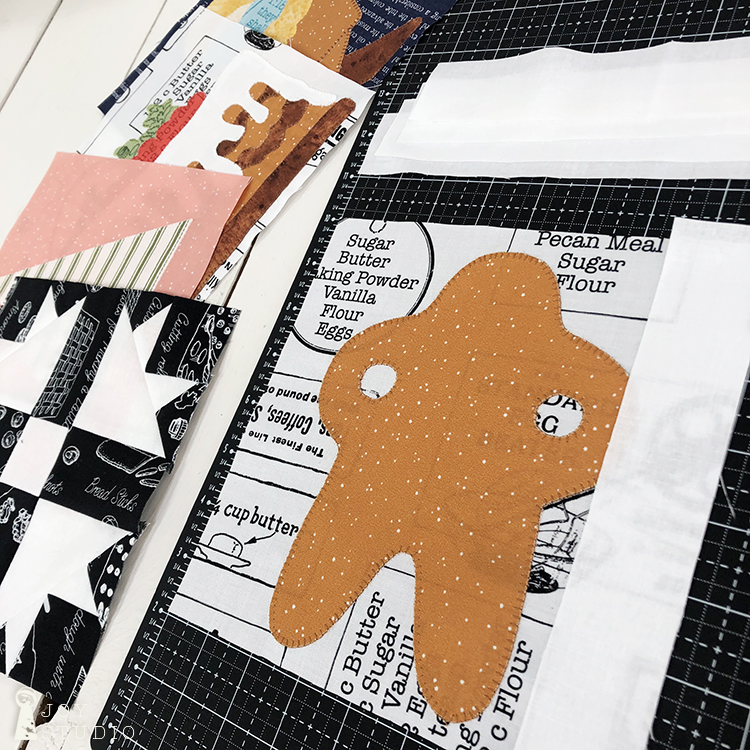
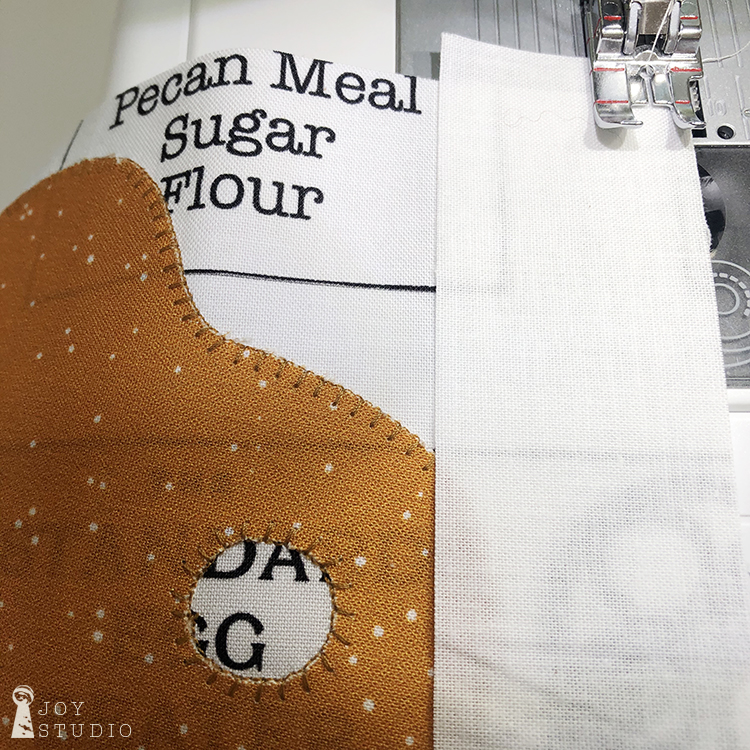
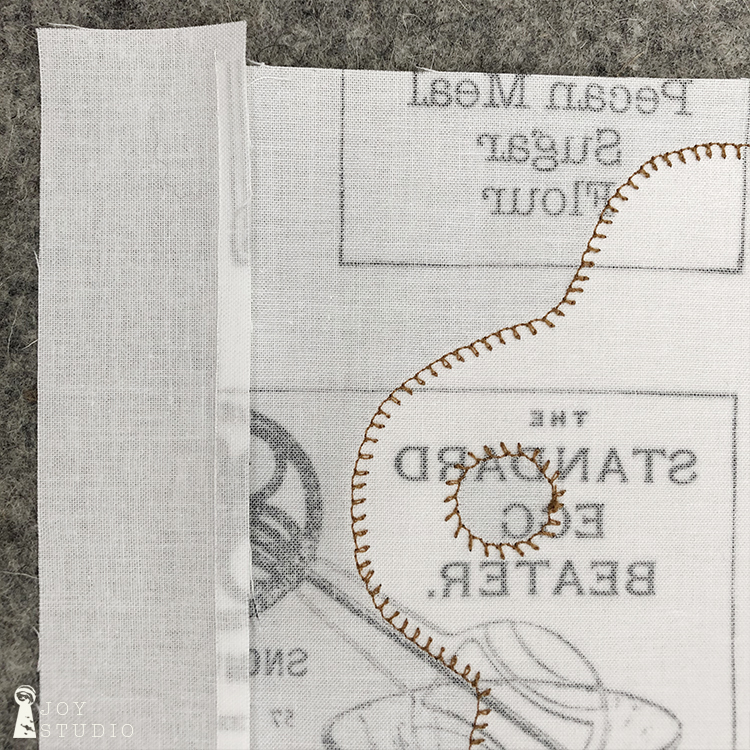
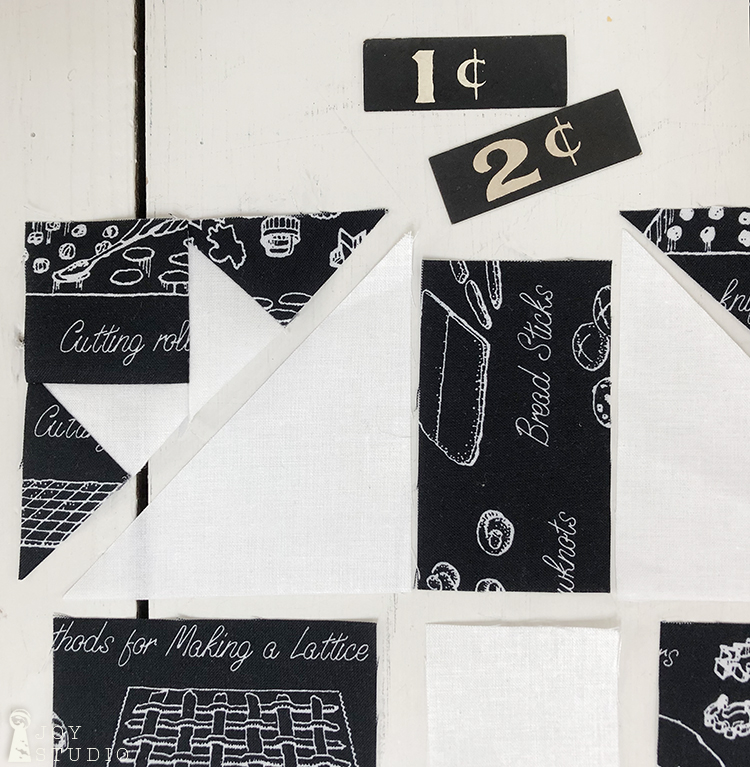
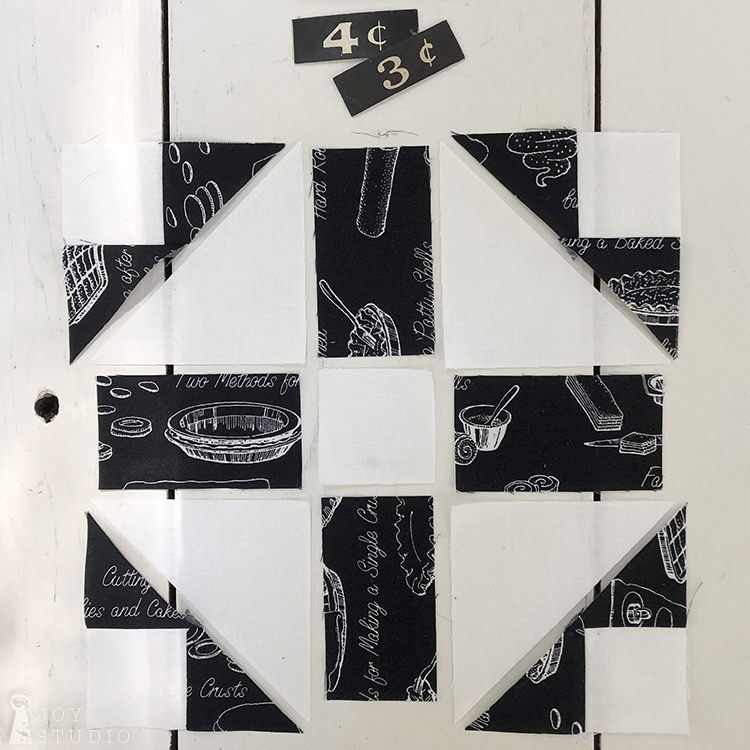
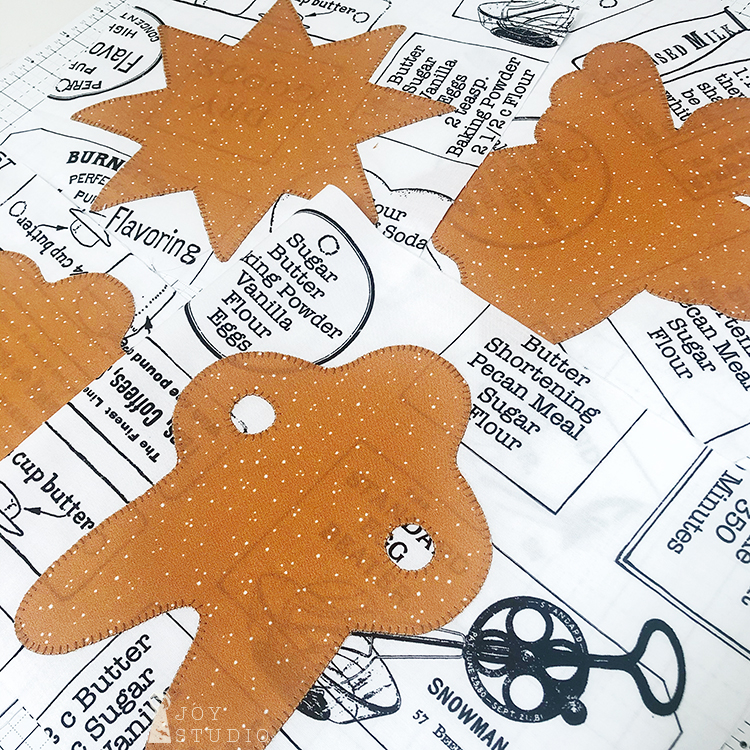
When you go to cut out the ornament rounds, be careful not to cut through the outside square itself or those tiny pieces. You can see at the bottom of our ornament photo below where we began poking the scissors through to cut around the perimeter only. This way, when the traced ornament is removed, your background stays completely intact. Then cut your smaller (traced beforehand) pieces and set them aside somewhat in order, or you can number them if that helps.
•
•
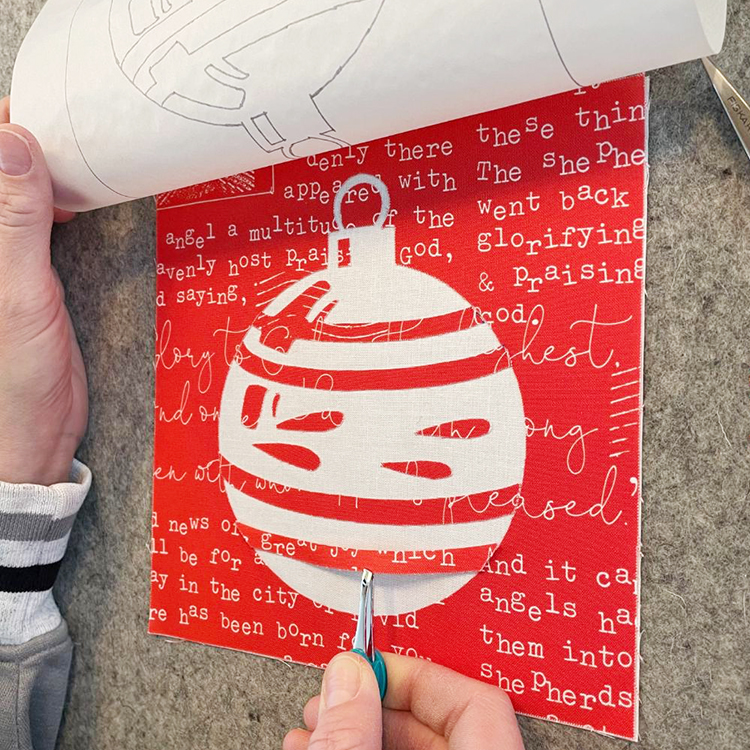
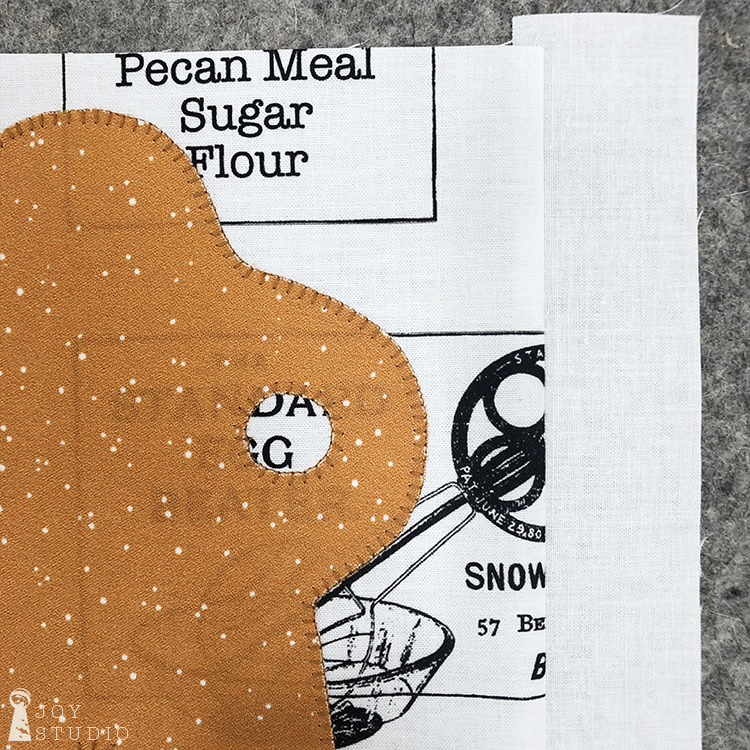
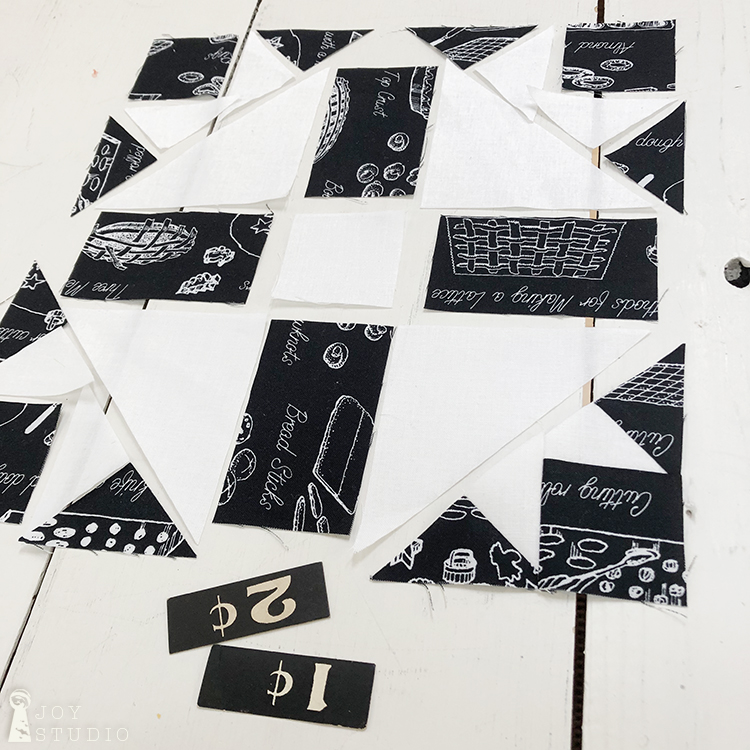
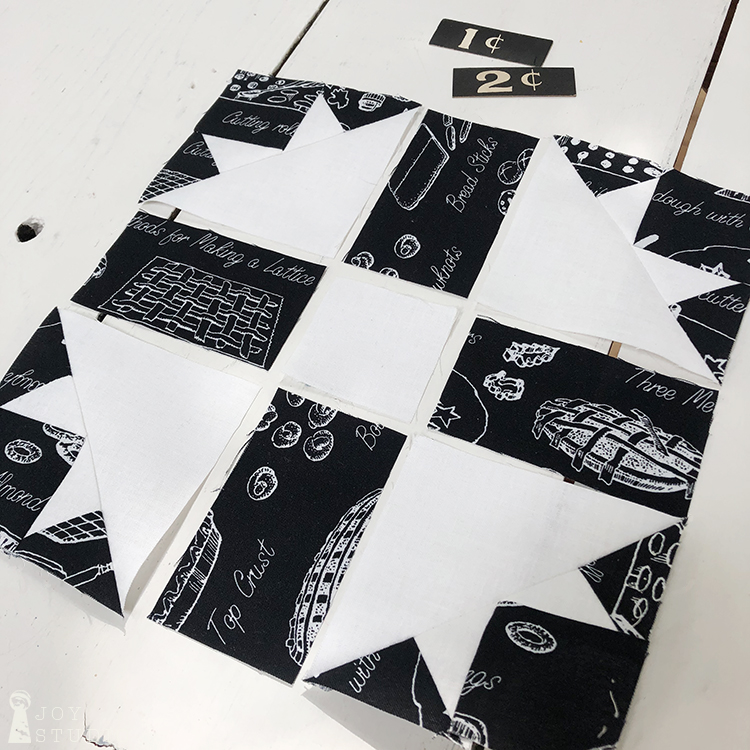
Once all of your ornament pieces are cut out you are ready to fuse. Sandwich the colored fabric silhouette squares on top of your Riley White squares that will show from underneath. You can place the pattern flipped upside down (since already in reverse) beneath your layered fabrics to use as your placement guide. Or, another method that we like to use, is a tracing paper door, as we call it. The photos below plus this link will explain. Simply put, we trace the block template image(s) onto ordinary tracing paper and pin down on one side of your block to help with accurate placement in the event the paper pattern does not show through your fabric. We also found that using tweezers was the easiest way to then nudge the tiny pieces into place. When you get them where you like, fuse!
•
•
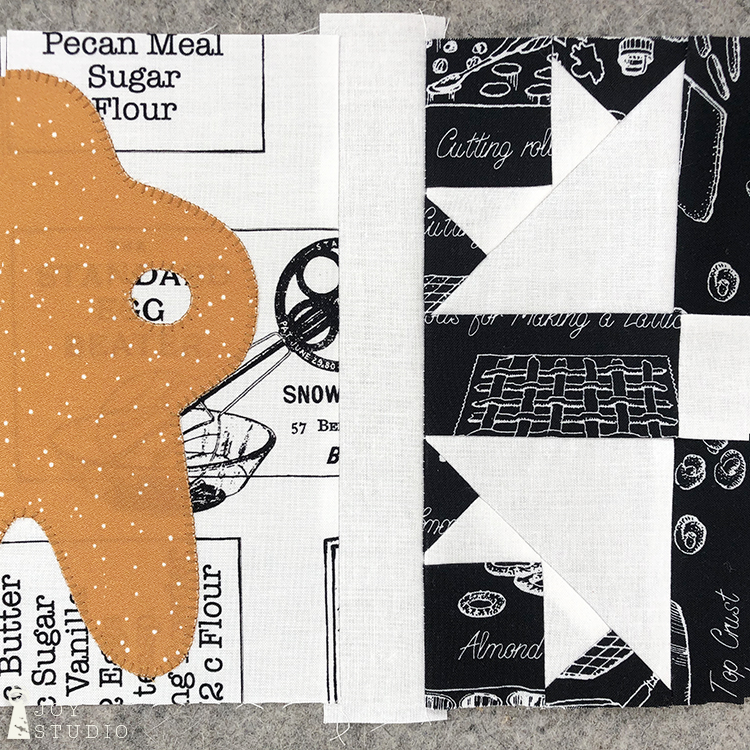
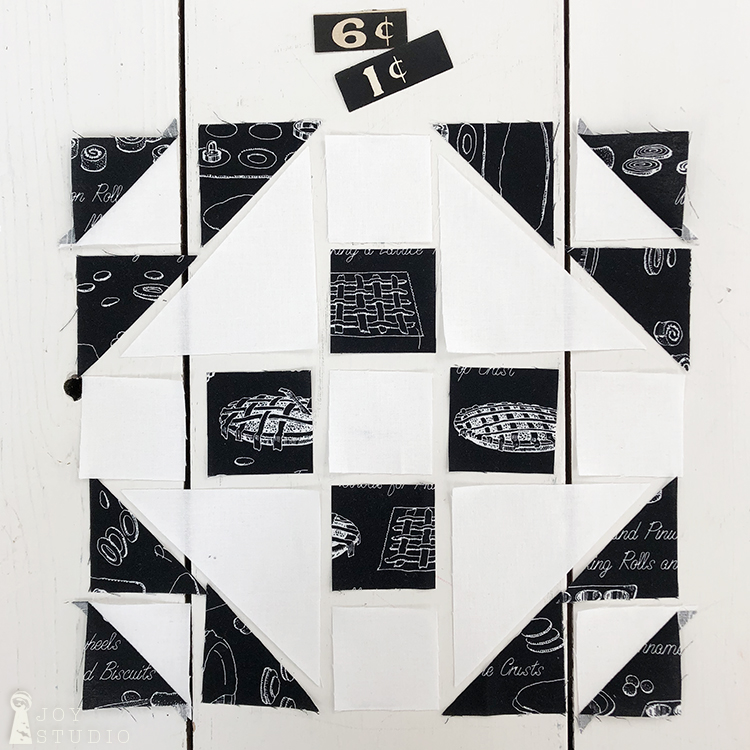
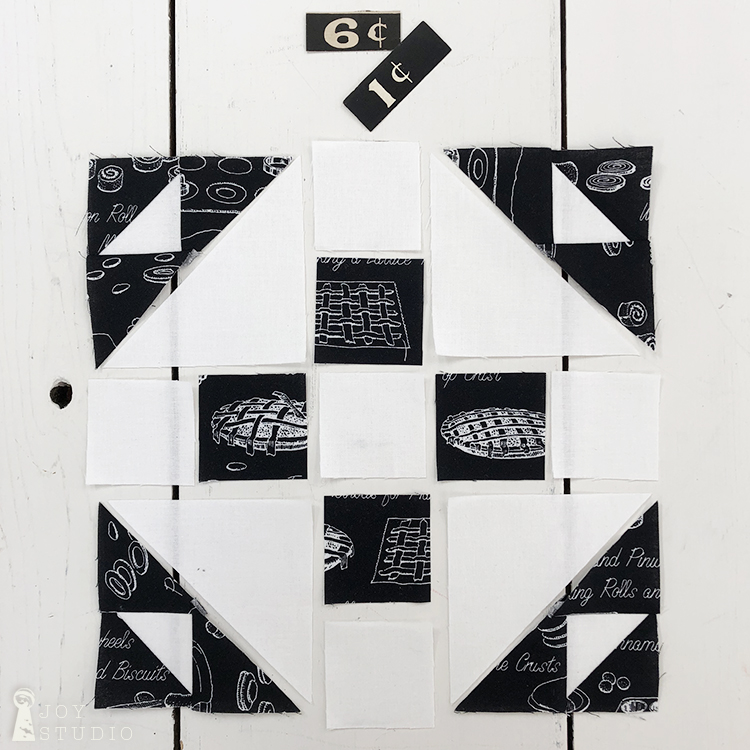
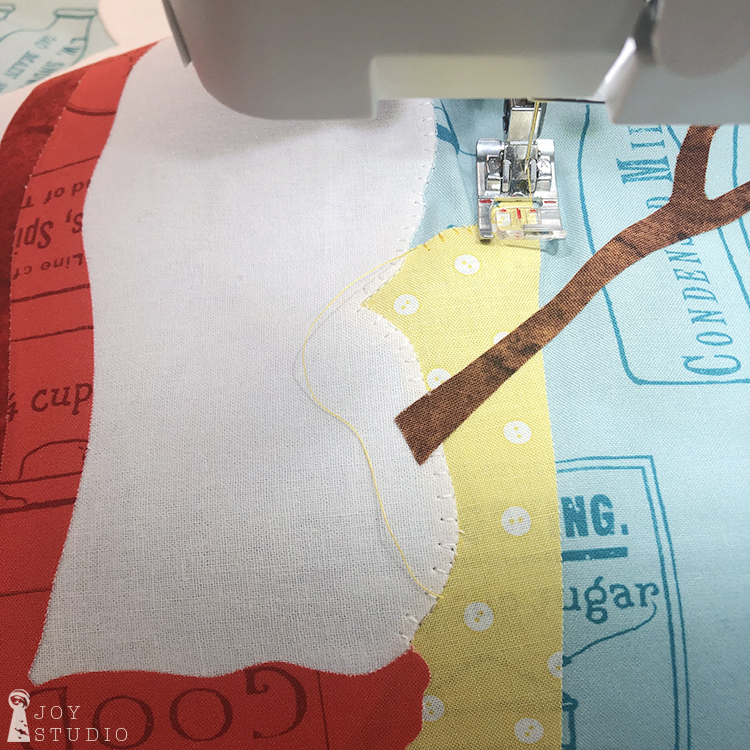
Here are our results. Now for the fun part, stitching them down. I will be using thread to match and a blanket style stitch. I find both are somewhat forgiving. You may choose to use any number of decorative stitching to add these details if you prefer over these tiny appliqué pieces. This is where your sewing skills will shine beyond my limited experience so please, send progress photos! And have fun of course 😉
•
•
I hope you had fun sewing along with me! If you have any questions about this technique, leave a comment below! See you next week for the BIG snowmen blocks.
• Old Made fabric is our 2021 (non Halloween) Halloween collection delivering to shops now!
•
•
• Painters Watercolor Swirl fabric is our first Basics collection with Riley Blake Designs and is delivering now. It was chosen out of our Painters Palette fabric group which has joined the Riley Blake Designs Basics offerings!
•
•
• All About Christmas is scheduled to deliver in shops next month! And when we say ALL about Christmas, we mean Jesus! Complete with Him in a manger as the main panel. Also angels, camels, nativity, etc. You get the picture. Lol
•
•
•
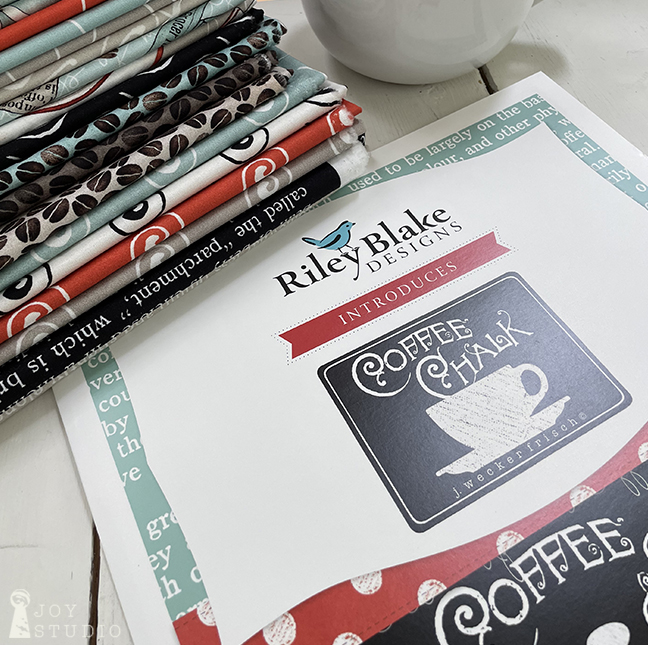
• Riley Blake Designs Virtual Quilt Market is next week!!! We are presenting “Coffee Chalk” and “The Best of She Who Sews”!! Join this Facebook event here:
Since there is a lot of info to cover this last week will be in two parts.
Assuming that everyone has all of their blocks completed and trimmed or will have, it is time to assemble!
•
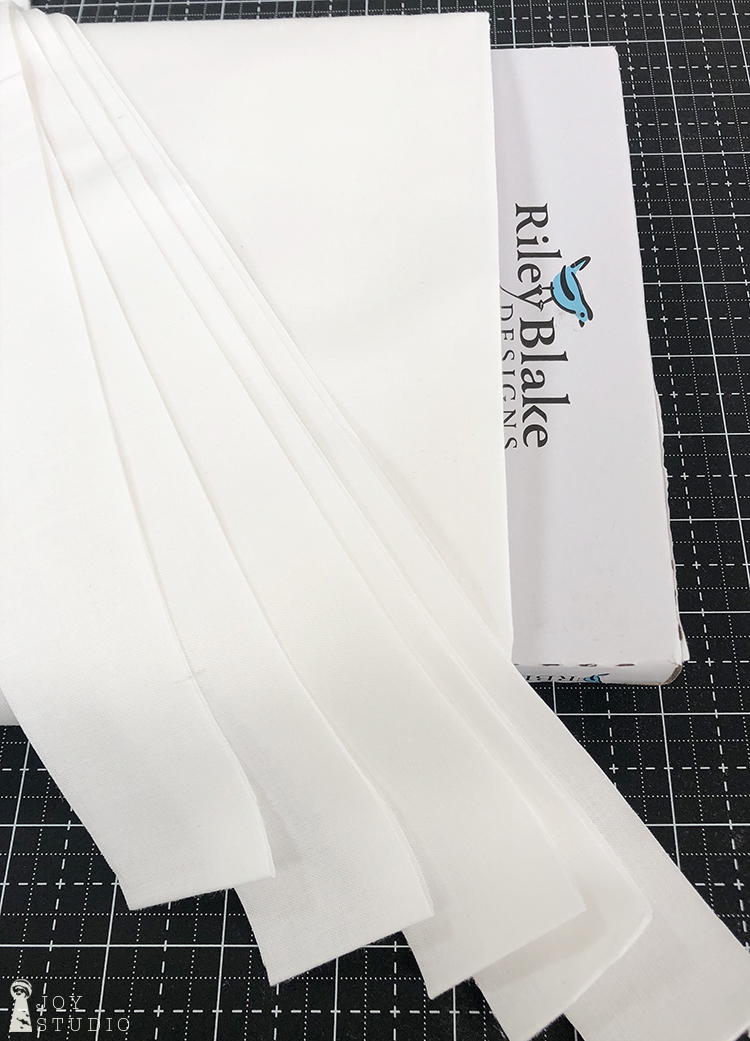
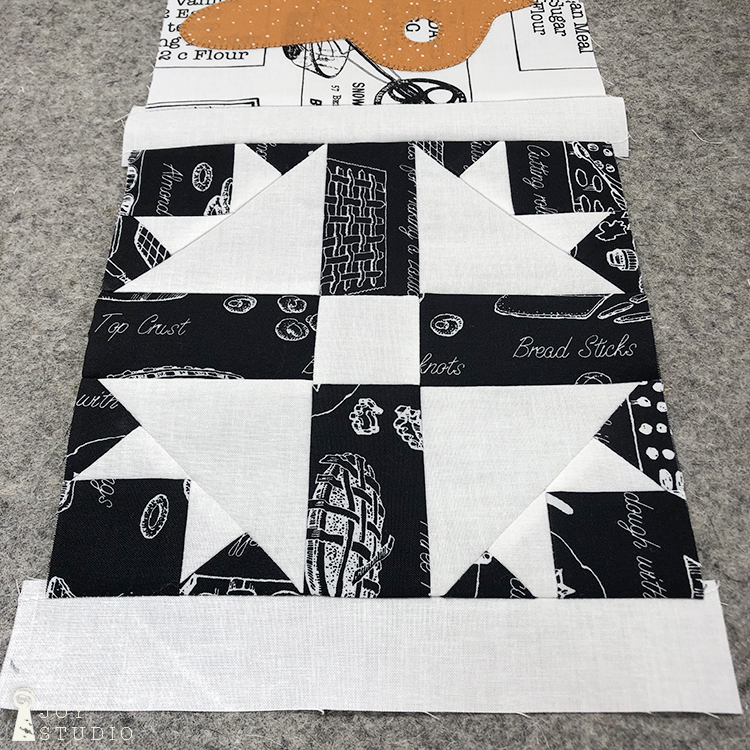
To start assembling the quilt portion, I cut five one and a half inch strips of Riley White fabric for the short sashing pieces. Check your pattern for accurate amounts if you want to cut all at once. I inched my way into this process, no pun intended.
From my five I cut eight and a half inch lengths, enough to attach my first couple of horizontal rows of blocks together. Refer to your pattern cover for block placement.
•
Beginning with block one (top left) lay one of your Riley White strips (1.5″ x 8.5″) on the right side of Block 1, right fabric sides together. Split the difference of the extra half inch between top and bottom of your block to be trimmed later.
•
Sew together using a quarter inch seam.
•
Press the seam toward your block.
•
Repeat the steps to connect block one and two together with this same sashing strip. This time lay block two on top of sashing strip lining up at right (see photo), again right fabric sides together, being careful to also line up both blocks top to bottom. You may want to pin in place before sewing.
•
Continue working this way until you have all of the top row of blocks connected. Then move on to row two!
•
And so on, until you have all of the blocks that connect using the short sashing pieces as shown on the pattern cover art. Seeing it all come together is the most fun for me, agreed?
I will post Part B on Saturday so stay tuned.
•
Embellish Options.
This festive project is loaded with possibilities to stitch on some fun extras! We plan to add buttons for our snowmen eyes and gingerbread man but remember to do this after your quilt top has been quilted.
I am happy to report that our piecing portion of our quilt is complete! Whew!!
•
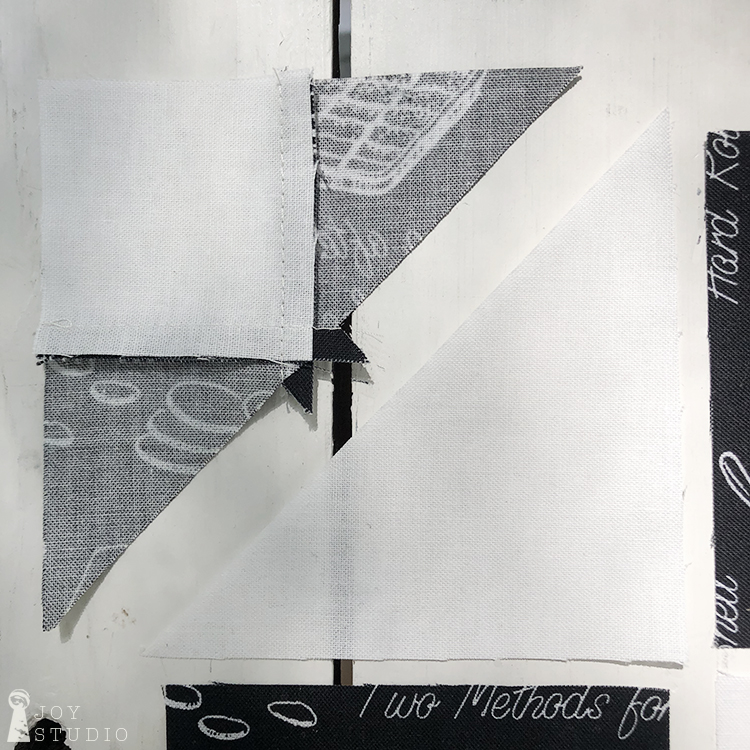
A couple of items I should have mentioned earlier, pressing your seams. Always press as you go is highly recommended for a neat job and press the seams toward the darker fabric whenever possible.
•
And something I learned along the way to get my points closer to each other. Sew on the side that allows you to see your seam and stitch right across that. Who knew, not me. 😉
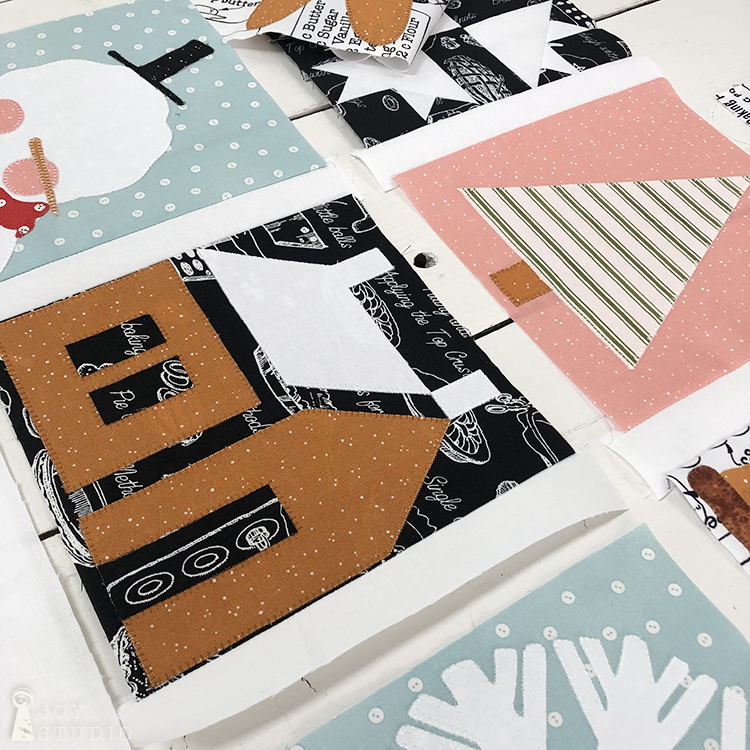
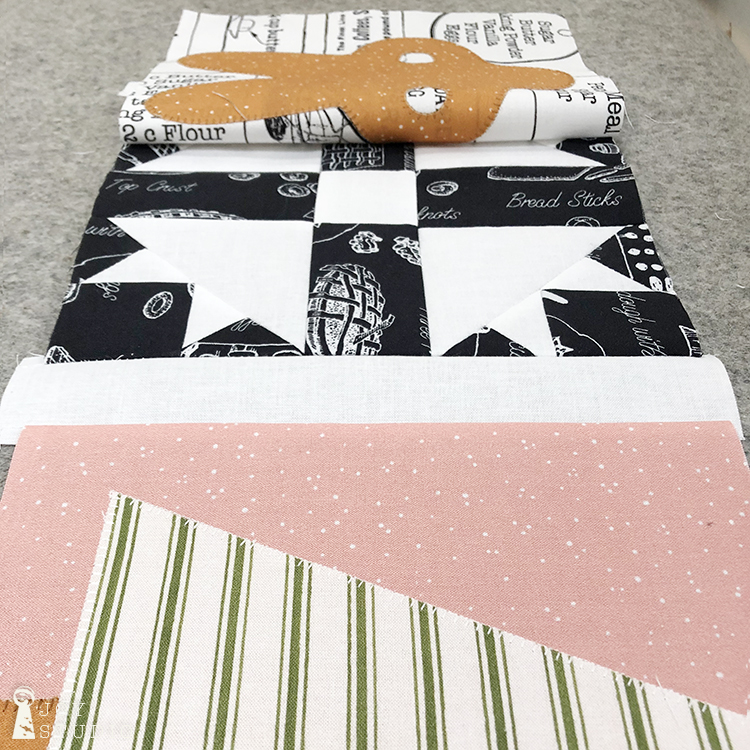
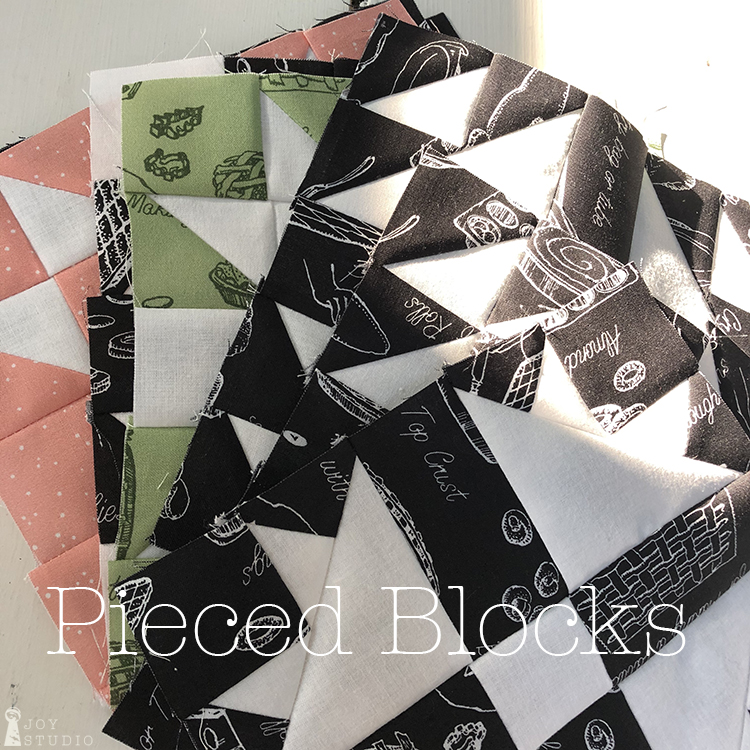
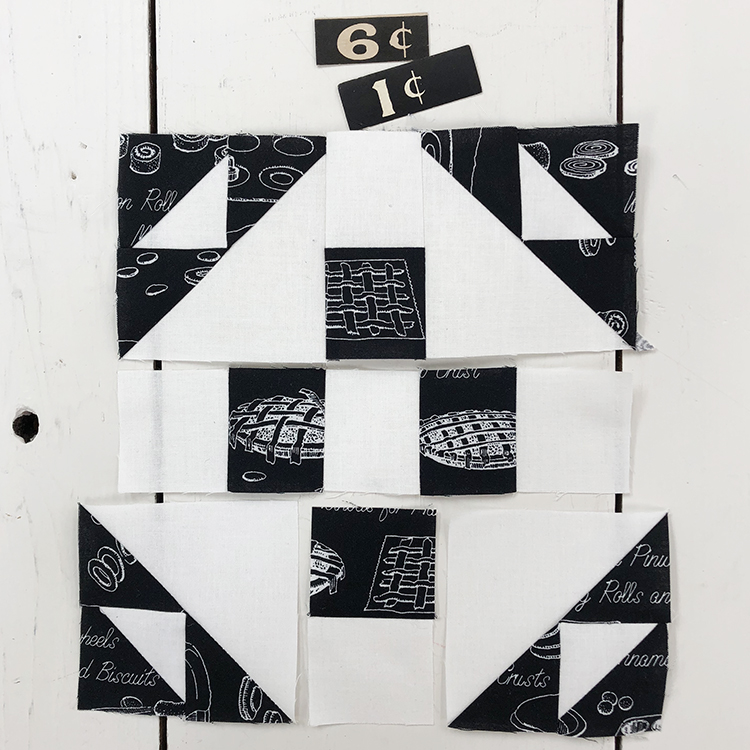
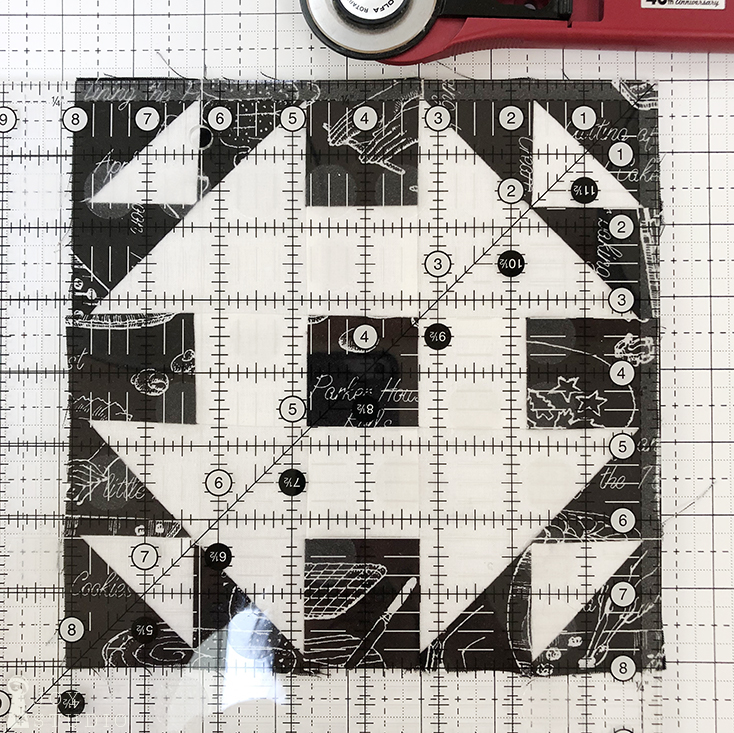
Below are the last four blocks that I saved until last. They appeared a bit more unfamiliar to me because of the corners which are all similar, and on an angle. However, following the sequence on the Pieced Blocks Guide in the pattern, I could quickly see that there was little to no difference in difficulty and all went smoothly as the others.
I think these are my best blocks to date! Perhaps I’m getting better the more I make.
In each block I did the corner work first. Once that was done, I attached pieces in the same sequence as all of the other blocks from Thursday’s post, horizontal rows. Last I attached the three horizontal rows from top to bottom, to complete.
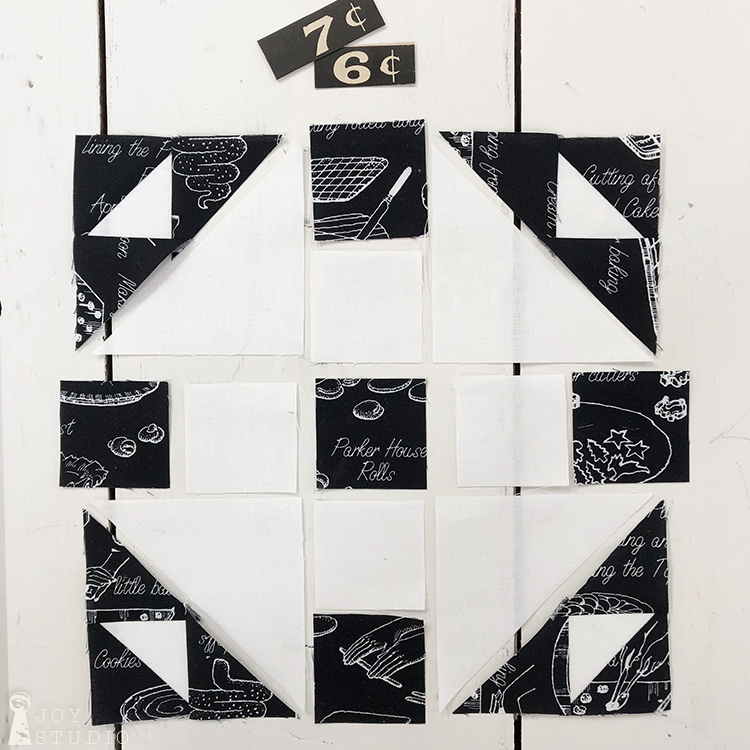
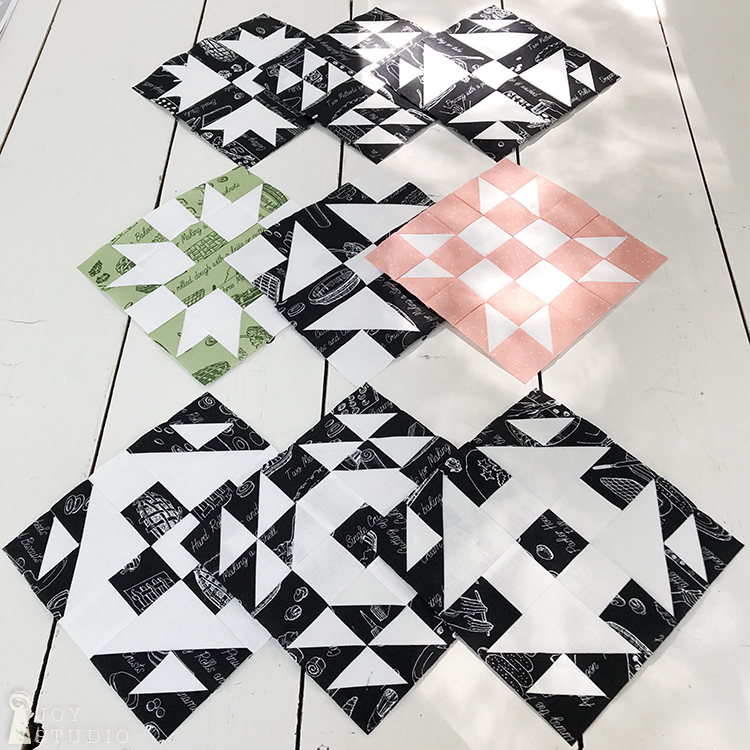
Our gallery.
•
Row 1, block 2.
•
Row 4, block 3.
•
Row 6, block 1.
•
Row 7, block 6.
•
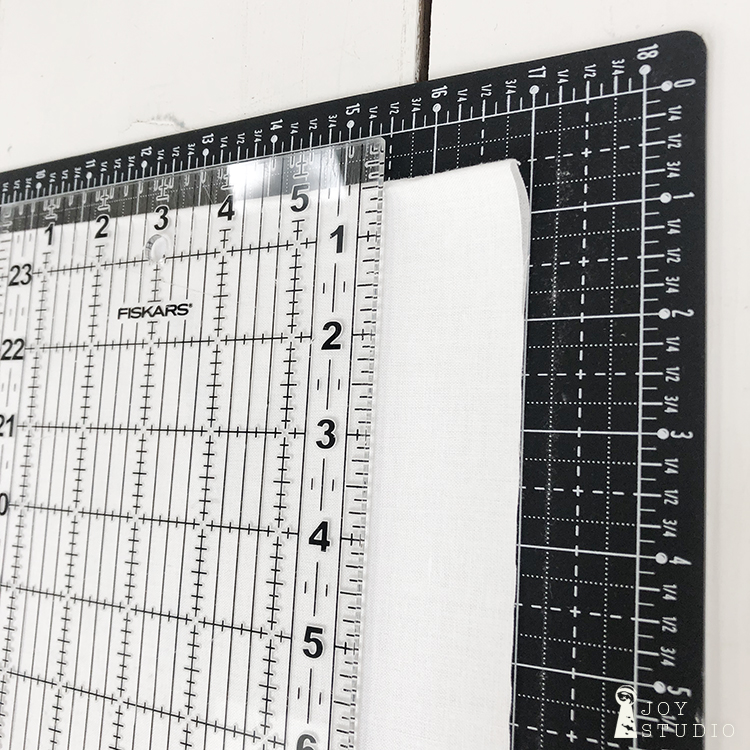
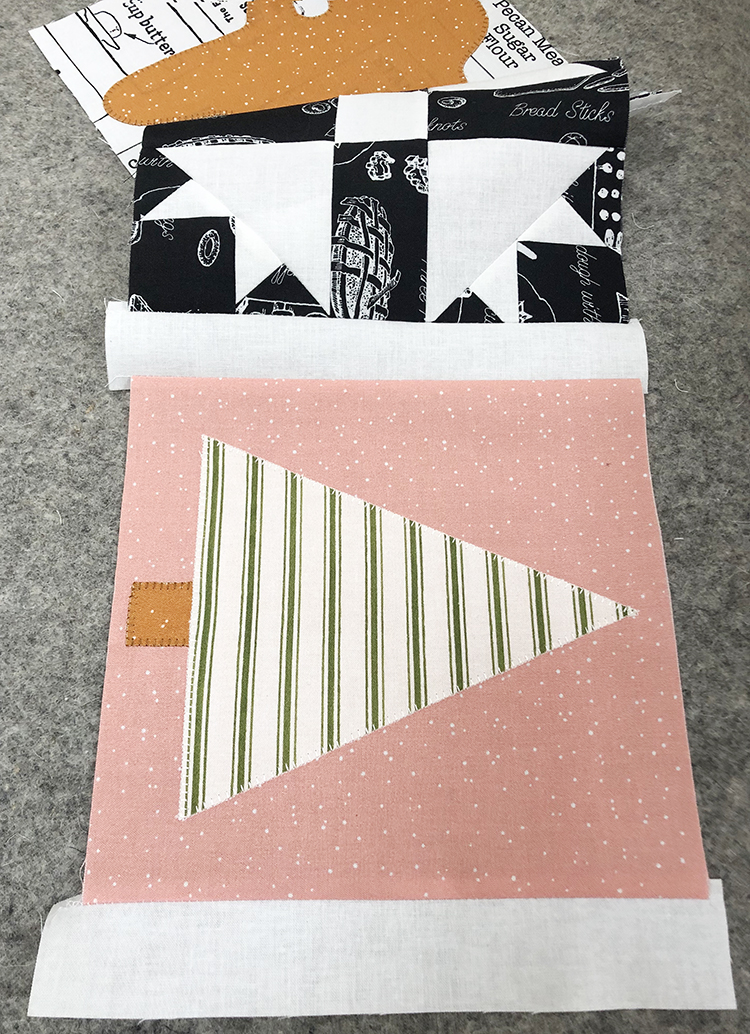
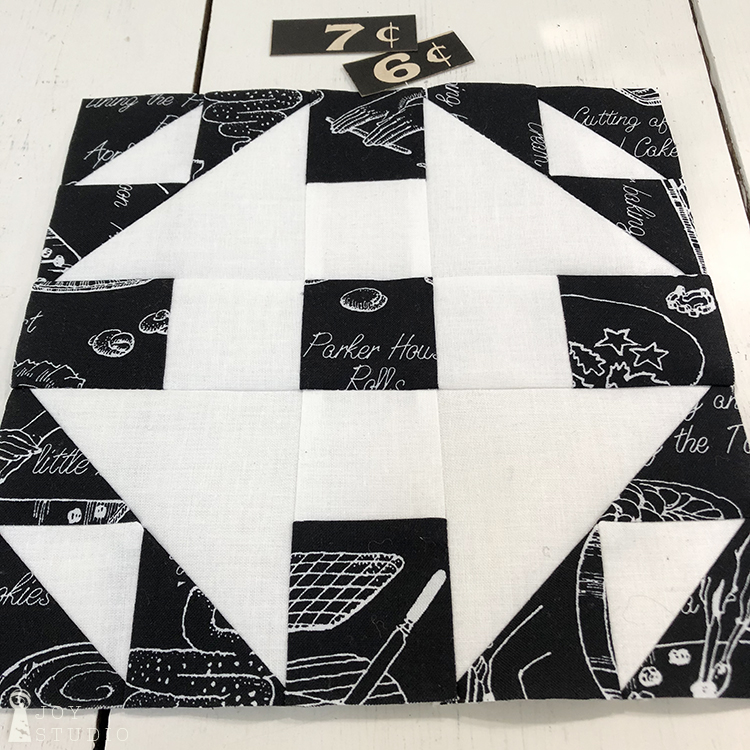
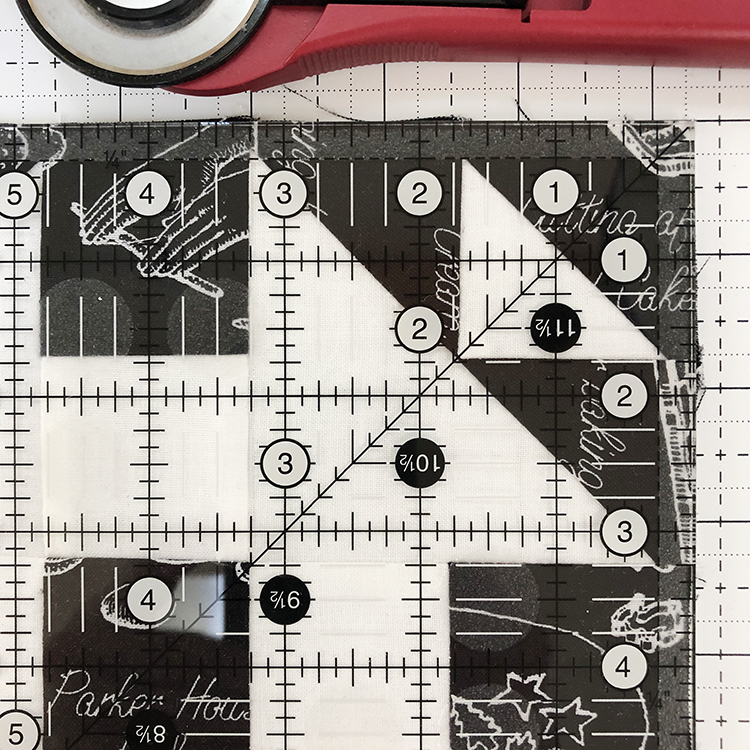
Trimming.
•
•
Trim each to eight inches, square for your seven and a half finish size blocks. In most cases ours only needed a smidgen cut off to clean up and even each block.
Again, voila!!
I feel quite accomplished or should I say quilt, and I hope you do too.
•
•
Again, share, share, share:
When posting photos use #snowalong and #snowsweetfabric in your social media so we can find/see your progress.
Let us know if you post on Pinterest as well and we’ll add to our board.
How’s everyone doing with their Snow-A-Long quilt?
Have everything fused?
*
*
Sew far, sew good I hope.
Speaking of sewing, here is where it gets tricky for me!! I soar at drawing and cutting but sewing makes me a bit nervous, still.
This week we are
securing/stitching
your raw edge appliqué pieces down and
trimming
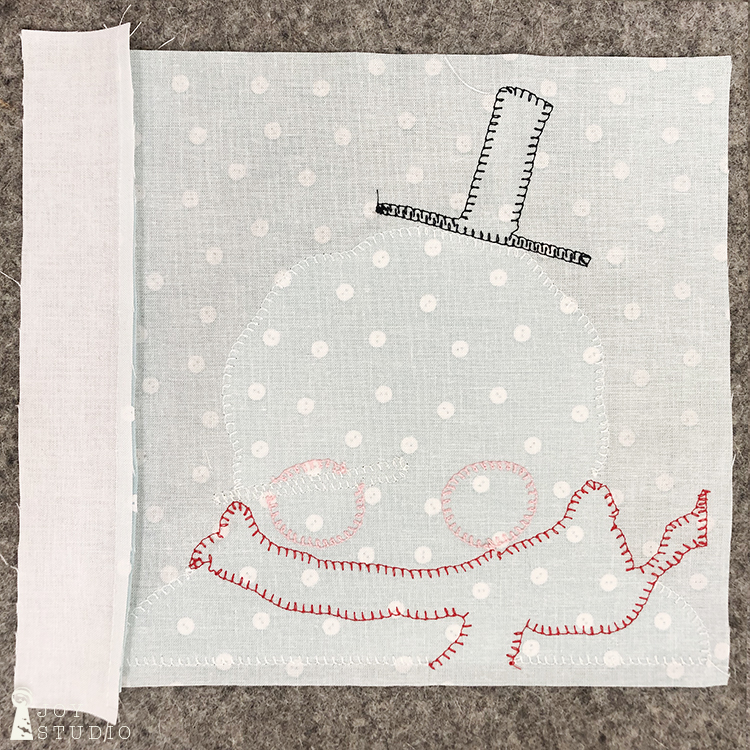
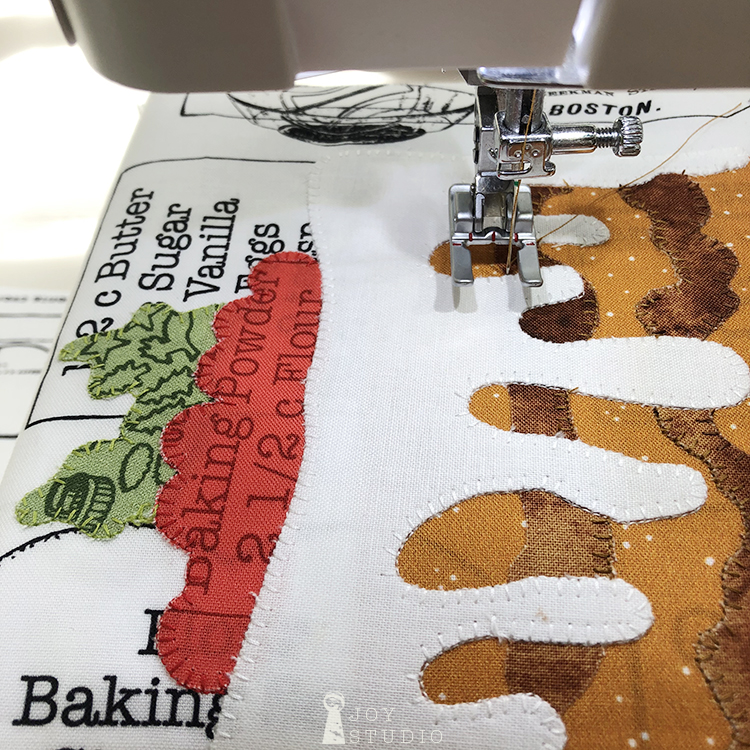
the blocks. You can also do any additional decorative stitching or embroidering at this time. Decorative stitch guidelines are provided on your patterns. Although the fabrics do much of the work in this quilt, the gingerbread blocks are perfect candidates for some fancy thread work either by hand or machine.
*
*
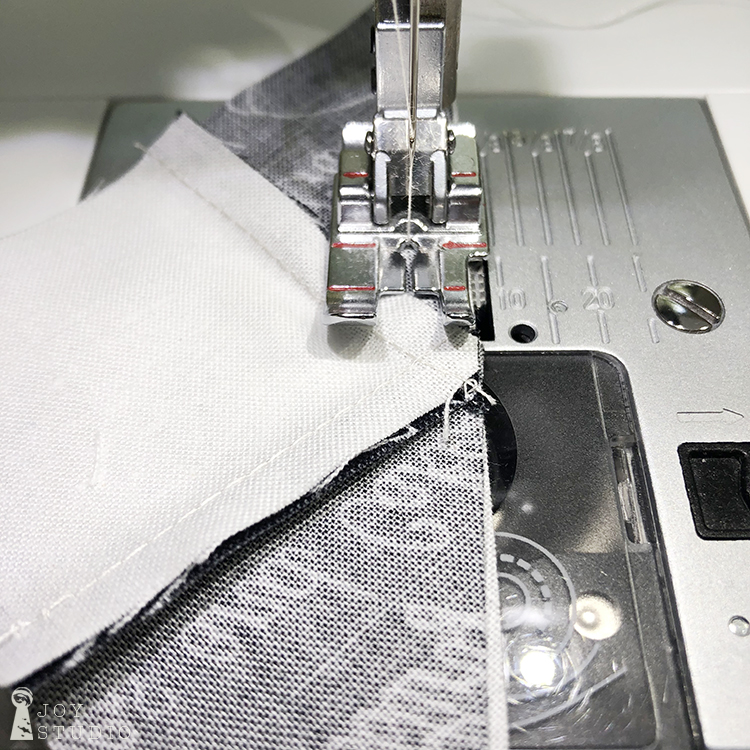
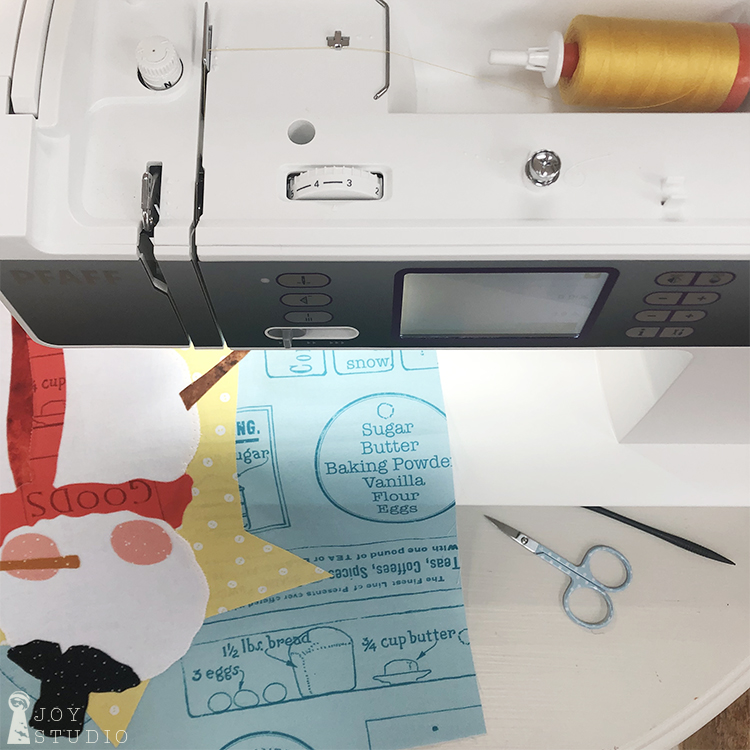
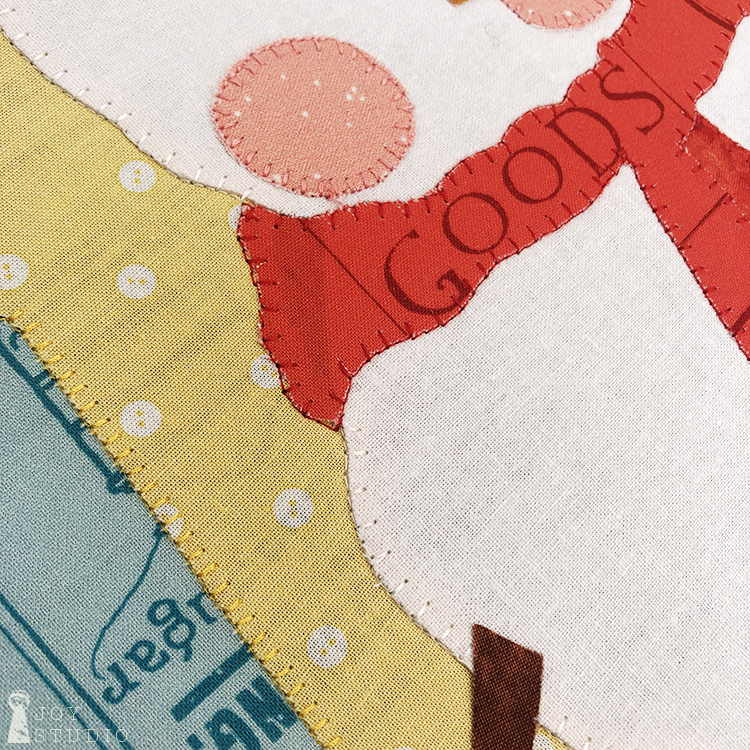
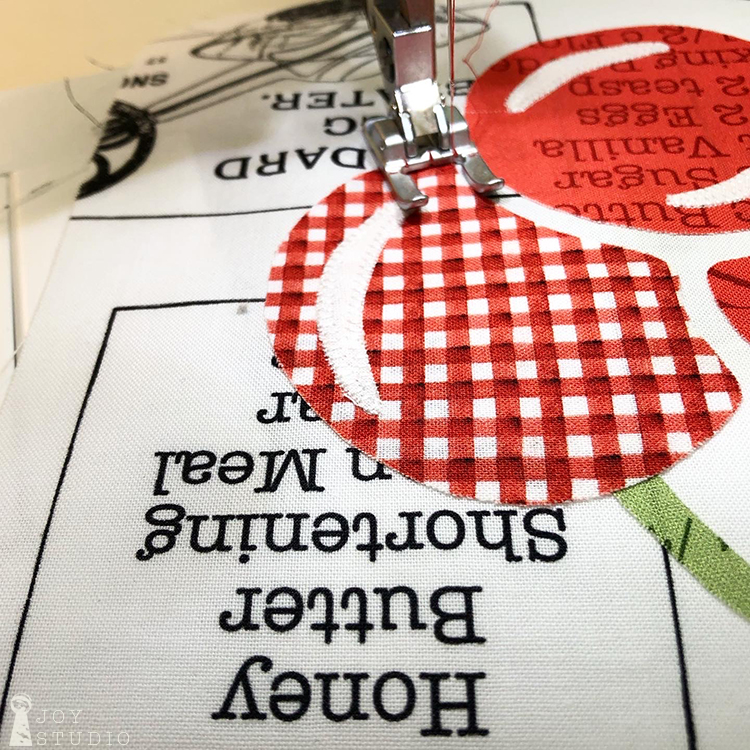
I have several photos that will show you our sewing process. I used a blanket style stitch (under the quilting stitch guide on my machine) for the edges. That is the one I am most comfortable using with my skill level but feel free to choose any that you like. I am certain that all of you have more sewing experience than myself so I look forward to seeing and/or hearing about your personal choices for this step. My understanding is that with raw edge appliqué you want a stitch that will help to keep the edges from fraying should the fusible product let loose with washings and use. However, I’m seeing the trends for raw edge appliqué and looks like anything (personal preference) goes!! And I like that.
Please #snowalong and #snowsweetfabric progress photos on social media so we can find and add to our
I also chose to use the same thread color as my appliqué fabrics. Again this was to better blend in and hide any of my stitching errors. If you want the appliqué art to stand out more you may want to try black and possibly some sketchy free motion which I love and hope to learn some day. I used Aurifil cotton 50 wt thread for all appliqué sewing.
•
•
With so many blocks to stitch down, I did all of the white first, then black, red, and so on. Soon you will have them all finished.
*
*
Time to trim.
This is done after the stitching to allow for any shrinkage that possibly took place. Be sure to leave yourself a quarter of an inch for a seam allowance on all four sides of each block finish size. Block finish sizes are stated on your pattern. Some images like the gingerbread house is intended to sit on the bottom seam line of the block. So I trimmed to the one quarter inch mark at bottom and sides.
•
•
Once all are trimmed, post on your design wall and enjoy seeing your quilt come together!