by Great Joy Studio | Feb 4, 2020 | Quilting & Fabric
Again welcome to the Hat Shop Sew-A-Long!
Picking up from last week,
Sewing the details.
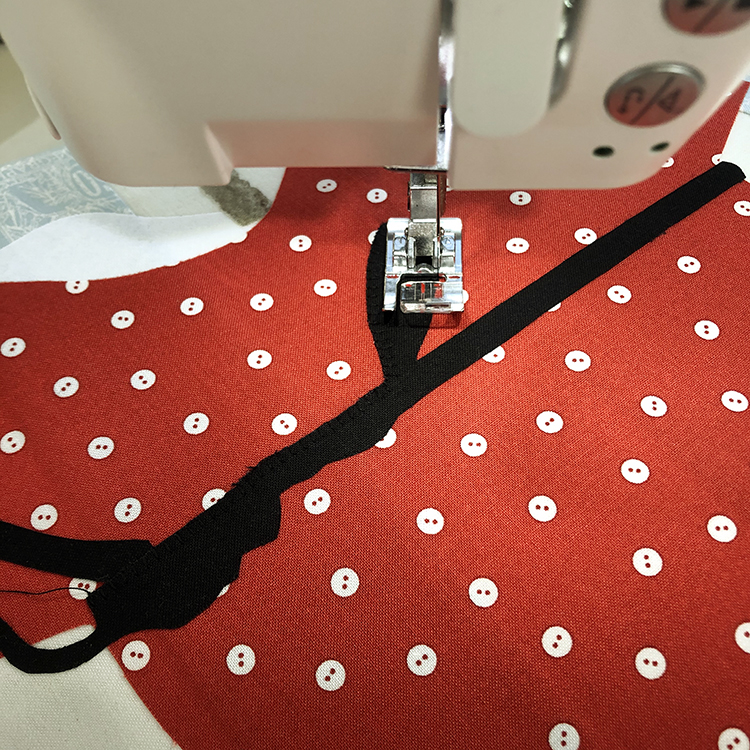
As I shared in week two, if you want to add decorative stitching and other trims to enhance each block, you may want to do that before piecing all four blocks together for easier turning. Whether you already assembled your top row before placing the text or not, either way is OK. I still have only fused and stitched down the red hat pieces. We will be stitching the remaining eight applique blocks in their entirety before assembling each row.
•
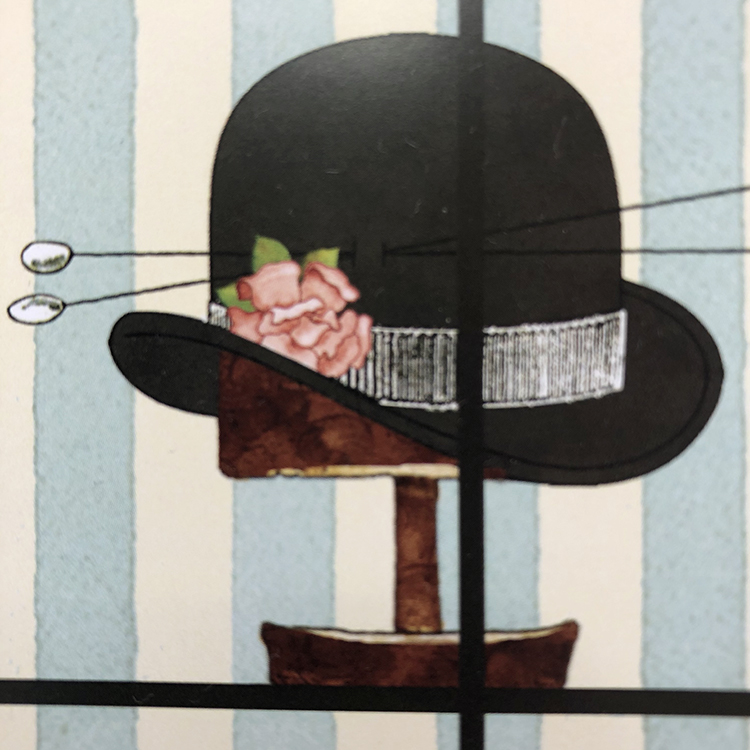
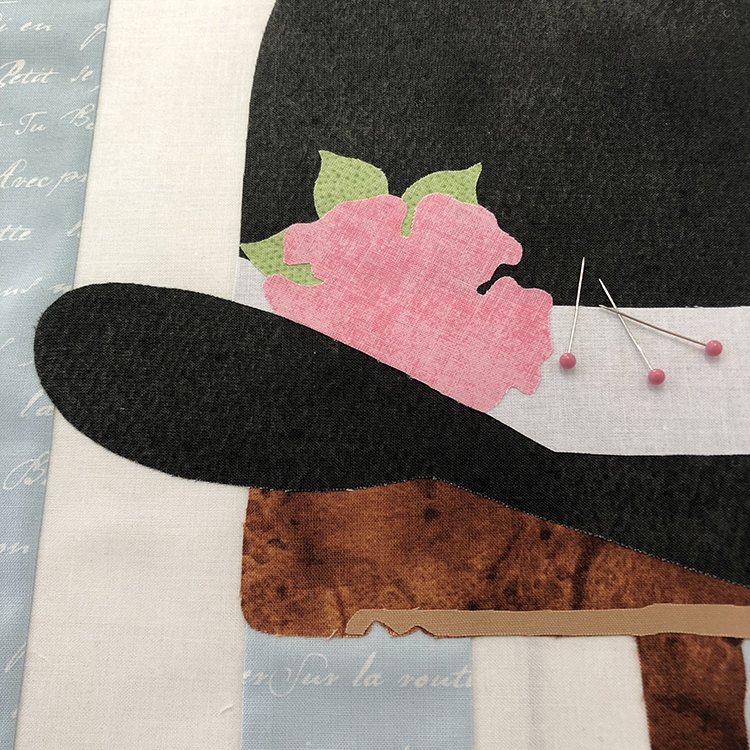
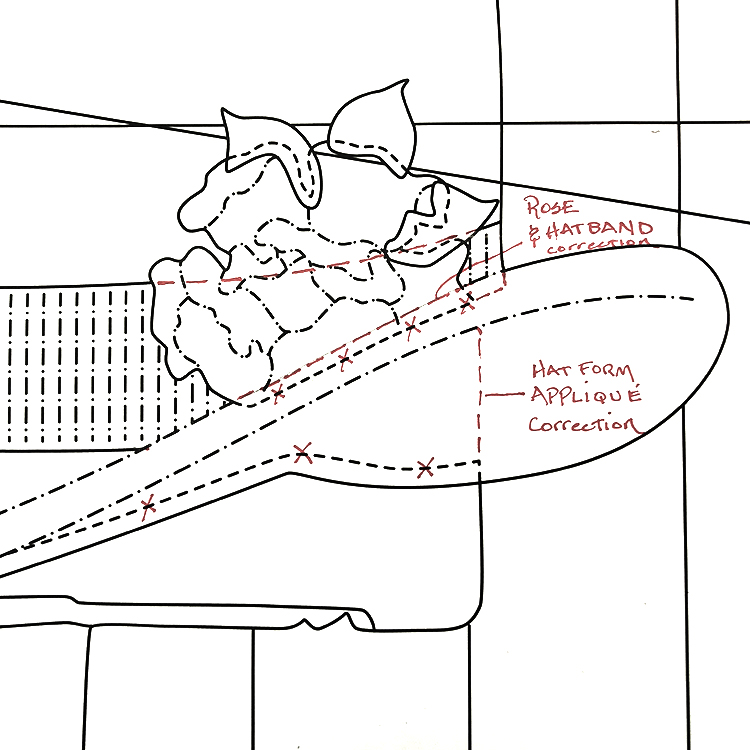
Pattern correction, derby wooden hat form applique should be extended to the hat brim, as if to appear going up into the hat. I marked the pattern with red dashed lines in the photo below. Also, the bottom of the rose needs to move up to be even with the hat band also indicated with red dashed lines. See third photo:
•
This week, fusing row 2.
Lining up the vertical stripes.
If you have a pieced background the most important thing to check in starting row 2 is matching up your vertical stripes! So, before pinning or fusing, match your stripes using your traced block patterns described in week 2, Making an appliqué placement door. Most likely, your stripes will not match the patterns stripes exactly. Mine did not, but were close. As long as you keep the second and third row consistent with your blocks in the previous row, then placement should match up. See below that my blue stripes are slightly to the left of the traced sheet in all three rows/photos. Next we will be using our tracings and placement door, for each of the four blocks in row 2, repeating the same steps as we did in row 1.
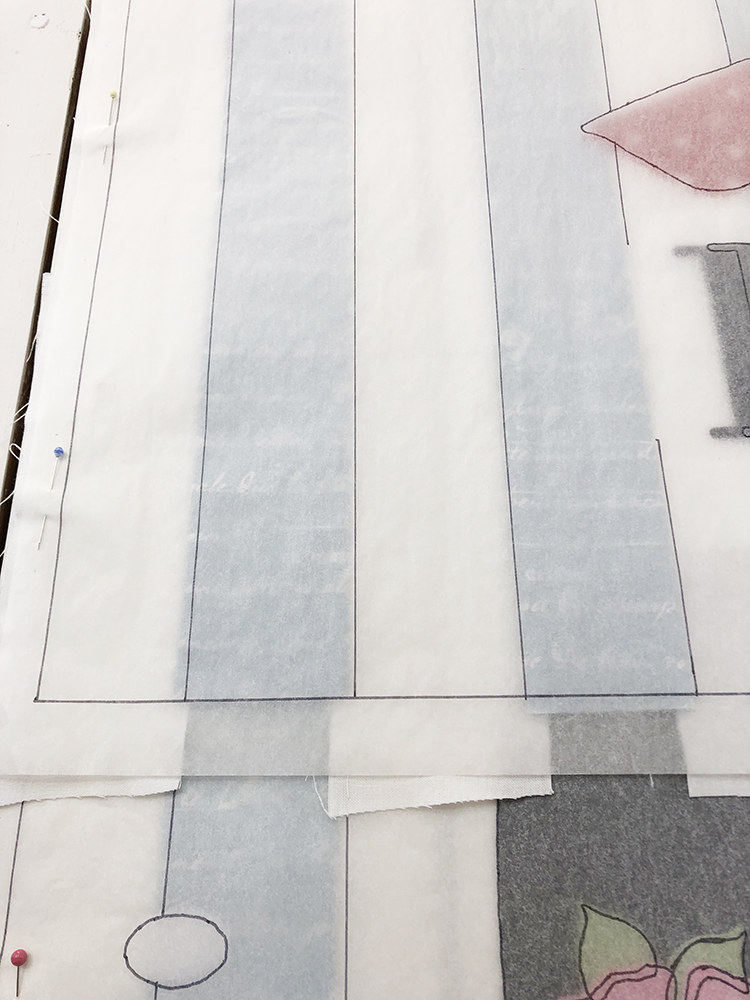
Block 1, Row 1
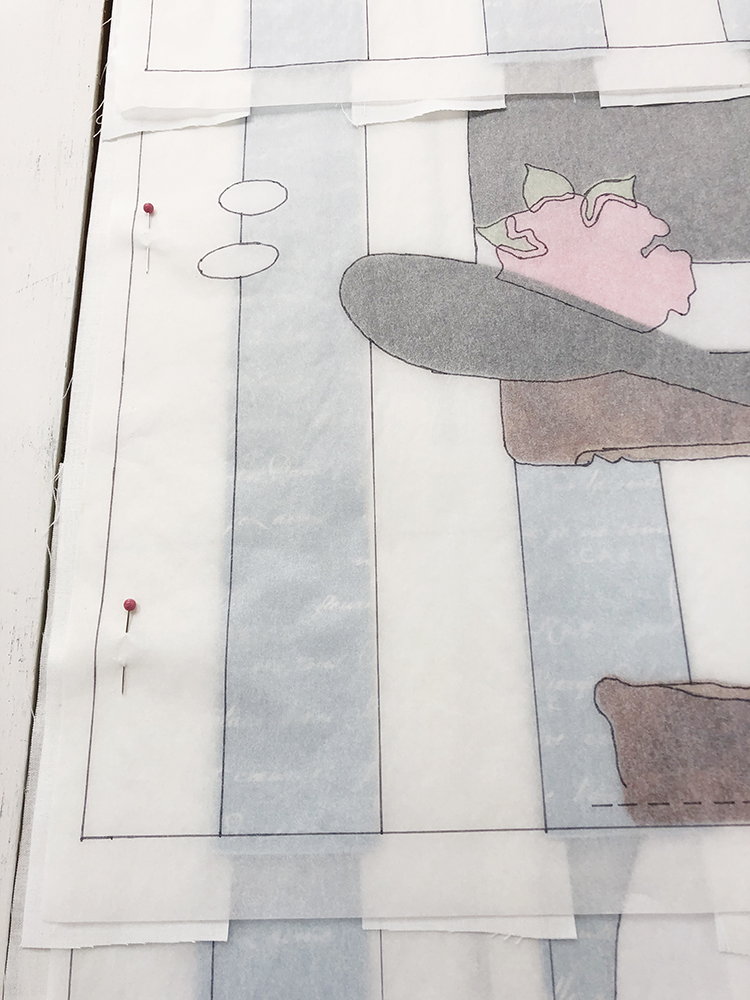
Block 1, Row 2
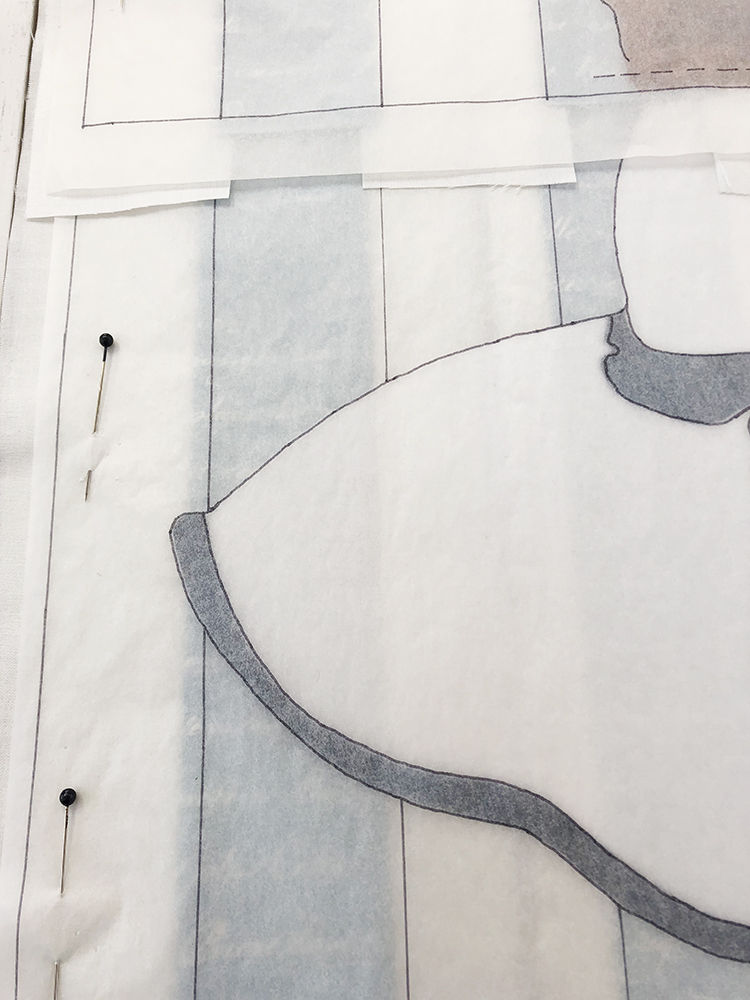
Block 1, Row 3
•
Applique fusing sequence.
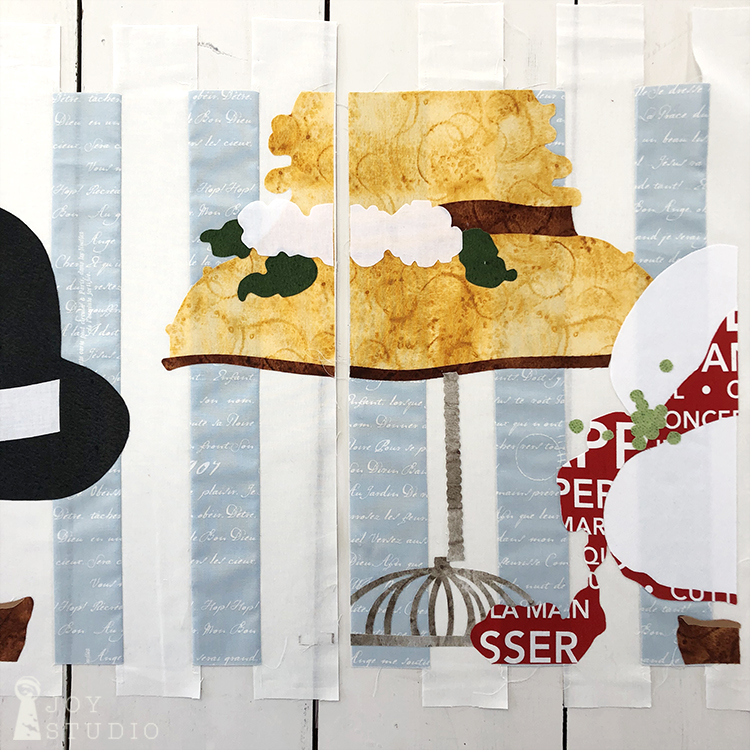
The best way to determine what is fused first is by laying out all of your appliqué pieces on their corresponding blocks, carefully checking with your pattern cover and technical illustration. Much like the red hat described in week 2, the majority of the hats are fused in a similar order.
For example the derby:
vertical stand post,
stand base,
derby,
hat form,
band,
leaves,
and then the rose.
•
Hat number 3
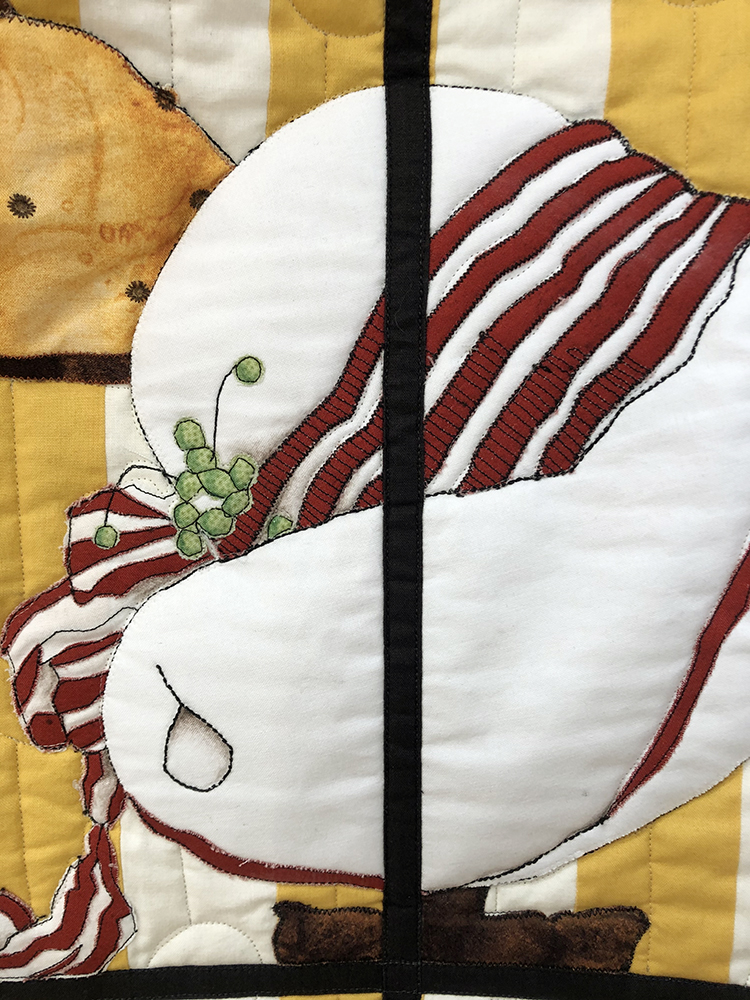
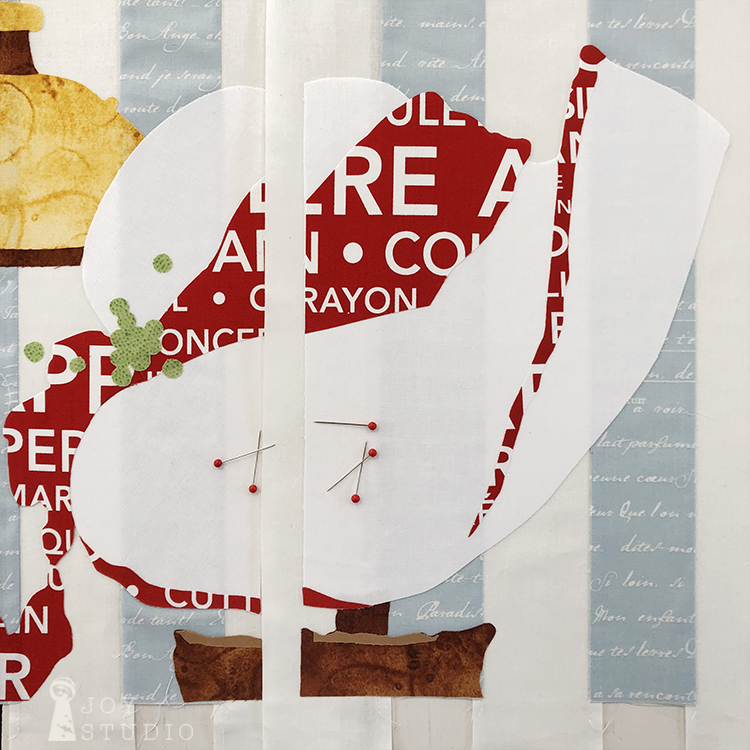
I chose to use Couturiere Parisenne from Riley Blake Designs, red bold text rather than attempting the red stripes on hat three with my limited sewing experience. Letting the fabric do the work for me while still offering a similar visual impact was a lot less intimidating for me, a novice.
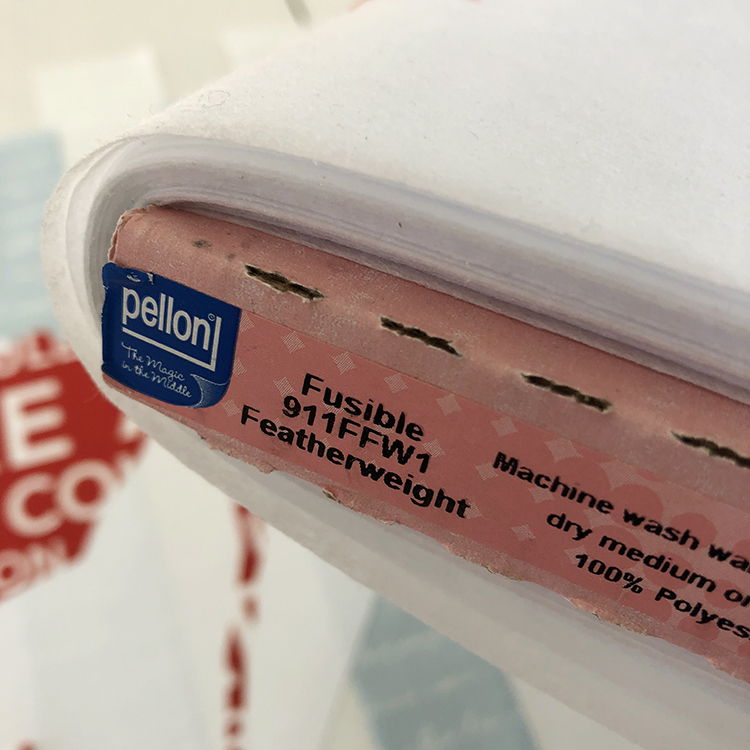
Secondly, we used an interfacing in between the applique and the fusible web to help hide the background for all of the white hats. We used Pellon 911FFW1. As you can see, my stripes are still visible so you may want to choose something heavier for a total mask.
Appliqué Fabric Option
•
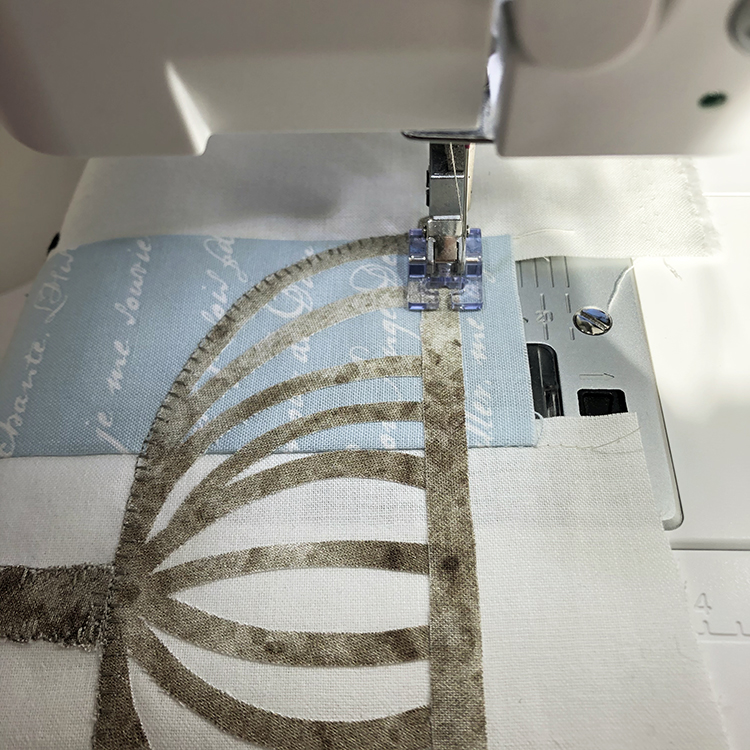
Once everything is fused in row two, you can begin the decorative stitching. Take your time, have fun. This part is where you can really get creative! Again it’s always a good idea with fusibles to at least secure your appliqué with some stitching.
•
We will plan to assemble all blocks after rows one, two and three are fused and sewn down.
•
Please forgive me, we did not forget last Saturday’s giveaway, only postponed. We’ll keep you posted.
Stay tuned to Instagram and Facebook for additional news and hat shots.
by Great Joy Studio | Oct 5, 2018 | Quilting & Fabric

•
A 2018 CHALLENGE
has been on my mind all summer!
I wasn’t sure when we were going to get it in!
Then, during our Paperdoll Trunk Show at the MSQC Birthday Bash in Hamilton , I enjoyed a visit with Rhonda!!
She, like many of you has participated in the previous challenges, supported my efforts on social media and followed us faithfully.
It was a wonderful surprise!
And it was great to meet her in person and share. Thank you Rhonda.
We talked about doing another Post Card Challenge and exchange as we did for Valentines ’15 and still getting it in for this year.
However, I’m thinking . . . we’ll hold that thought for 2019 due to time, and I just may have the perfect NEW collection for a card challenge.
•


So, just this week,
I started working on an idea that I had for using the Paperdoll (main) Panel. A Needle Book Apron! I liked it so much then thought, ah ha
C H A L L E N G E ! ? ! ! !
•

At first, I thought Needle Book Apron Challenge? Sounds fun but did we want to limit it to aprons? Then it came to me,
PAPERDOLL
NEEDLE BOOK CHALLENGE
just popped up!
And, whatever that title conjures up in your maker’s mind is OK.
Your project can be an apron, or anything you dream up following a few simple rules:
•
• You must use one of the J Wecker Frisch Paperdoll Panels from Riley Blake Designs, either the main or patch panels.
• Additional fabrics must be from the Paperdoll collection or any Riley Blake Designs Confetti Cottons Basics.
• You must complete project and send photos (janet@greatjoystudio.com) before Fall Quilt Market. We’ll set an October 27th deadline.
• You must share on all (or any you have) of your social media platforms, Blogs, Facebook and Instagram using #needlebookchallenge
• You must follow us and Riley Blake Designs also on social media channels.
Instagram – J Wecker Frisch & Riley Blake Designs
Facebook – Joy Studio and Riley Blake Designs
Here on the Joy Studio Blog would be excellent! Although optional.
•
Post your progress photos on the same J Wecker Frisch or Joy Studio, FB or IG pages anytime using links above!
Be sure to use #needlebookchallenge so we can view collectively.
Oh, and did I mention PRIZES!?!!!
•


Winner will receive,
LANG She WHO SEWS Calendar Mini & Planner
LANG Draw Near Sketchbook
Paperdoll Fabric FQ

& a boxed LANG She Who Sews, Run the Race mug!
•
I would like us ALL, along with our panel of judges to vote for the winner so again, we must have your photos for that.
Each participant gets two votes, one for their own project and the other must be for someone else. 😉
Winner announced from Quilt Market! Can I do that? Lol
•
What did I forget?
Please join and have fun with you version of the Paperdoll Needle Book!
I look forward to seeing what YOU make!!!
•

Good luck Makers!
•

Save
Save
Save
Save
by Great Joy Studio | Sep 5, 2018 | Quilting & Fabric

Once again, this Riley Blake Designs Maker, is sharing!
Here is my progress for the
RILEY BLAKE DESIGNS
MEET THE MAKERS Quilt-Along.
•
Week Two.
My block #2 features
“Paperdoll”
pincushion toss, vintage button illustrations and tape measures plus,
Riley Blake White.

So,
please tell me, are YOU quilting along?
Jump in anytime.
Details are on their BLOG.
•
And very good details they are too! Including a VIDEO TUTORIAL.
Each time that I complete one of these blocks I am fascinated to see the results. In case you missed my last post, I’m actually learning to piece during this QAL. Very fun and challenging at the same time. And, I think I may be hooked!
•


•
Meet me here next week for more,
Meet the Makers Paperdoll blocks!
•
And be sure to tune in for the
RBD Paperdoll Tour
starting Thursday, Sept. 6 for four consecutive Thursdays on the blogs listed below.
I’m betting these Makers are going to be showing you some really
CUTE STUFF!
Aunt Henri
The Polka Dot Chair
Flamingotoes
Jedi Craft Girl
•

For some of our really cute stuff using Paperdoll fabrics:
“Doll Closet” Applique Design for Makers
in our ETSY SHOP
•
Save
Save
Save
Save
Save
Save
Save
Save
Save
by Great Joy Studio | Apr 6, 2018 | Quilting & Fabric

•
W E L C O M E
to DAY 7 of the
Quilt A Long and Blog Hop!
hosted by Carla from Creatin’ In the Sticks
•
A super easy block she calls ‘Stripper’ was offered and I decided that we could take it on.
Only two problems . .
1 – We/I have never pieced a block before or made a quilt project . . . and
2 – Our schedule is completely FULL as always with designing fabric, and another She Who Sews LANG calendar!!
So, I apologize ahead for not having a completed traditional project using this great block.
You can see Carla’s tutorial for #7 on her blog.
•
OK here goes.
This is our/my, first pieced quilt block ever. It’s true.
Actually we made two, just in case. Jackie cut and I stamped, inked and stitched.
Our minimal one block project will commemorate the event as a quilted wall piece to be framed and hung in the Joy Studio!
A reminder that it’s never too late to learn how to piece or quilt!!
•
Since we are waiting for our new fabric, “Paperdoll”
we used our partner Riley Blake Designs, Confetti Cottons in black and white and Aurifil thread for piecing.
•


•
I know it’s not much and I would love a quilt made using this block with each one turned and well, you never know. Maybe we/I keep piecing, right?
We had a lot of fun trying this and enjoyed the encouragement to participate.
Let us know how we did.
•

•
Carla was greatly instrumental in the only other blog hop I have ever participated in, the
2013 She Who Sews Sewing Room Hop!
THANK YOU again Carla!
•
BTW – Ask your favorite quilt shop to check out our new collection PAPERDOLL with Riley Blake at the
Spring, International Quilt Market in Portland May 18-20.
Delivers in August!
•

•
Save
Save
Save
Save
Save
Save
Save
Save
Save


