Why is it called a minisew-a-long? Over three weeks I will be demonstrating the reverse raw edge appliqué technique used to make my All About Christmas Quilt & sewing along with you to make the three large snowmen blocks! Grab your supplies and sew along with me!
SCHEDULE:
July 7th: Learning the Reverse Raw Edge Appliqué Technique for top & bottom rows
July 14th: Snowman Blocks
July 21st: Snowman Blocks continued and wrap up
SUPPLIES:
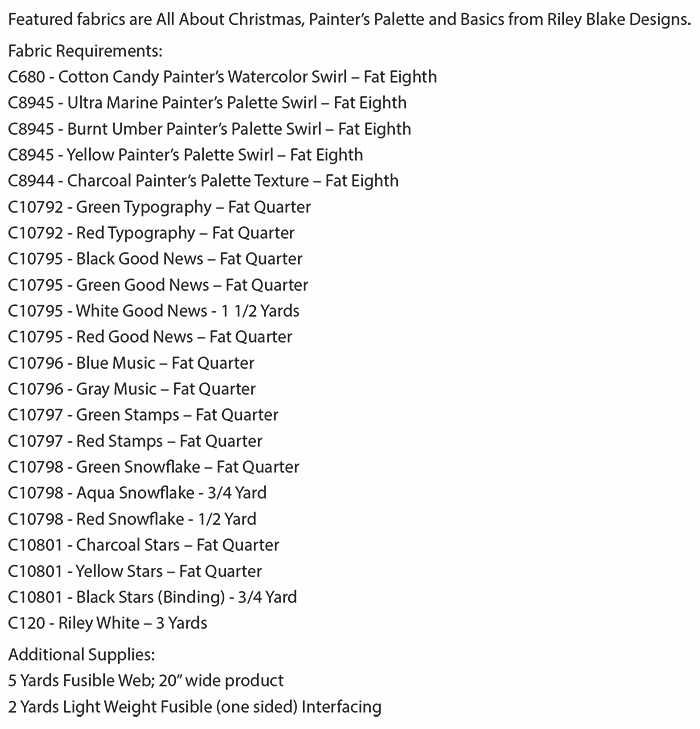
To participate in this sew-a-long you will need my All About Christmas Quilt Pattern (or a quilt kit), All About Christmas & Painter’s Palette Fabric, and a few other appliqué supplies. See list below for retailers!
•
WHERE TO SHOP:
Check with your local quilt shop to find the supplies needed for this sew-a-long! You can find a store locator here. If your local shop is not carrying it, see list below for online retailers:
Did I miss your shop? Leave me a comment and I will add you to the list. If you are a quilt shop you can shop my patterns & fabrics from Riley Blake Designs. I can’t wait to sew-a-long with you right here on July 7th!
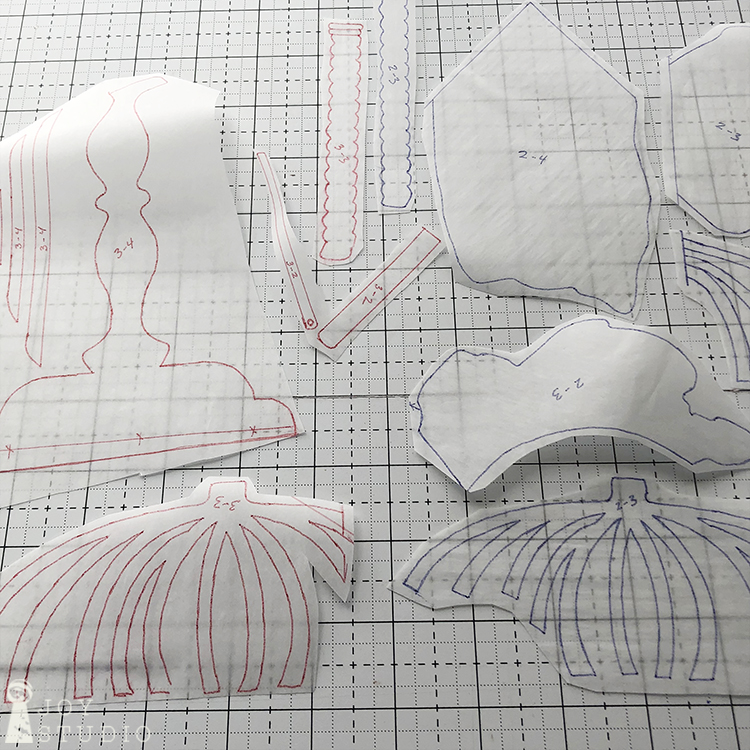
In addition to numbering by block and row we also used different colored Sharpies for each row. This offers another visual reminder to help identify similar pieces quickly. Hopefully this step is behind you however, if you are preparing your appliqué pieces each week, this may be helpful.
This week, fusing row 1.
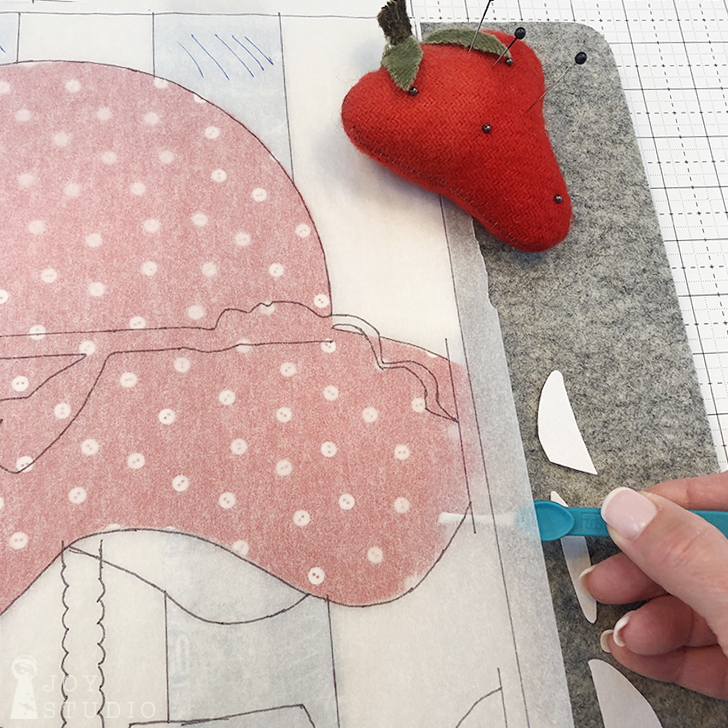
Making an appliqué placement door.
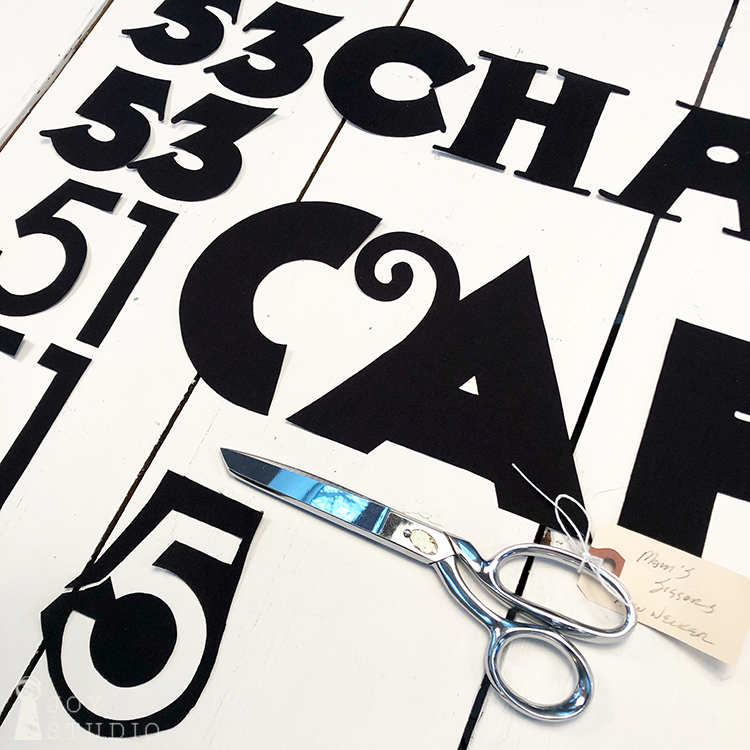
This is a practical method that should help with accurate placement of detailed appliqué. Take one sheet of tracing paper, a black Sharpie and your mirror image pattern for each of your four blocks. Rough trace everything in teach block including the solid, block finish size outline. Also indicate the dark and light stripes. There is no need to take a lot of time with this. Since the tracing is mirror image, turn it over revealing the direction of items as they appear on your cover.
Note: Be certain that you are working with the correct blocks (if you chose to do stripes) that match the marked (on your pattern) dark and light stripes.
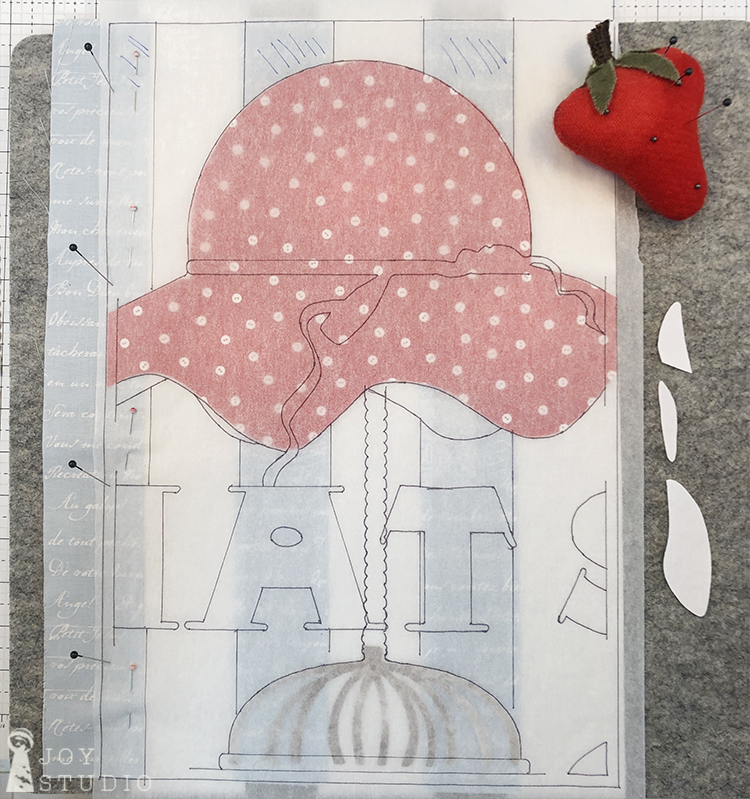
I chose to begin with block 2 because it had the focal red hat appliqué. Take your second pieced (or solid) block and place the tracing over it. Try to match up as best you can to your striped drawing using the vertical background pieced stripes as your guide. Be mindful of top to bottom placement as well. When you are satisfied, pin tracing paper pattern and fabric block together down one side. My piecing was a little bit off but block seams were fairly consistent at 1/4″. If yours are off also you will need to refer back to the blocks in each previous row as you continue vertically, keeping your stripes lined up.
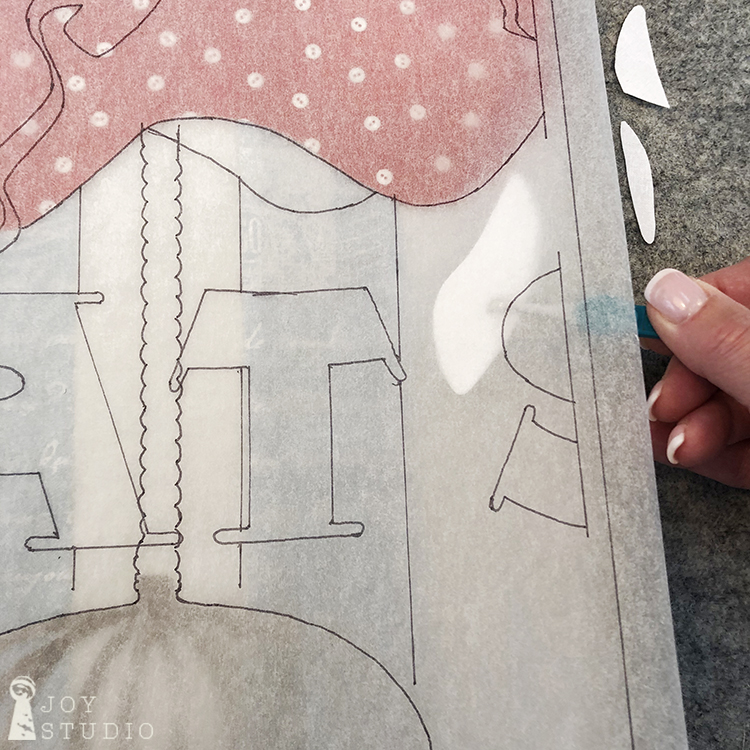
Then you can either choose to tape your sandwiched piece down on one side or pin onto a pressing mat to eliminate shifting before pressing. My suggestion is to do this on the left side so you can open your pattern door as you would a book. Below are a few photos demonstrating this step. The order you will be fusing is:
white underneath parts of the hat,
gray hat stand base,
vertical post,
horizontal base bottom bar,
red hat
and then the black bow.
•
You can see how easy it is to position, coax and nudge your pieces accurately using this method and a pair of tweezers. Once it is where you like it, press! Hold hot iron on your appliqué as long as the fusible product manufacturer recommends.
•
I was unable to post our full length version but here is a short video demo that will add a bit more clarity to the above method for placement accuracy. I will also try to post partial footage on our Instagram story today @jweckerfrisch and add to my profile in Highlights to keep this available.
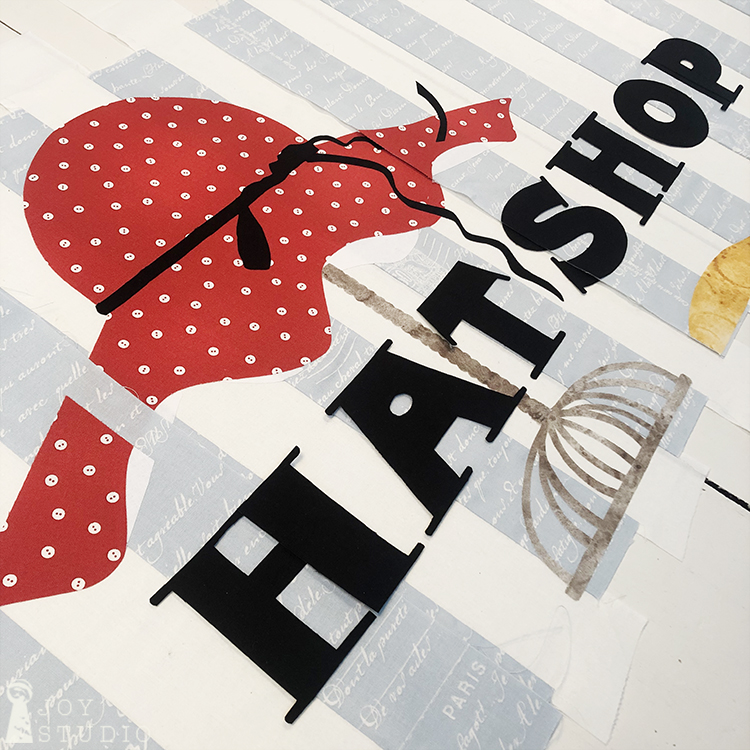
Adding the text.
It is up to each maker to decide when to add the Hat Shop or Chapeaux text. You may choose to fuse your letters by the block and assume they meet/seam together OK or to position after joining all four blocks in the top row. The latter I think is my comfort zone. Remember the window mullions will offer a little forgiveness and cover any parts that do not quite match up.
•
Sewing the details!
If you want to add decorative stitching and other trims to enhance each block, you may want to do that now, before piecing all four blocks together for easier turning. It’s always a good idea with fusibles to at least secure your appliqué with some stitching. Blanket stitch has become my preferred. Sewing is the intimidating part for me although I’m getting a lot of practice lately. All of you more experienced sewers could really have some fun with this part of the process! I can’t wait to see what you do.
Watch for the Show Us Your Progress Giveaway on Saturday!!
•
Below is a sample of some fancy stitching that our friends at Aunt Henri used. She will have a video tutorial on this soon.