•
The Snow-A-Long project is all coming together!
Going through the final steps quickly but as always, posting plenty of photos that speak volumes.
•
Snipping off sashing to be even with the block edges, was first.
Cutting the rest of my sashing strips came next. I counted eight more 1.5″ strips the full length of my fabric. I then cut three more short 8.5″ pieces to attach my last 3 blocks to their rows plus set aside enough for the horizontal sashing.
•


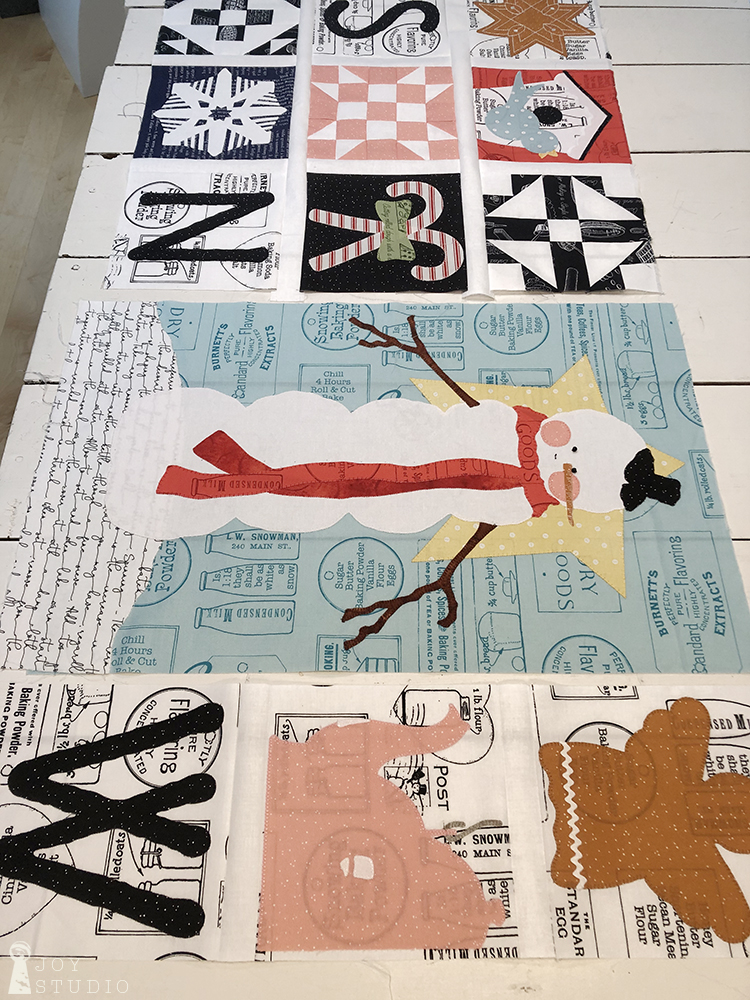
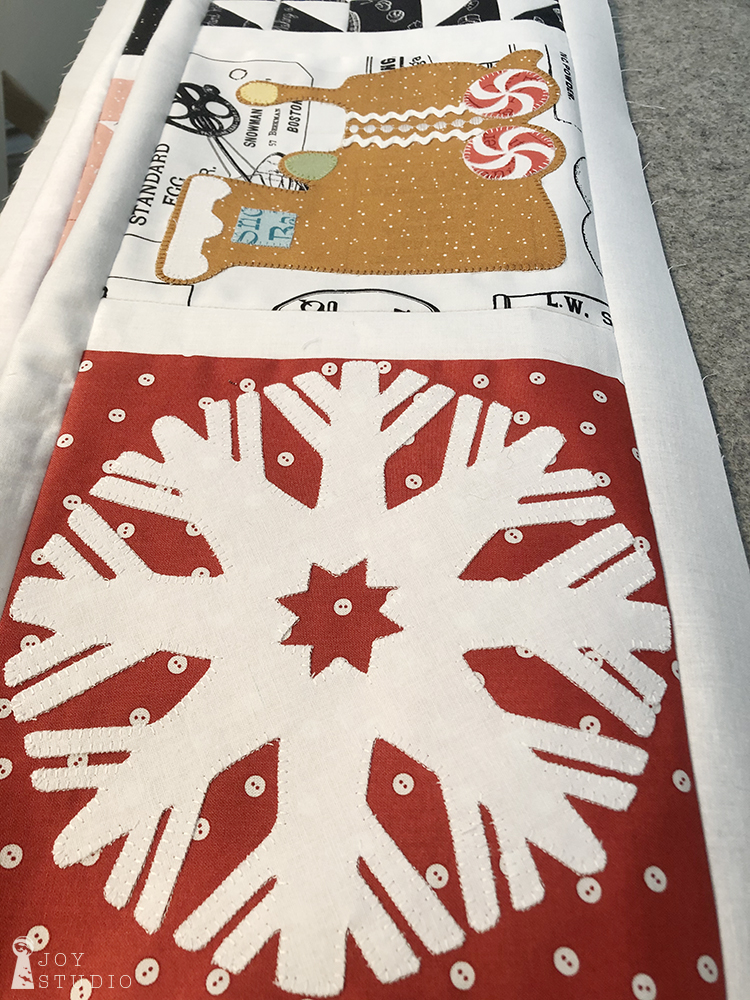
Connecting all the blocks together was next. You may want to start with the three rows at the top. I began with the three short rows that connect to the left side of our large snowman block. Then the three blocks making up the row to his right side.
•
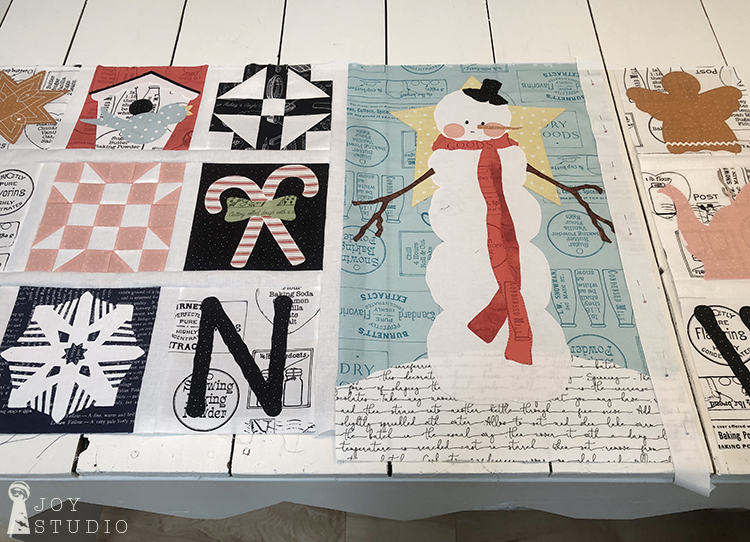
When they were both assembled I measured to see if they matched the height of our untrimmed snowman and hurray, they did! I then took two pieces of sashing and sewed them to both sides of my snowman. Following that I attached both block units, one to his left and the other to his right in the same manner that I made each row.
•
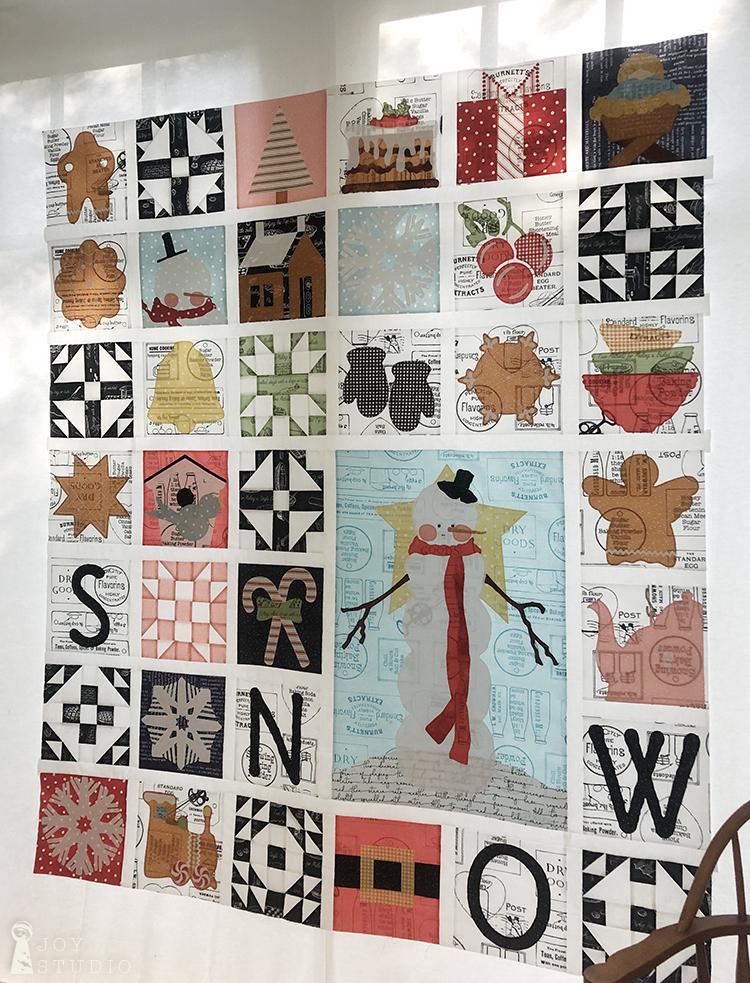
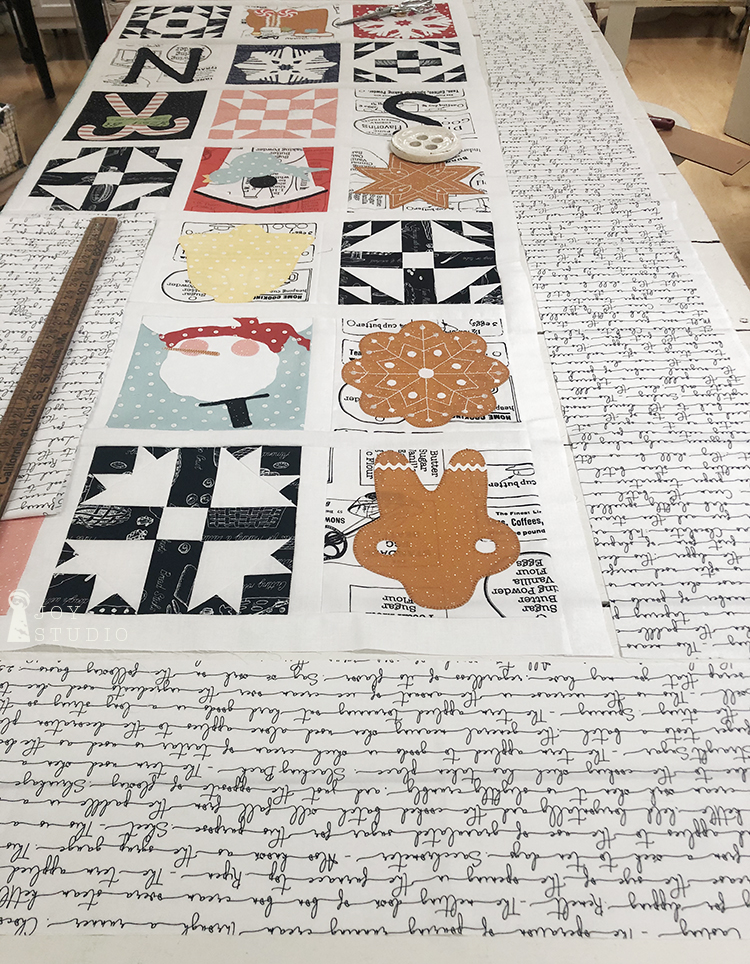
Once I had that large unit of blocks, I started building the rows above this large unit, row by row to the top. Lastly I added my bottom row, placed the piece back on my design (window) board and enjoyed a look.
•
Finally, on to the borders!
Inner border (above pic) is strip pieced with same size as sashing so yes, I cut five more 1.5″ strips of Riley White. I cut one in half to add to my two side borders and grabbed a couple of leftover sashing pieces making them long enough for my top and bottom. Pretty easy.
•
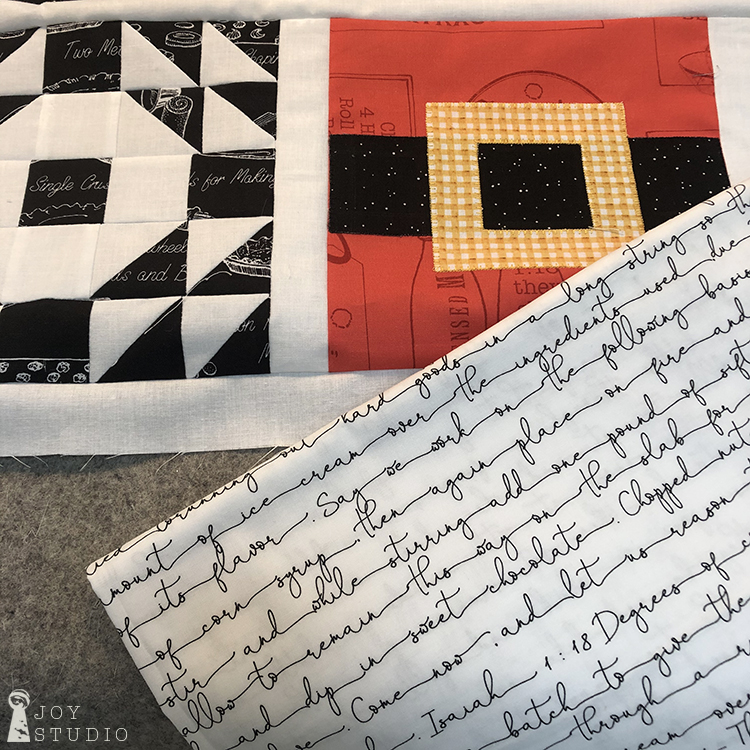
Outer border uses the pretty candy making text and this can also be cut to 7″ strips and strip pieced. You will need to piece the four strips to be the correct length according to your pattern.
However . . .
•

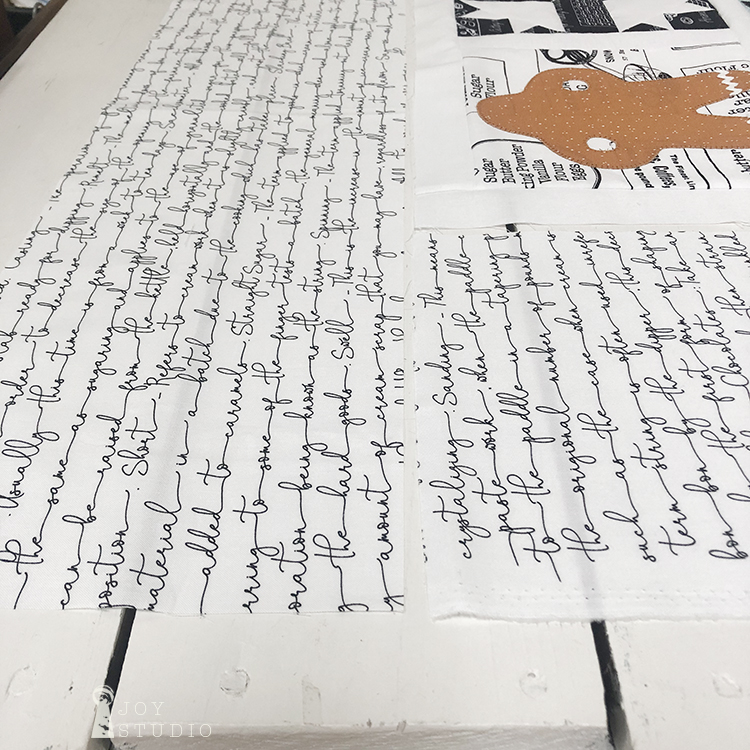
I decided that I wanted my outer border to be directional. So I refolded the fabric (little less than two yards) to cut my 7″ side pieces with the text facing up as you would read. Then cut my top and bottom pieces from the remaining fabric and pieced to fit the full width of the quilt. This seamed like the better way to achieve an uninterrupted appearance.
I love this fabric from Riley Blake Designs. Snow Sweet and it’s in shops now but going fast!
•
For me this is the end of the Snow Along. I will prepare my binding and send with my top off to the quilter to complete. I hope you all found my photos and posts helpful as an addition to the pattern directions. Please let me know either way.
Thank you for trying or will be trying this project. I found it a relatively easy quilt to build although I had help.
Thank you to my daughter Katie!! She not only created all of the technical drawings and graphic work in our pattern but also traced, cut and fused all of the appliqué blocks and cut all of the fabrics for the pieced. I did the sewing. Ta-daa!
Mother, daughter quilt, and I love that most.

Thank you sooo much!!! This is a fantastic quilt! I am behind but look forward to finishing it before year end!!
Thank you Marti! Yes, finishing at your own pace is what’s important and offers the most pleasure. I’m looking forward ti seeing yours and everyone’s closer to the holidays.
Can’t wait to start this!!! Do we need to buy more fabric to make the border directional? Thank you for all of this! Can’t wait to buy the sunflower kit too!!
Can’t wait for you to, too Marilyn!!! I believe both fabric yardage amounts are listed on the pattern. I think it took close to two yards for directional however, it’s an easy print to piece so perhaps not.
Love your artwork! Have used your fabric in a couple of my quilts. Keep it coming!
I will attend my annual – once a year – quilt retreat in early October – treasured since I am working a full time job. This will be the project I take to begin and hopefully spread the good word about Great Joy Studio and J Wecker Frisch fabrics by Riley Blake Designs!
Can’t wait to see your next collection!!!
Lovinquilts