Again welcome to the Hat Shop Sew-A-Long!
Picking up from last week,
Sewing the details.
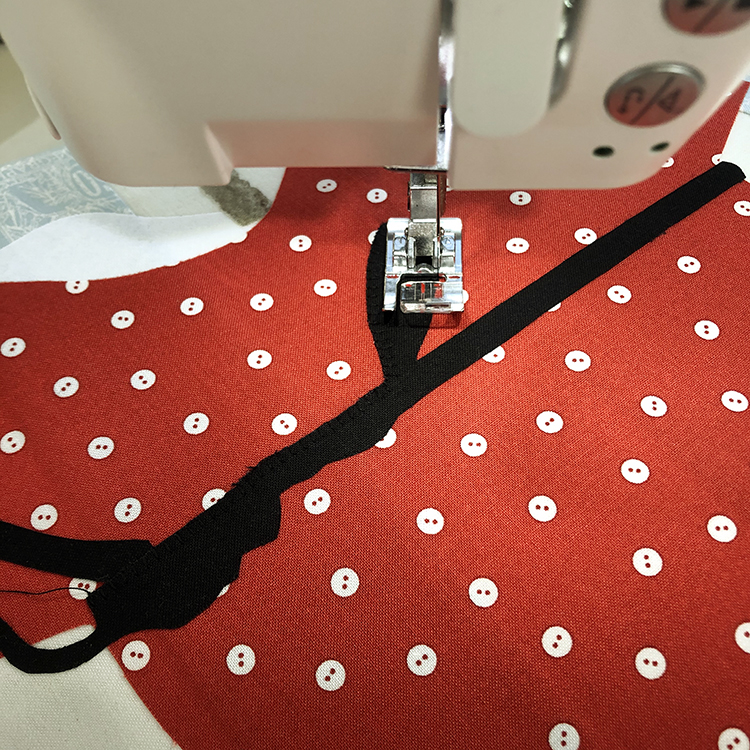
As I shared in week two, if you want to add decorative stitching and other trims to enhance each block, you may want to do that before piecing all four blocks together for easier turning. Whether you already assembled your top row before placing the text or not, either way is OK. I still have only fused and stitched down the red hat pieces. We will be stitching the remaining eight applique blocks in their entirety before assembling each row.
•
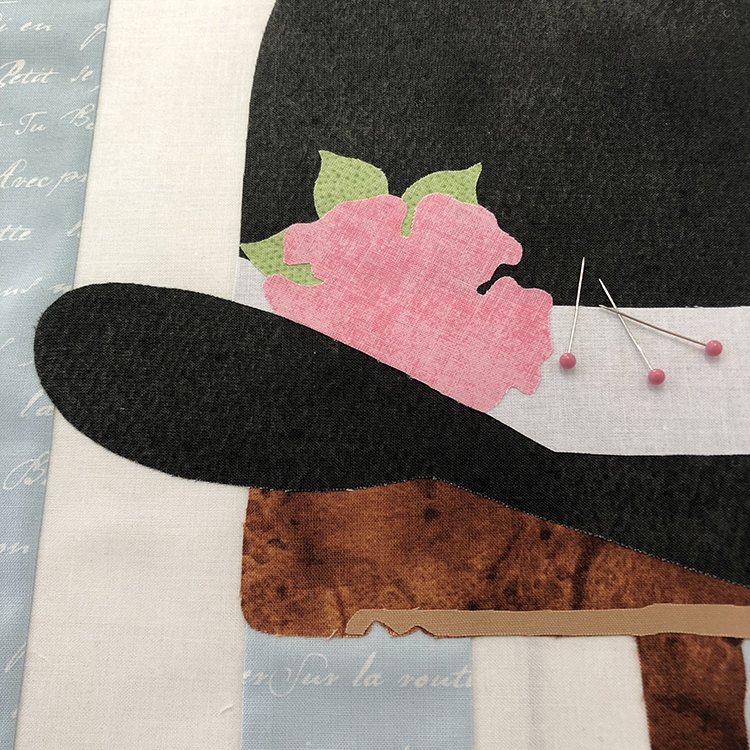
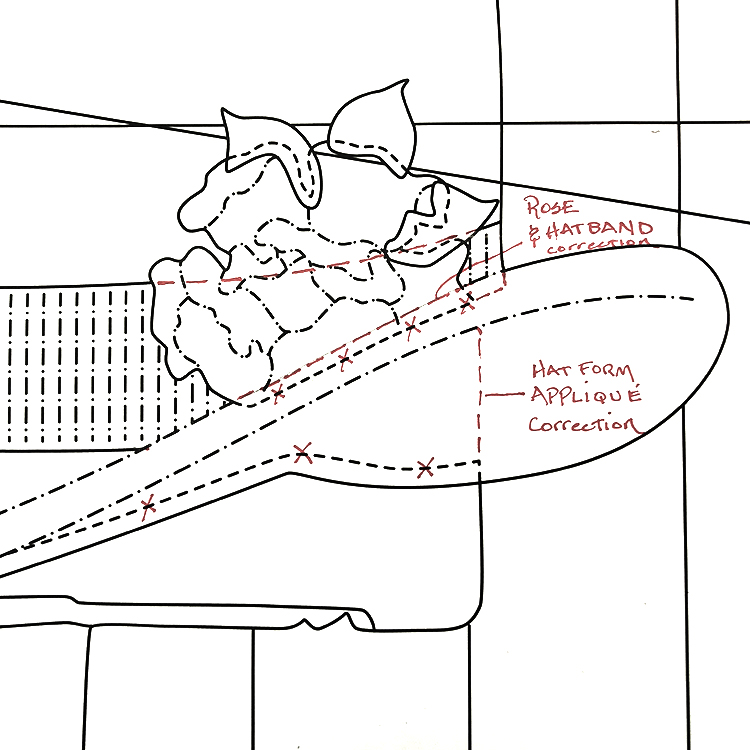
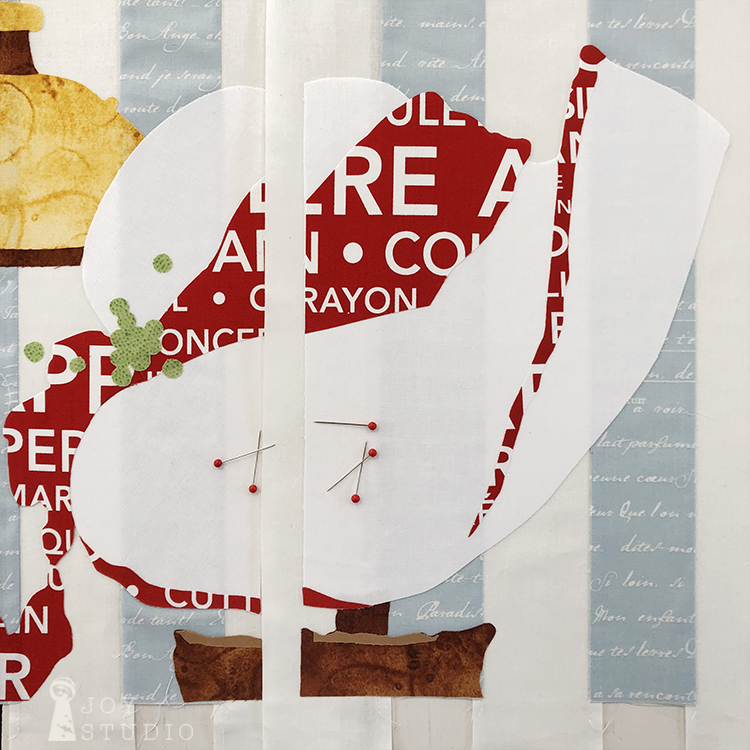
Pattern correction, derby wooden hat form applique should be extended to the hat brim, as if to appear going up into the hat. I marked the pattern with red dashed lines in the photo below. Also, the bottom of the rose needs to move up to be even with the hat band also indicated with red dashed lines. See third photo:
•
This week, fusing row 2.
Lining up the vertical stripes.
If you have a pieced background the most important thing to check in starting row 2 is matching up your vertical stripes! So, before pinning or fusing, match your stripes using your traced block patterns described in week 2, Making an appliqué placement door. Most likely, your stripes will not match the patterns stripes exactly. Mine did not, but were close. As long as you keep the second and third row consistent with your blocks in the previous row, then placement should match up. See below that my blue stripes are slightly to the left of the traced sheet in all three rows/photos. Next we will be using our tracings and placement door, for each of the four blocks in row 2, repeating the same steps as we did in row 1.
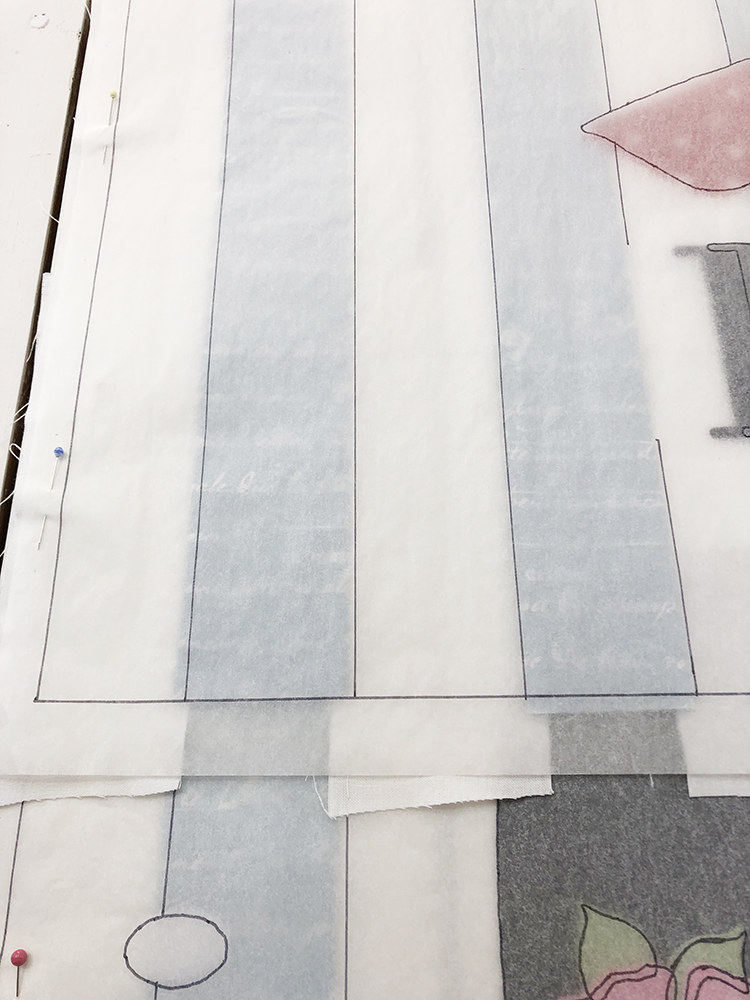
Block 1, Row 1
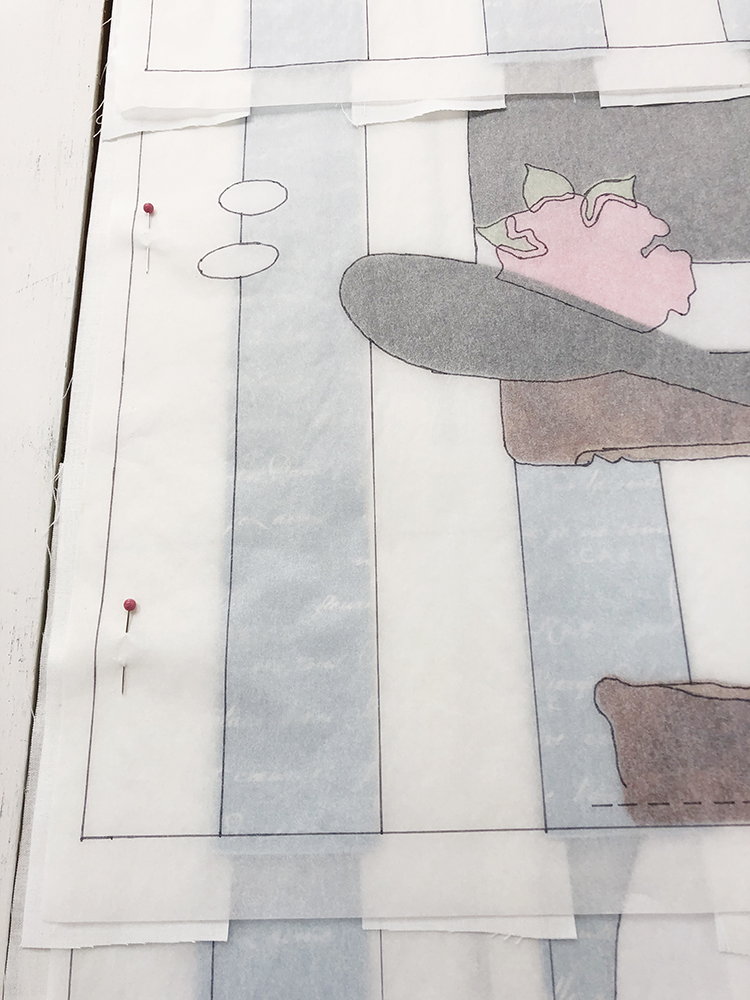
Block 1, Row 2
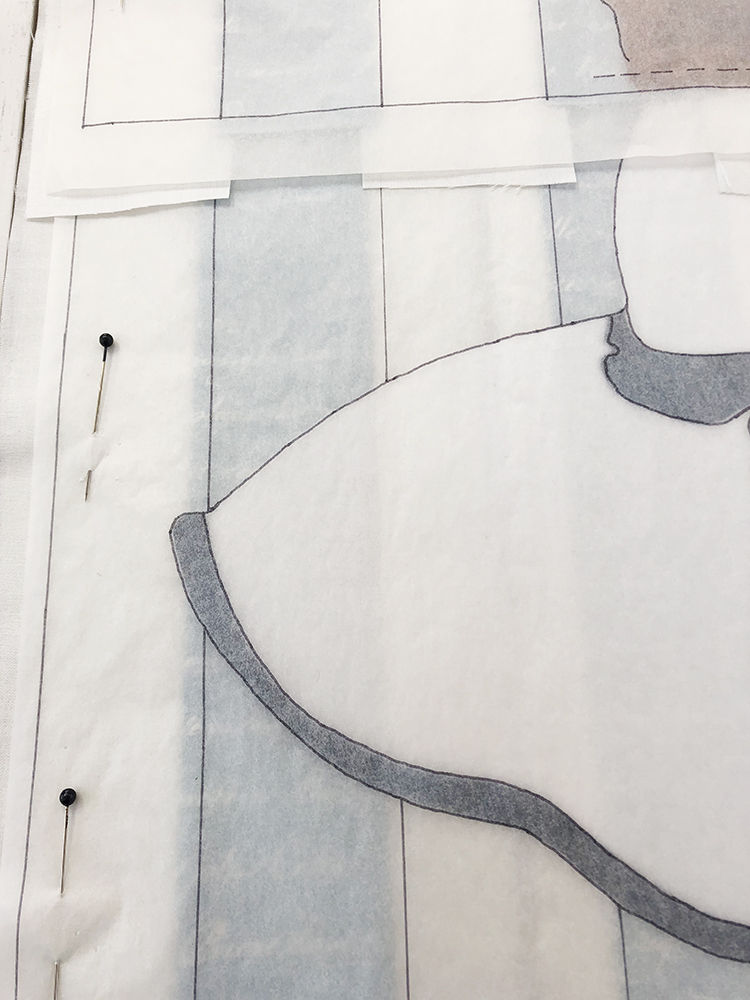
Block 1, Row 3
•
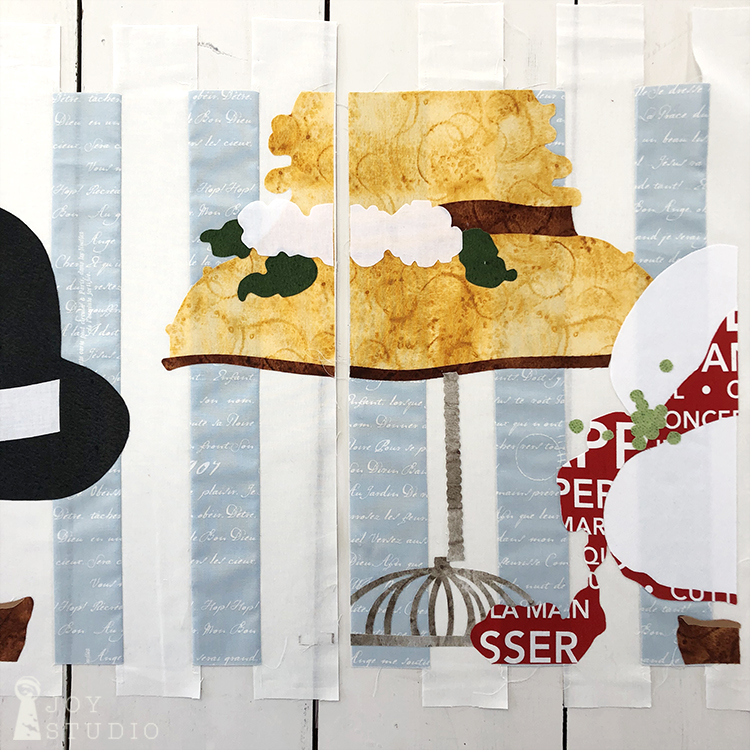
Applique fusing sequence.
The best way to determine what is fused first is by laying out all of your appliqué pieces on their corresponding blocks, carefully checking with your pattern cover and technical illustration. Much like the red hat described in week 2, the majority of the hats are fused in a similar order.
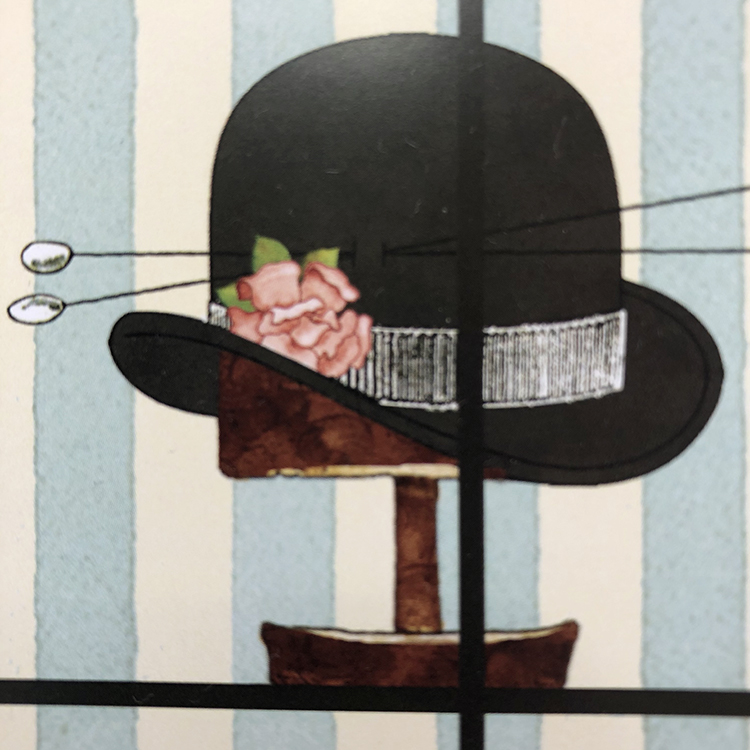
For example the derby:
vertical stand post,
stand base,
derby,
hat form,
band,
leaves,
and then the rose.
•
Hat number 3
I chose to use Couturiere Parisenne from Riley Blake Designs, red bold text rather than attempting the red stripes on hat three with my limited sewing experience. Letting the fabric do the work for me while still offering a similar visual impact was a lot less intimidating for me, a novice.
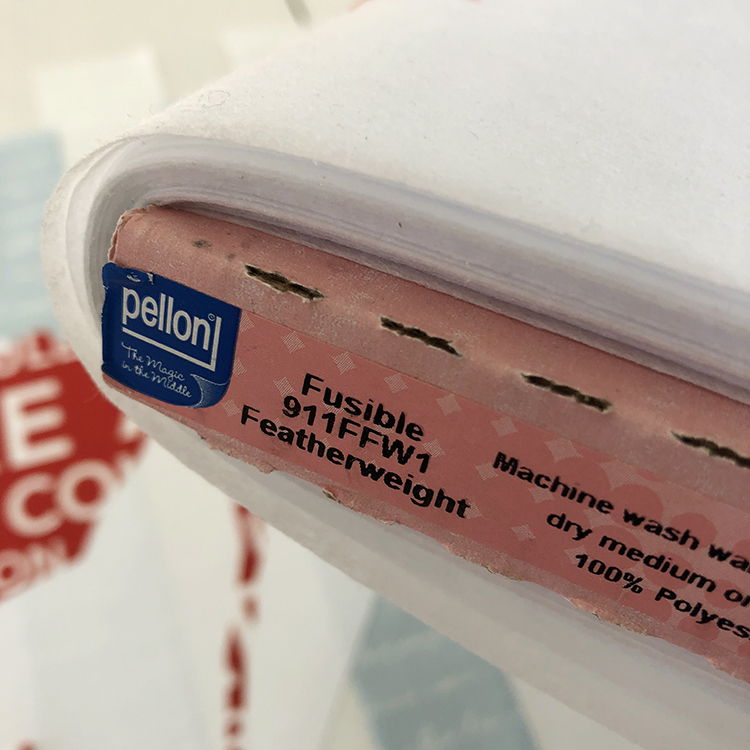
Secondly, we used an interfacing in between the applique and the fusible web to help hide the background for all of the white hats. We used Pellon 911FFW1. As you can see, my stripes are still visible so you may want to choose something heavier for a total mask.
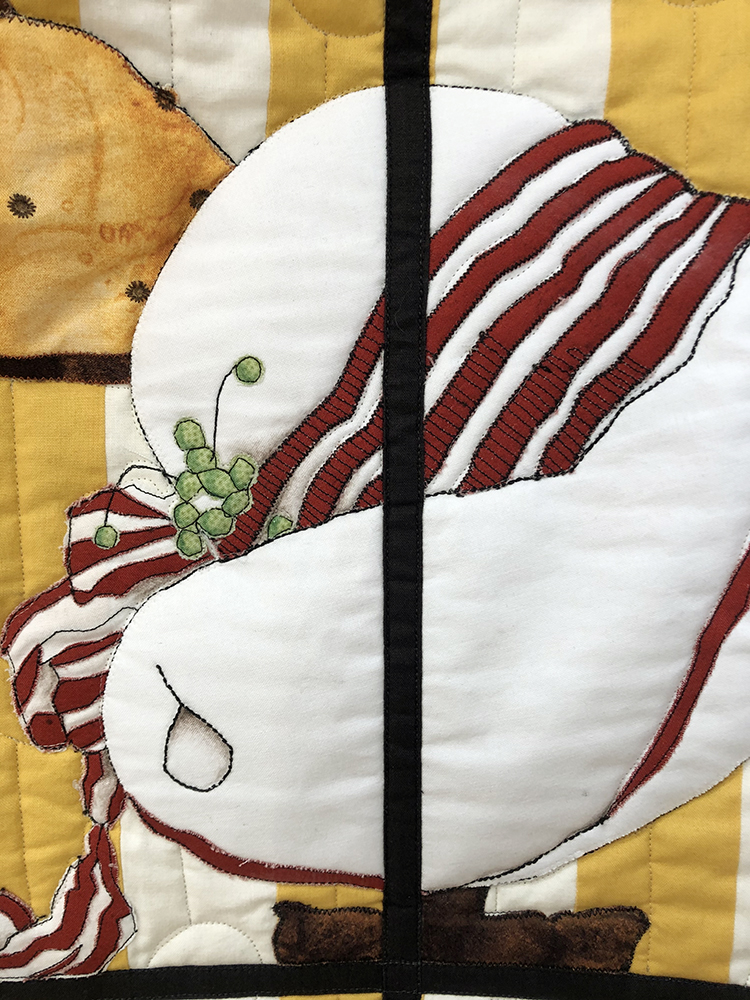
Appliqué Fabric Option
•
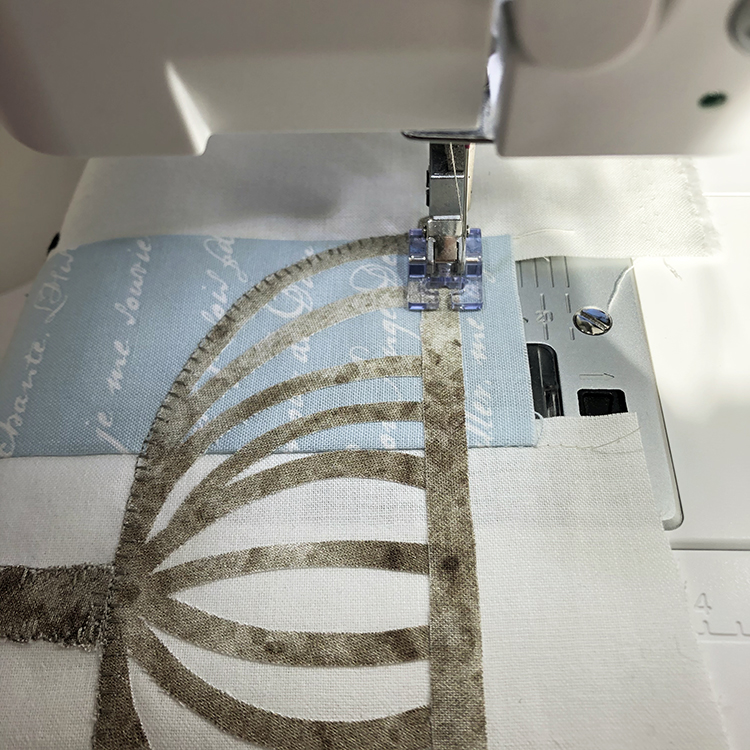
Once everything is fused in row two, you can begin the decorative stitching. Take your time, have fun. This part is where you can really get creative! Again it’s always a good idea with fusibles to at least secure your appliqué with some stitching.
•
We will plan to assemble all blocks after rows one, two and three are fused and sewn down.
•
Please forgive me, we did not forget last Saturday’s giveaway, only postponed. We’ll keep you posted.
Stay tuned to Instagram and Facebook for additional news and hat shots.

Oh gosh,Janet, this is beautiful
You are so creative.
I love this 💕💕
Oh good Rosemary, I’m glad that you like. I’m challenged but enjoying. Thank you!