
•
B U N T I N G M A K I N G
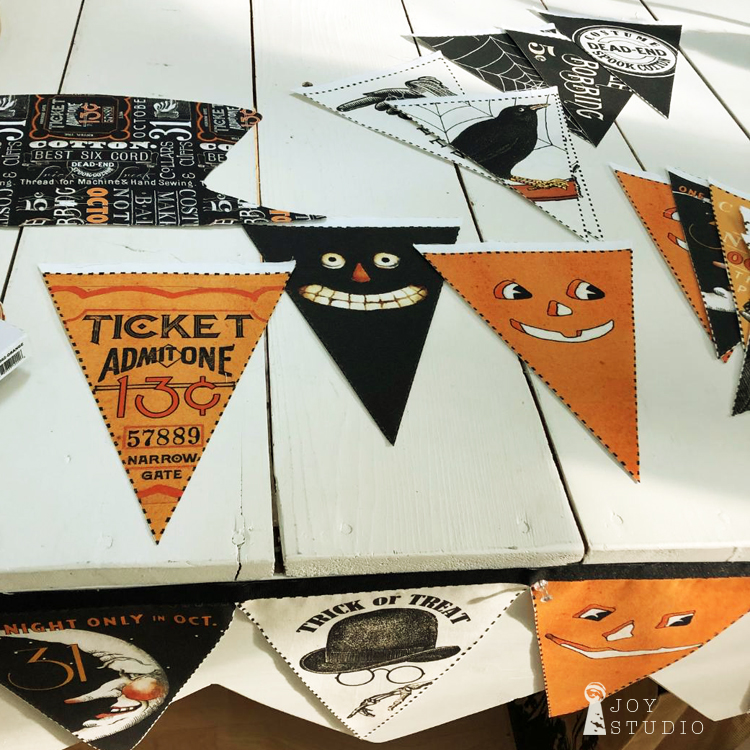
with the
Costume Makers Ball
Bunting Panel
from
makes this project so quick,
so easy,
and so FUN!
*


•
Of course there are several ways that you can use this bunting panel.
I chose the no sew approach for a super quick finish.
•
For this you will need:
• One Costume Makers Ball bunting panel – 24″ x 43″
• Backing fabric – approximately 22″ x 43″
• Black 3/4″ wide gross grain ribbon, approximately 10 yards
• A medium weight, double sided fusible web product – approximately 22″ x 43″
• A package of fusible tape, approximately 10 yards
• Iron and pressing surface
•

•
Begin with your panel by cutting it in half, selvage to selvage. You can cut along the heavy dash lines on the outside of the two orange strips that separate the two rows of flags. This will leave a wider seam allowance at the tops of your flag sections.
Place your nine flag section on top of your fusible, paper side up. Trace the flag section with a marker or pencil and cut out. Sandwich them together glue side to back of fabric on your pressing surface. Make sure the fabric is a little larger than your fusible so you do not fuse to your surface or iron. Press according to manufacturer’s instructions.
Peel off the protective backing of your fusible product and place glue side to wrong side of your second, backing fabric. Again fuse together. Then your ready to cut the flags apart.
I designed this bunting outlining each flag with the same heavy dash lines to add a decorative edge and make cutting easier. You can use your rotary cutter or scissors to achieve a clean cut through your two fabric layers.
•

•
Once all of your flags are cut out you can fuse them to your ribbon. Lay them out in the order that you like and begin to fuse the ribbon to one top side of the flag. When you get close to the edge overlap just a bit and join the next one, until all are attached. Then turn your strand over and apply another layer of ribbon to the back for additional strength.
Then hang & enjoy!
•
They’re really fun to layer with batting and quilt some details too!
•


•
Ta-daa!
I hope my last two how to project posts were helpful. If I get up my courage maybe we’ll try a video!!
Now, that is SCARY!!!

I love this bunting panel, and yours is the first post I’ve seen where it’s actually being used to make bunting – as opposed to putting the entire panel into a quilt project. I definitely want to make this and hang it from my pine Welsh dresser, which sports Christmas bunting in December! (P.S. – it’s “grosgrain” ribbon)
Thank you!
I love your fabric, but now your blog is very difficult to navigate due to excessive advertising.
Thank you, difficult for me too. However, we are changing things up for 2020. We are moving this blog to greatjoystudio.com/blog and starting tomorrow with a big giveaway for followers!